Showing posts with label beads. Show all posts

Friday, December 17, 2010

New Jewelry on Etsy

I returned to my love of jewelry recently and felt really inspired to make some new pieces. I added some of them to my shop on Etsy.


Friday, September 3, 2010

Denim Purse Project

This is just a very small portion of my denim stash.

I decided to make several purses all at once. They are all different but this 'assembly line' made the process go a little faster.

Charming Denim Hand Bag

Lined in light weight gray fabric with a leather strap.

Eyelet trim and silver charms complete the decoration.

Darling Denim Hand Bag

Lined in light weight gray fabric with tassel trim and a fleur de lis applique.

Pointedly Paisley Hand Bag

Lined in cotton print fabric with a suede strap

Wednesday, May 12, 2010

Who Do That Voodoo That You Do Soooooo Well Part I

Here is Voodoo Mama!
I started working on her awhile back and my ideas kept building on themselves.

I started out by making an armature out of heavy gauge wire that would stand up by itself. I coated it thinly in clay, then went back and added the face, hands, feet and boobies! BIG boobies!

A little paint and she is starting to look like somebody so now I need to get her dressed!

Her underwear

A skirt and a little trim around her top make her decent but I don't think there is enough definition around her waist so she definetly needs a corset.

Once I get her clothes just right it's time for my favorite part! Embellishment!!
She gets hair, of course! And jewelry! A chunky stone and bone necklace, shells and ribbons in her hair and a belt with pouches for all her little goodies.

Sunday, January 3, 2010

Getting Organized - Beads!

It's not as easy as it sounds! I am not an organized kind of person but sometimes I can certainly see the benifits in trying to be! So I decided to tackle one of my biggest headaches and work on getting my beads in order. I have thousands of beads in all shapes, sizes and colors so it was no easy task.


I started with my seed beads. I moved them all into these containers that screw together and seperated them by color. They were the most difficult to organize and once I finished with them I knew the really hard part was over. The rest of the beads got seperated by type and organized into flip top containers.


Stone chips and beads


More stone and hematite beads


Metal beads


Acrylic beads


Shell beads


Bells


Findings

After several hours I am very pleased with the results and I'm glad I did it! Now I'm actually motivated to move on to some of my other supplies and maybe eventually I'll get the whole room to the point where I'm not embarrassed to let people peek their heads in there.

Wednesday, December 30, 2009

Pincushion


When I began sewing more I realized that those little tomato pincushions that you can buy in the store are useless. It is too small and it rolls away from me everytime I try to stick a pin in it! Not that I blame it, but I needed one that could take my kind of abuse! So I saw an idea on how to make a better one and I had to give it a try.

It all started with recycling a container and that is my absolute favorite way to start any project! I removed the lid and filled the bottom with rocks to make it heavy. This one is not getting away from me!


I gathered the rest of my materials together and got to work. I chalked an outline of my design onto green ultra suede and used dots of glue to hold my purple chenille yarn in place. I love knotwork and if you're careful and get it right it always looks fabulous.


I added a few beads and starting couching with gold thread.


After the couching I went back and added seed beads in the spaces.


Once I was finished with all the embellishing on the bottom I glued it onto the container. I was too busy with the sewing machine to take any pictures of the rest of the process. I really wish I had more arms.. or maybe just more control of my toes would work! Anyway, finished photo is at the top of the post, as always.

Friday, May 29, 2009

More Recycled Denim


This is another purse I made from all those old jeans. It is much larger than the handbag and I did the whole thing in patchwork. The pocket is from the front of a pair and so it is very deep and I went a bit crazy with the beaded trim. Gathering some black lace into a circle is an easy way to make a flouncy flower.


I used a length of denim for the strap and connected it to the purse with the button from the waistband.


Black ultrasuede wrapped around both sides with some polka dot ribbon was the finishing touch.

Thursday, May 28, 2009

Recycled Denim


I have a stack of old jeans that don't fit anymore or have too many holes to wear out in public. I decided to play around with some of them and made a few purses. This one is a hand bag with plenty of room for everything.  I used a leg of the jeans for the body of the bag with the hem at the top. I used the hem off the other leg for the handle.


 I positioned a back pocket and a coin pocket onto the front and trimmed them in rick-rack. Then I used the waist band with the tag and belt loops attached around the top. I finished that off with some frayed black ribbon and purple beads.

Friday, May 1, 2009

Another Little Collage


This is another little collage I did because I have all these clay faces that I made a long time ago and wanted to use them on something. 


I started off with red tissue paper that I crumpled up and then flattened back out. I glued it down on to a piece of poster board and started painting it.


 I was in the mood to play with my beads so I choose a few small ones and played around until I came up with something I thought would work around the head. The face was plain white when I made it so more painting! Nothing too detailed, just some color!

I had to play around with the hair for awhile to get it just right. I used long pieces of wool and just wrapped and twirled it around until it looked interesting.  Once I had the hair right I used more beads to secure it and decided to glitterfy the makeup.


 I used fusible fibers, an old jewelry finding and a few more beads to finish it off. Then I attached the whole thing to a piece of foam core and glued heavy gold braid around the outside as a hanger.

Friday, April 3, 2009

O My Goth


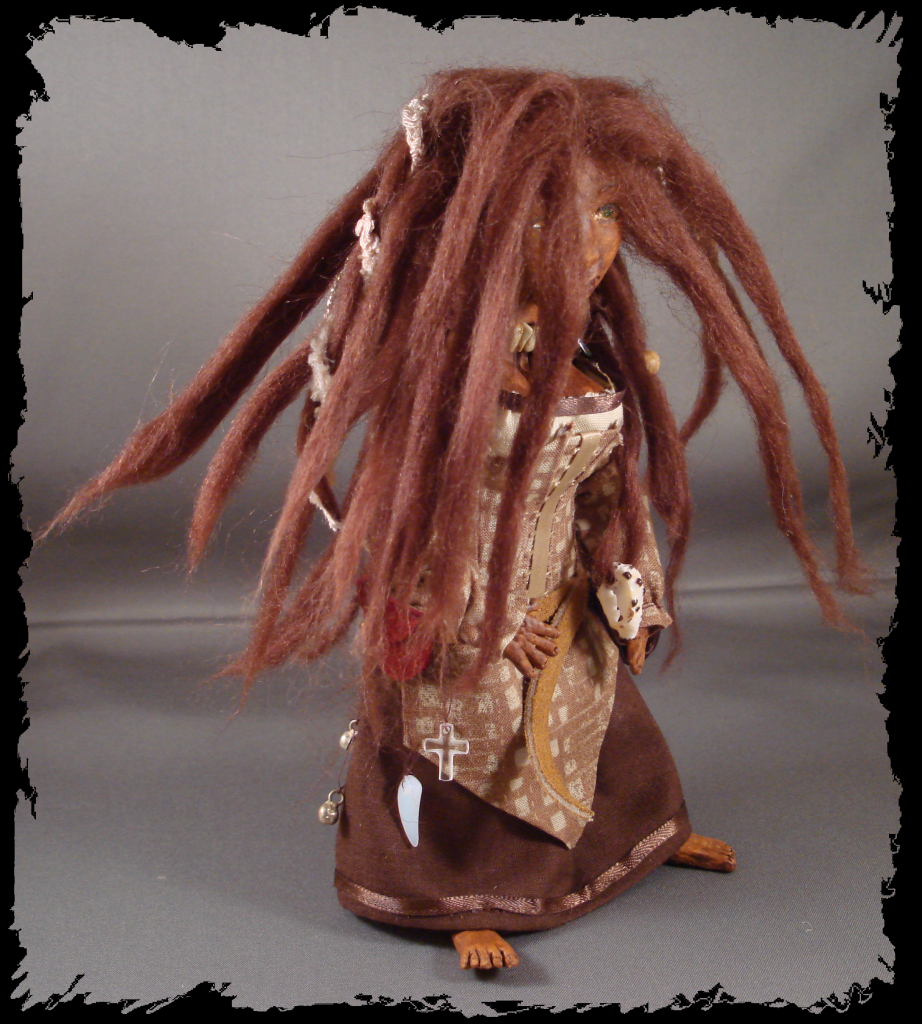
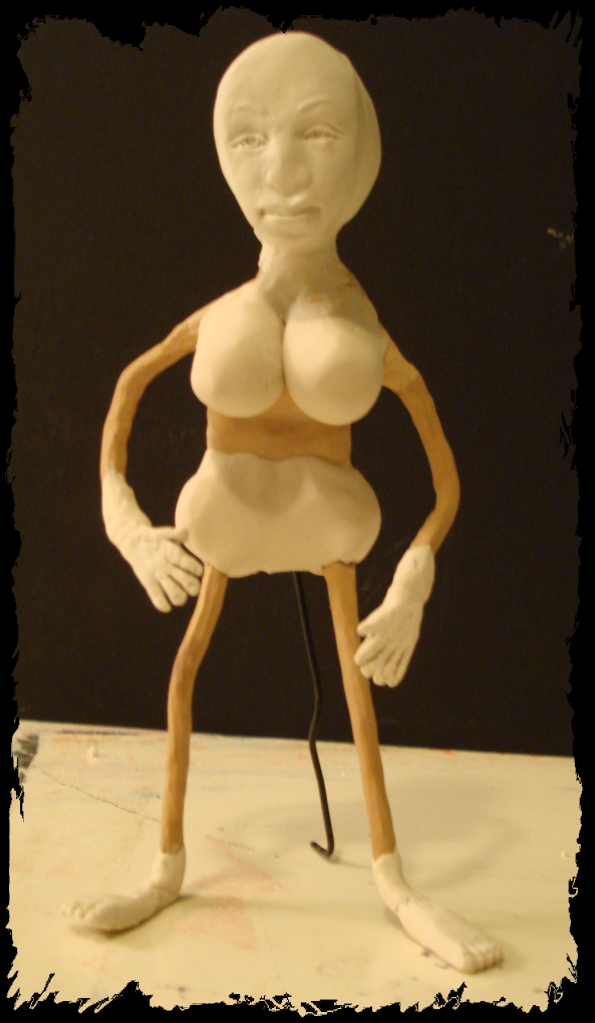
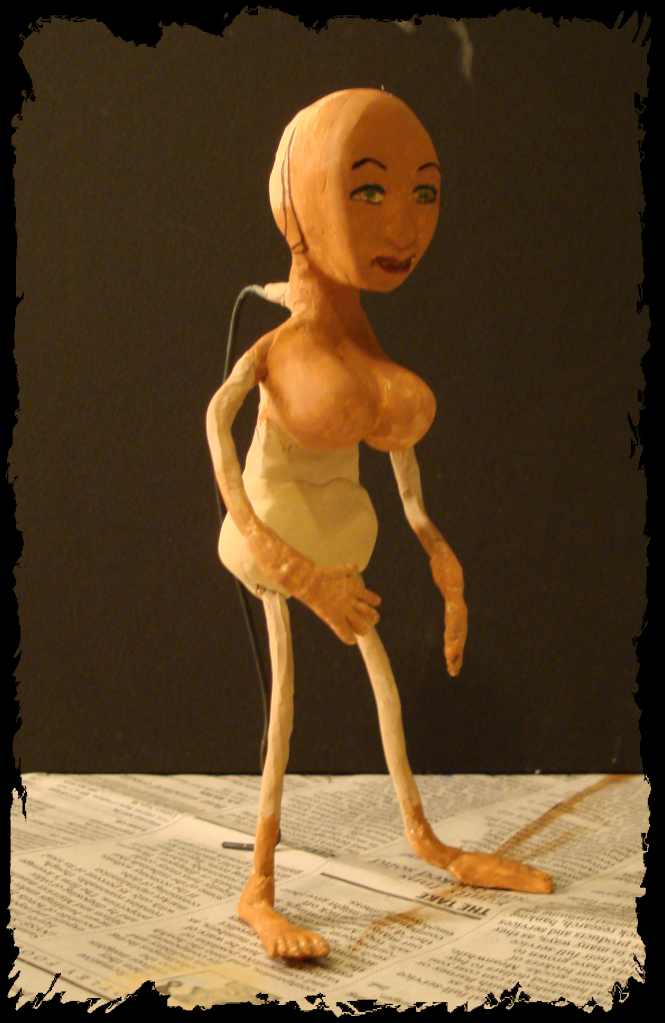
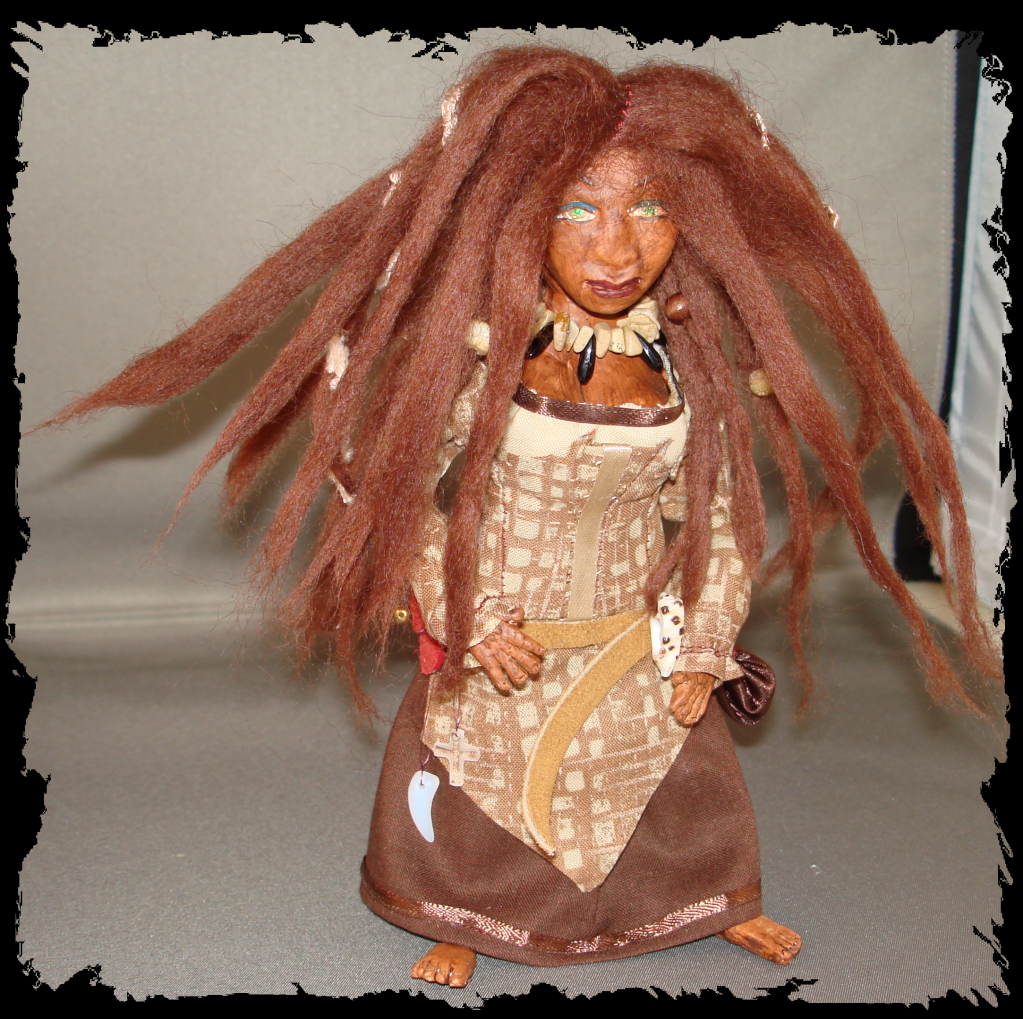
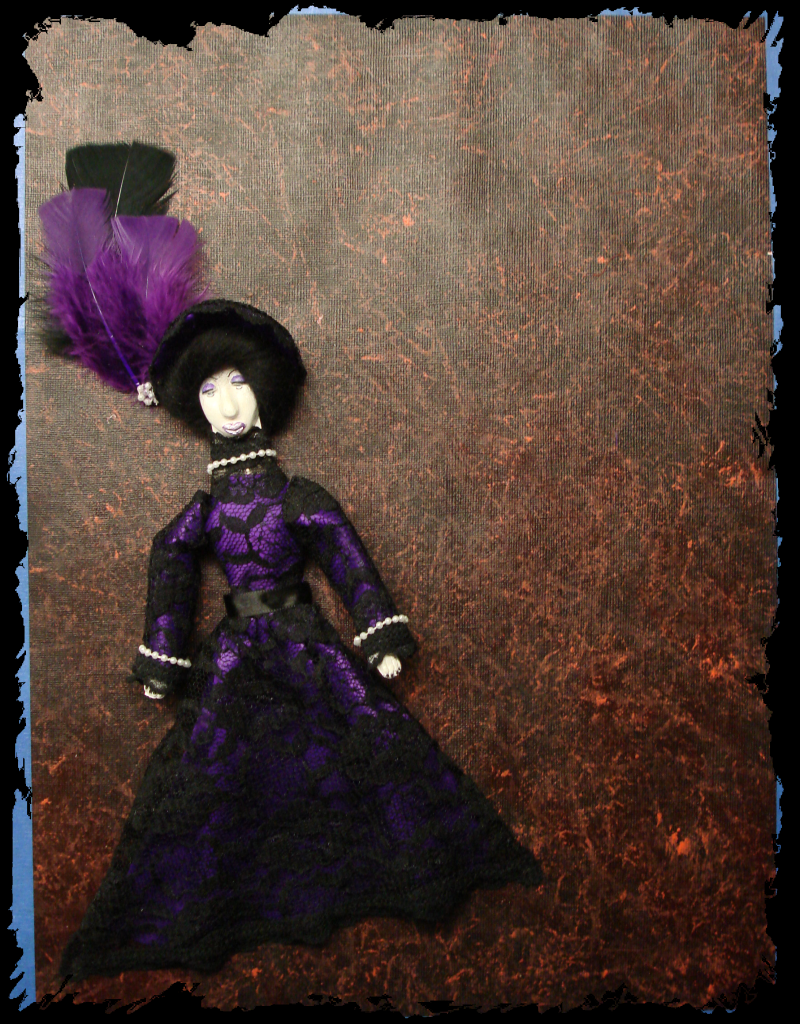
 This is my latest collage and it is one of the rare times I didn't have any kind of plan when I started it. All I knew was that I would like to use up some stuff that I had already. I played around making clay faces one day and this was one of many. Months later I pulled them out, chose this one and started painting it up. It reminded me of the lead singer of Marilyn Manson so I decided to go that way with it!

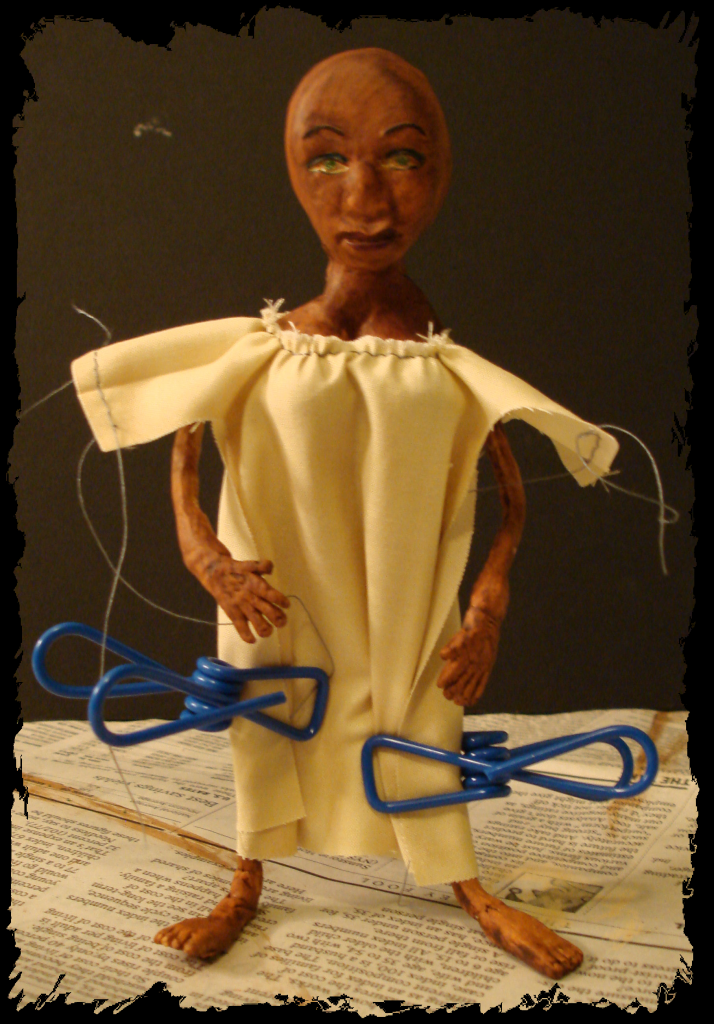
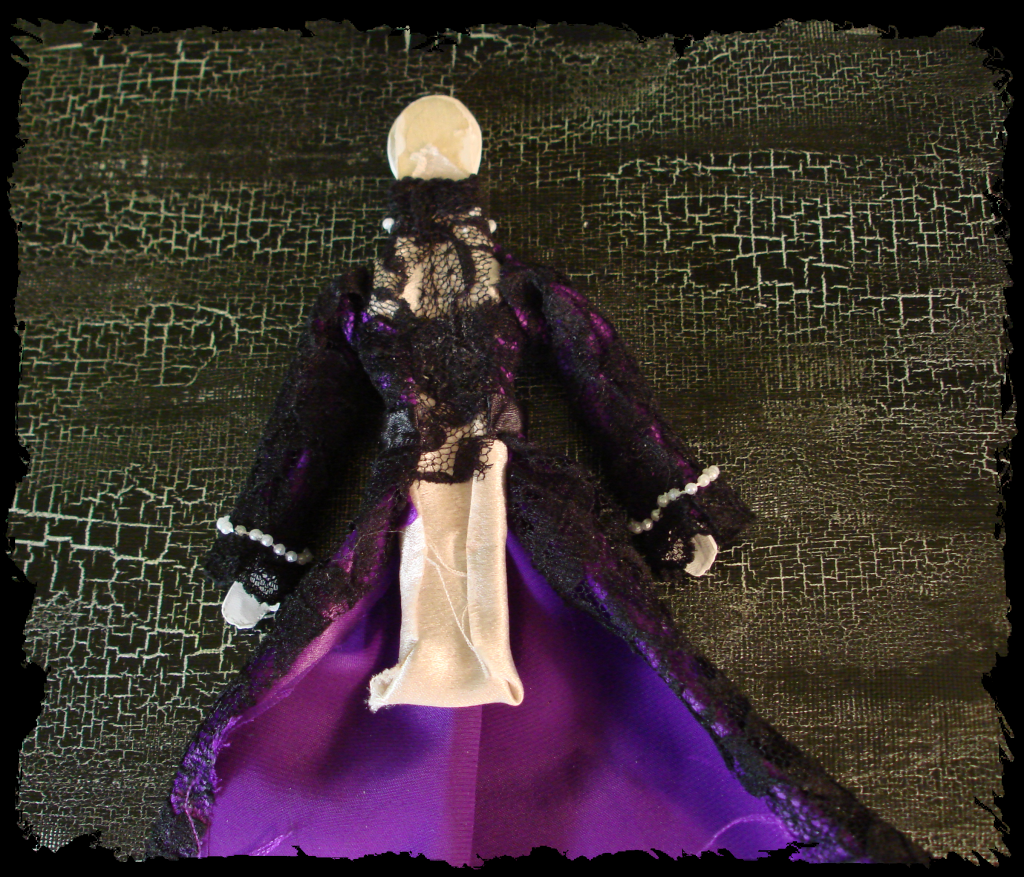
I knew I wanted it flat on a background so... I am almost embarrassed to admit this... I glued the face onto a popsicle stick (seriously!) then I added a little padding on top and started using scraps of fabric to dress her. I used pipe cleaners wrapped around the popsicle stick for her arms and made the hands from clay.


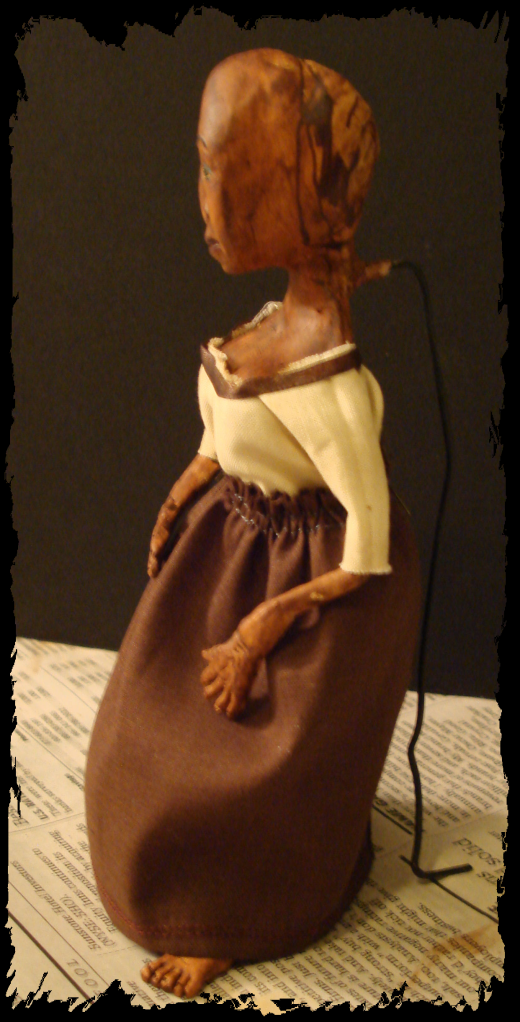
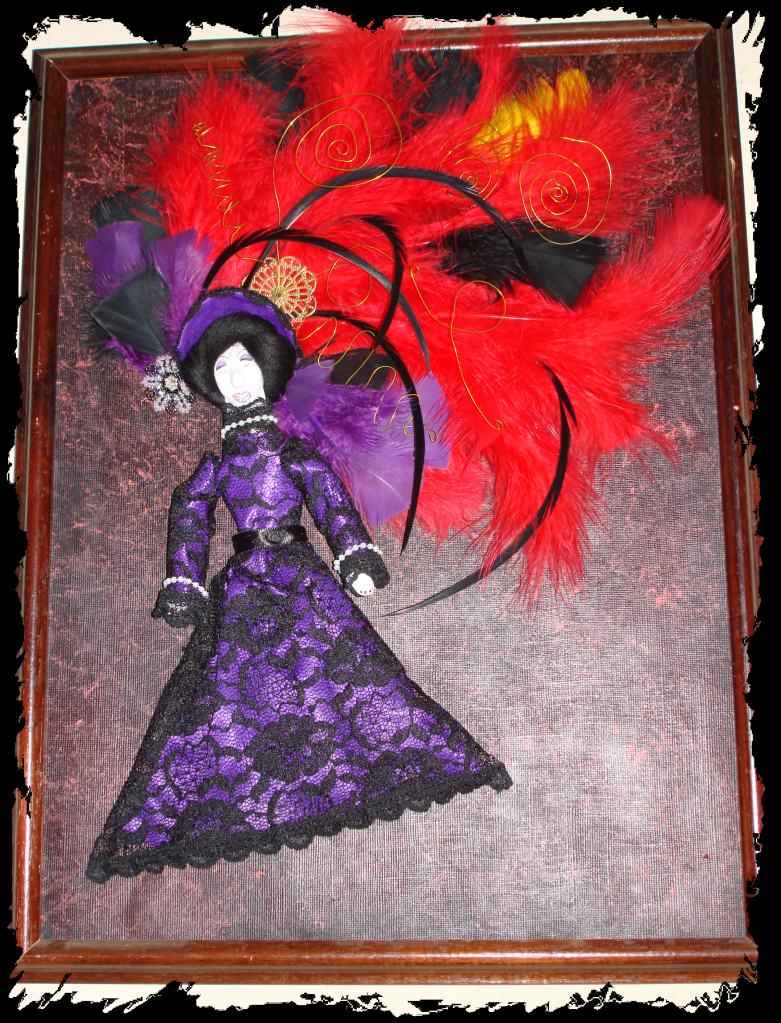
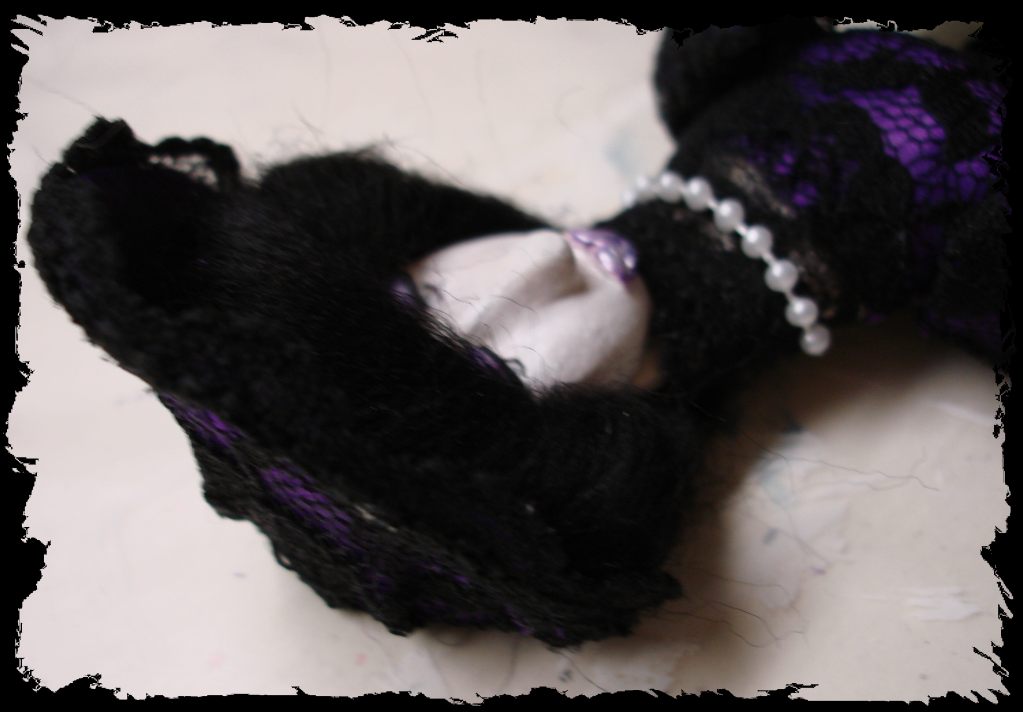
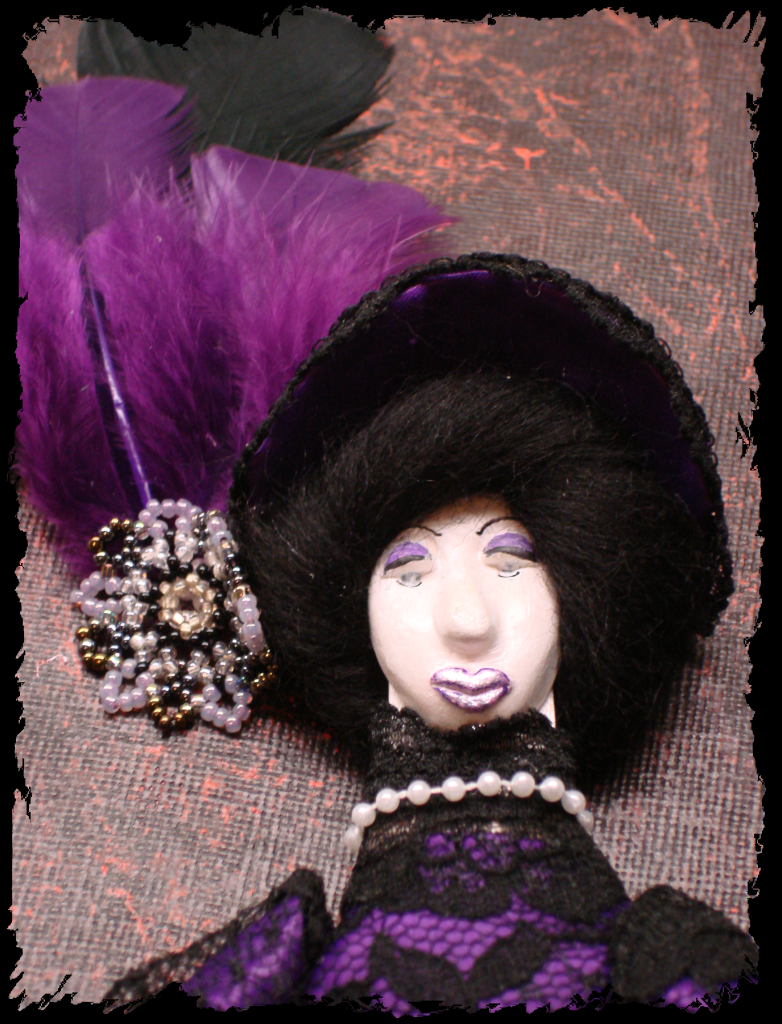
Her outfit was completely pieced together from scraps of a purple satin nighty and an old Rocky Horror Picture Show costume. I trimmed the collar and sleeves with strands of mini pearls.I agonized over what kind of hairdo to give her and in the end I decided to keep it simple so that I could give her an elaborate hat instead.


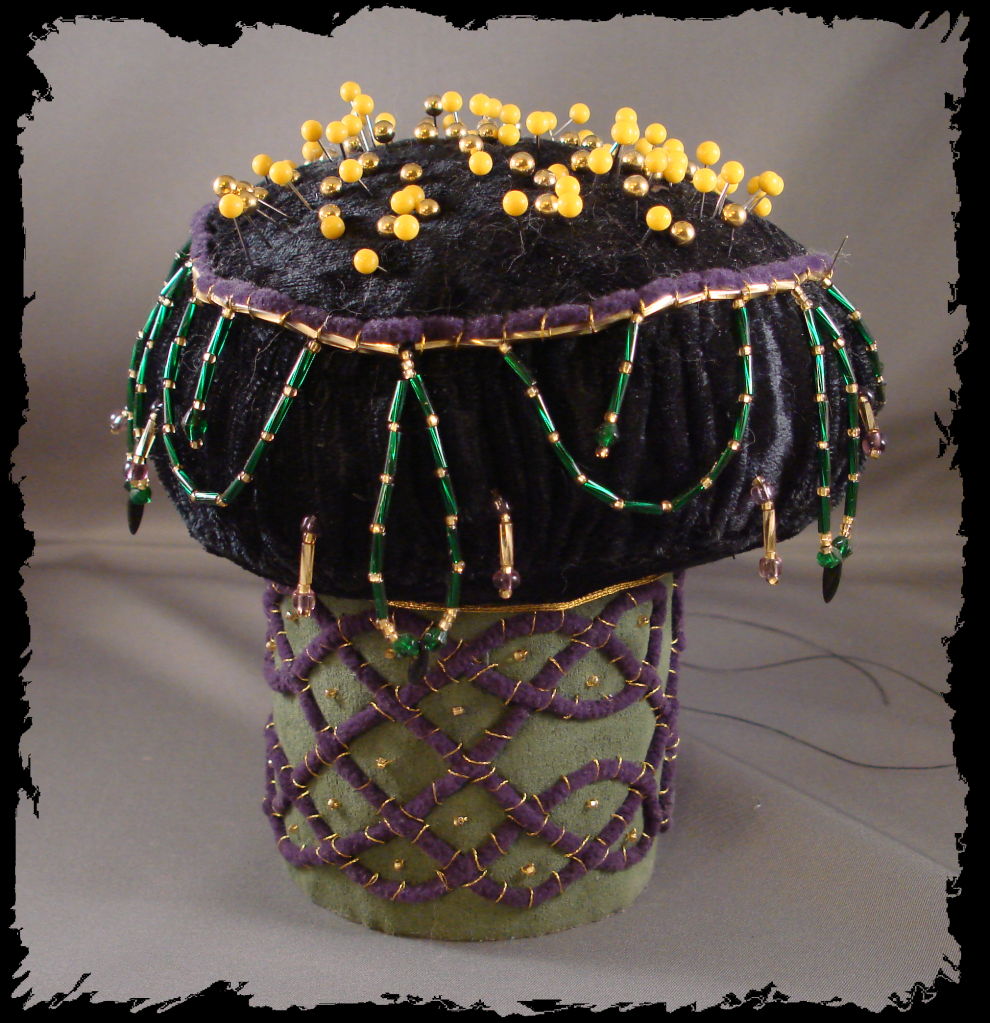
Being flat made it very hard to get a good photo of her hat. I cut a piece of cardboard to the right shape and covered it in the same fabric as the dress.


Half way through this project I decided I really didn't like the background I was working with. The crackle finish is cool but I wanted something more subtle with a little bit of color.


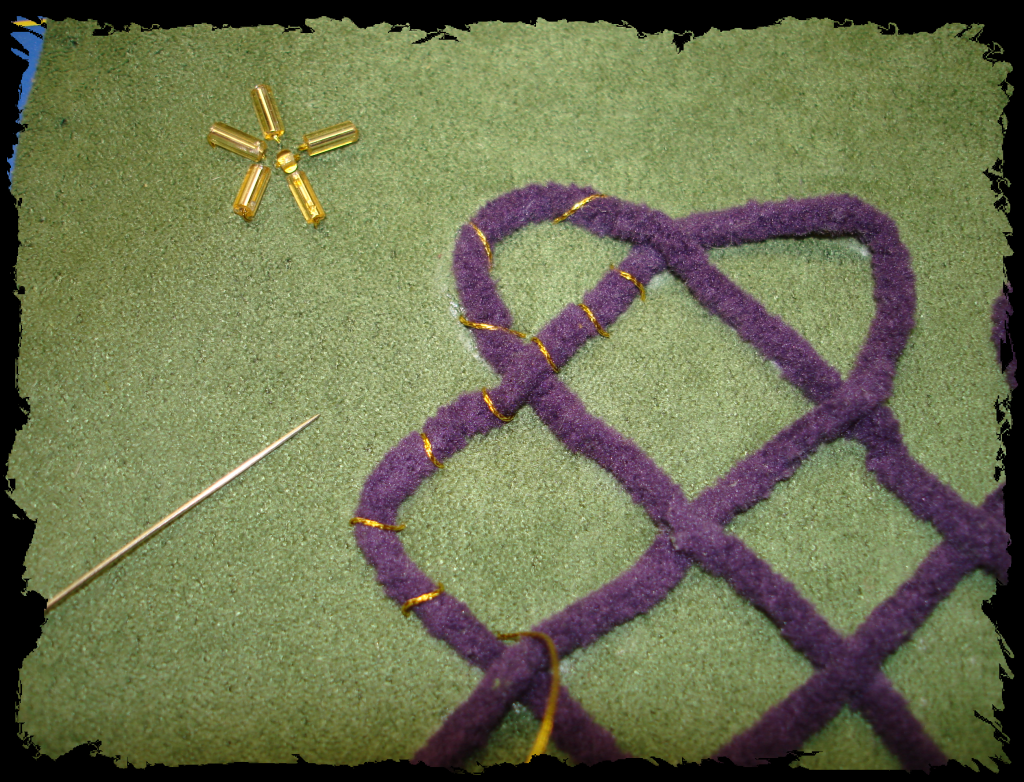
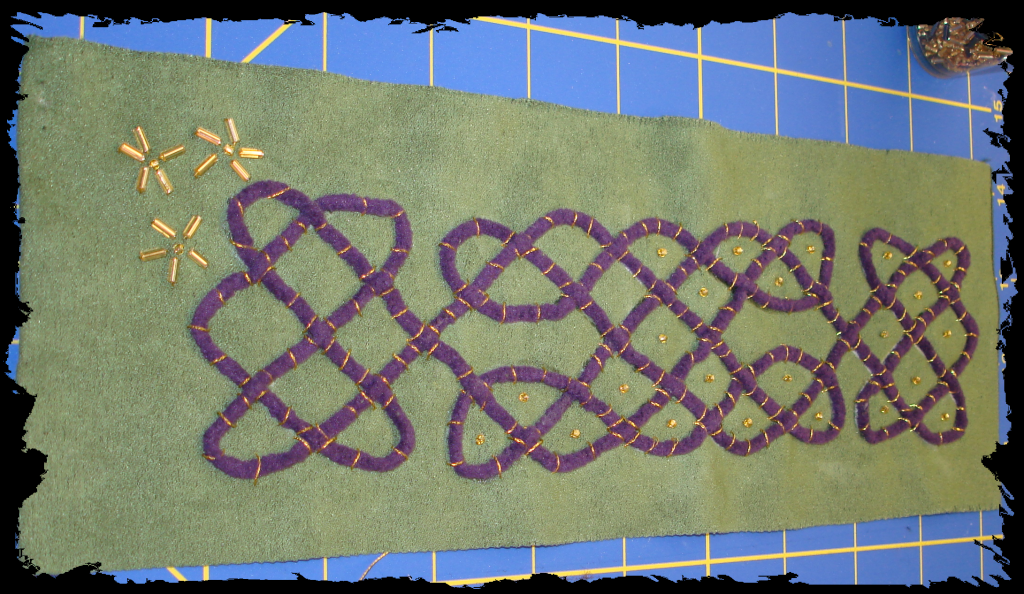
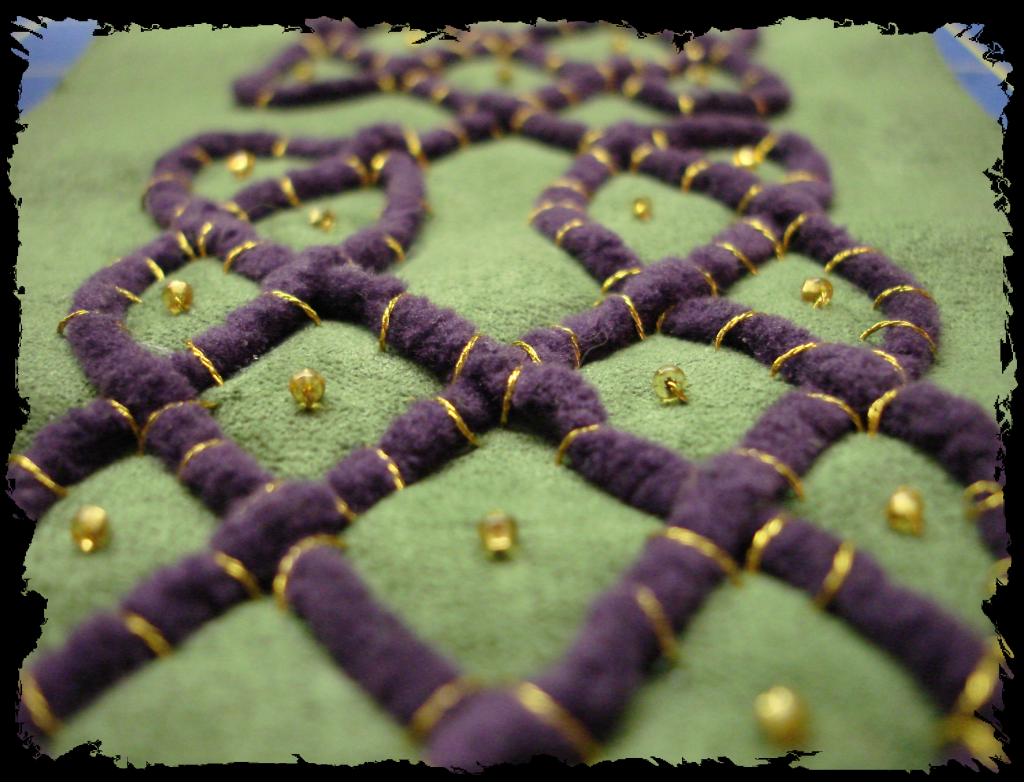
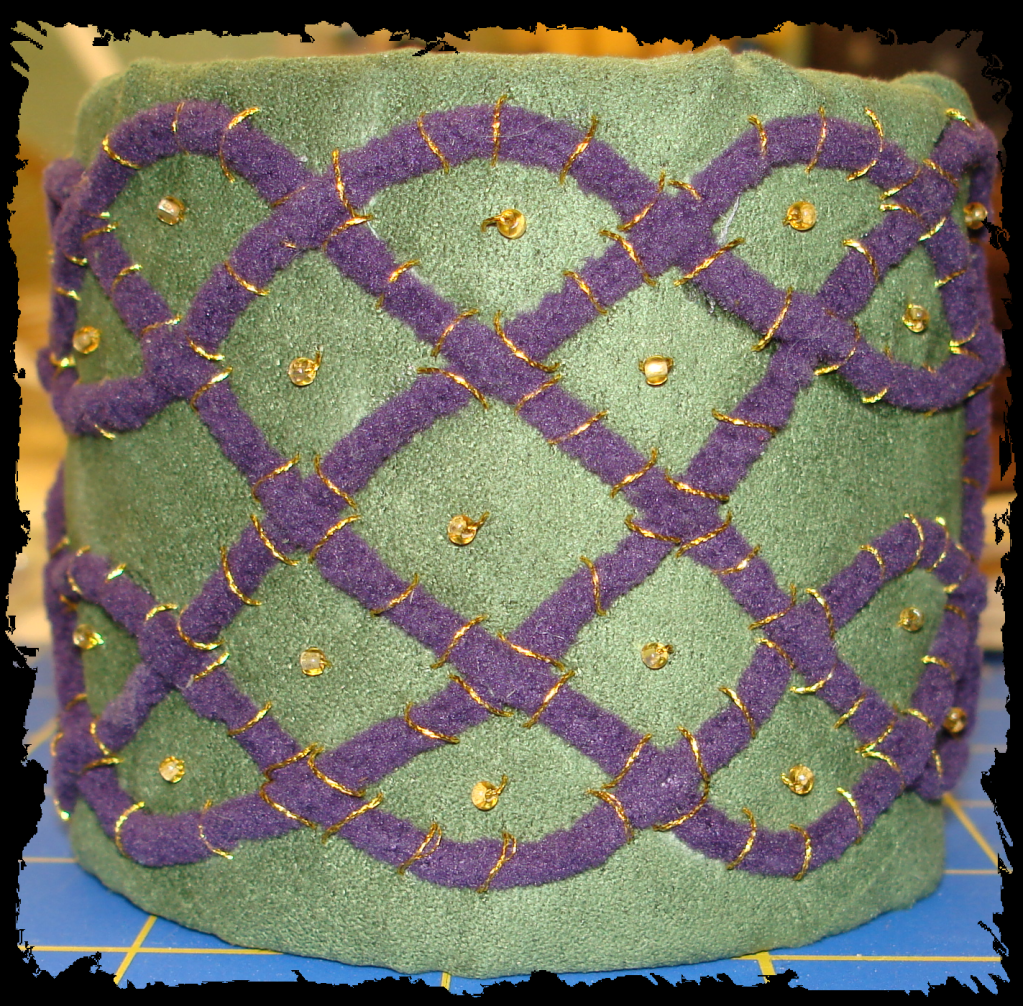
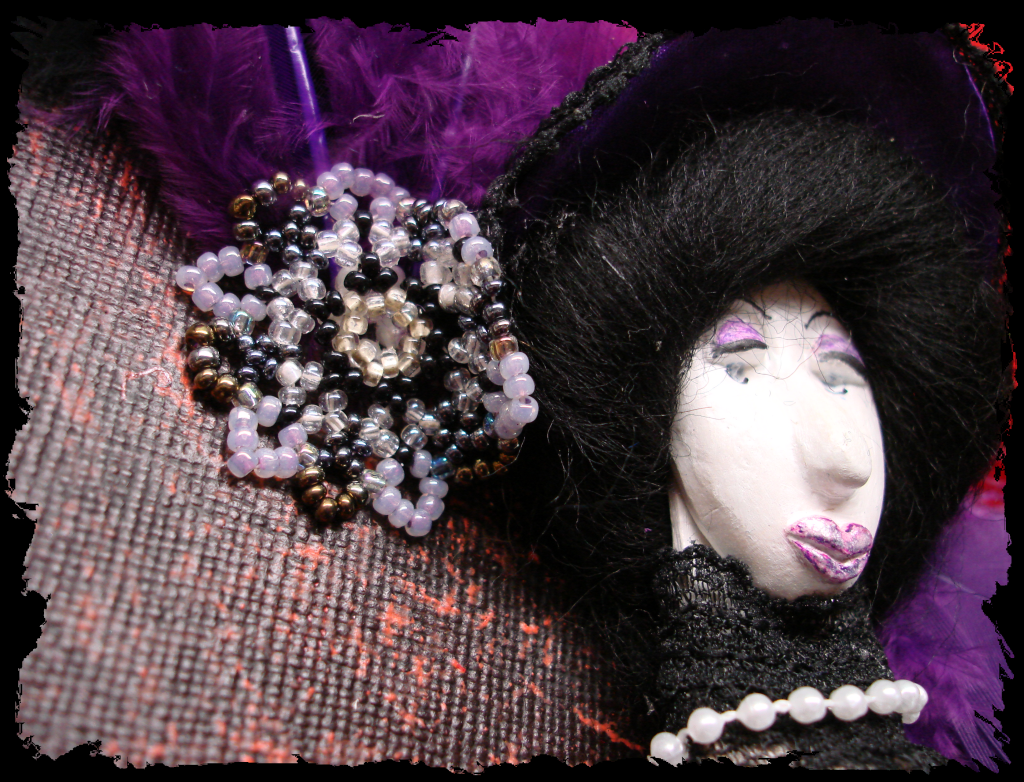
And now for my absolute favorite part, the embellishment! I have quite a few little sample bead scraps that I practice new stitches with and this one worked so well with the colors of her dress I had to find a way to use it.


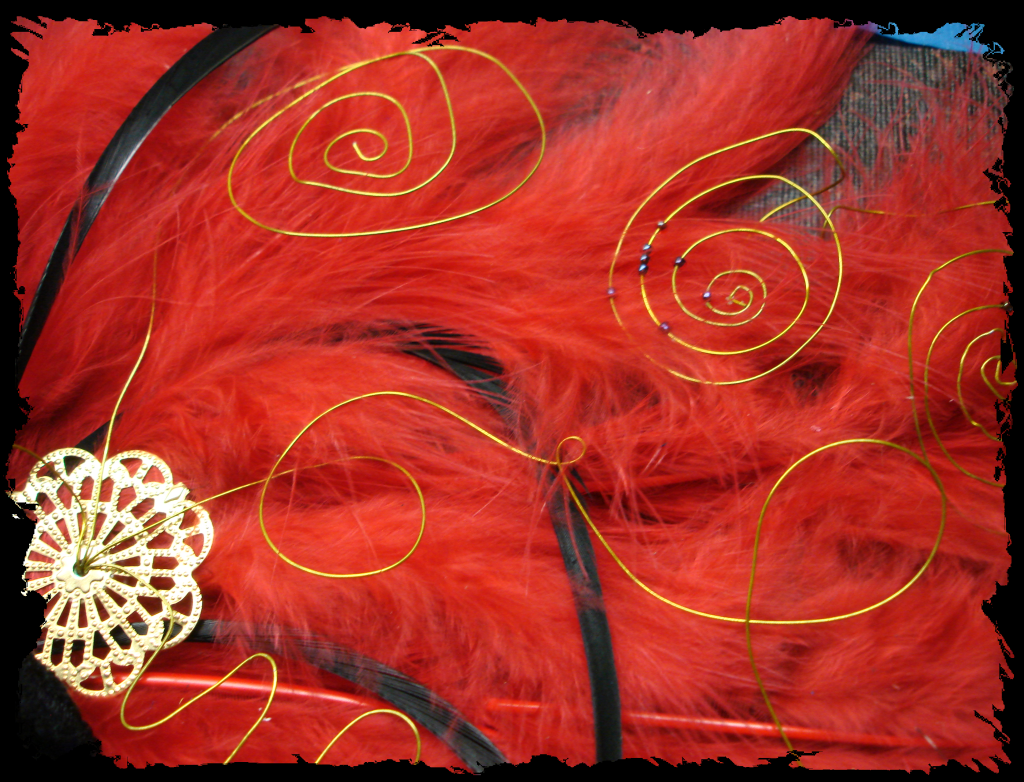
This is a close up of her embellished hat. It is a lot of feathers, an old jewelry finding, some beads and craft wire.