Showing posts with label painting. Show all posts

Friday, April 20, 2012

The Raven

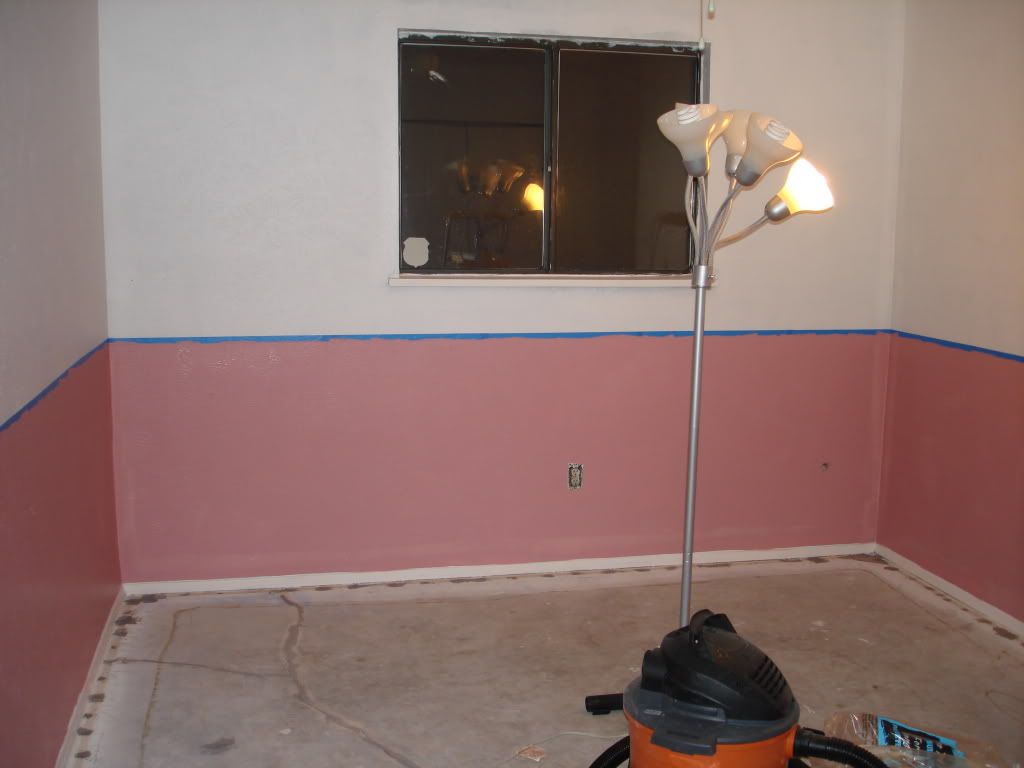
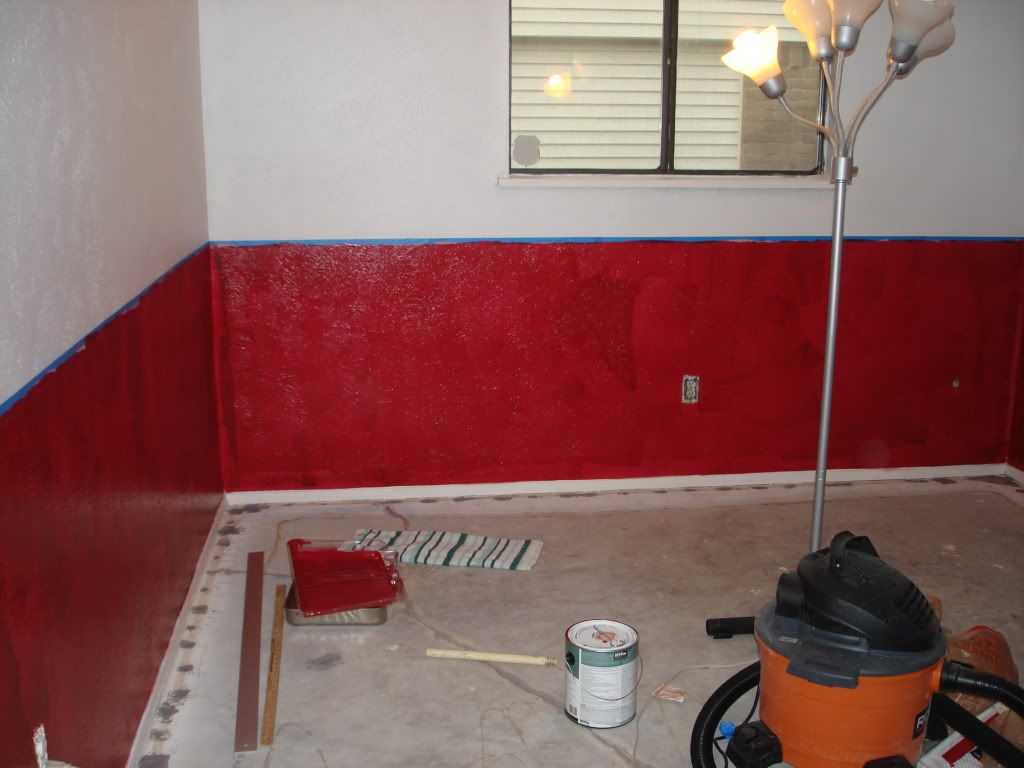
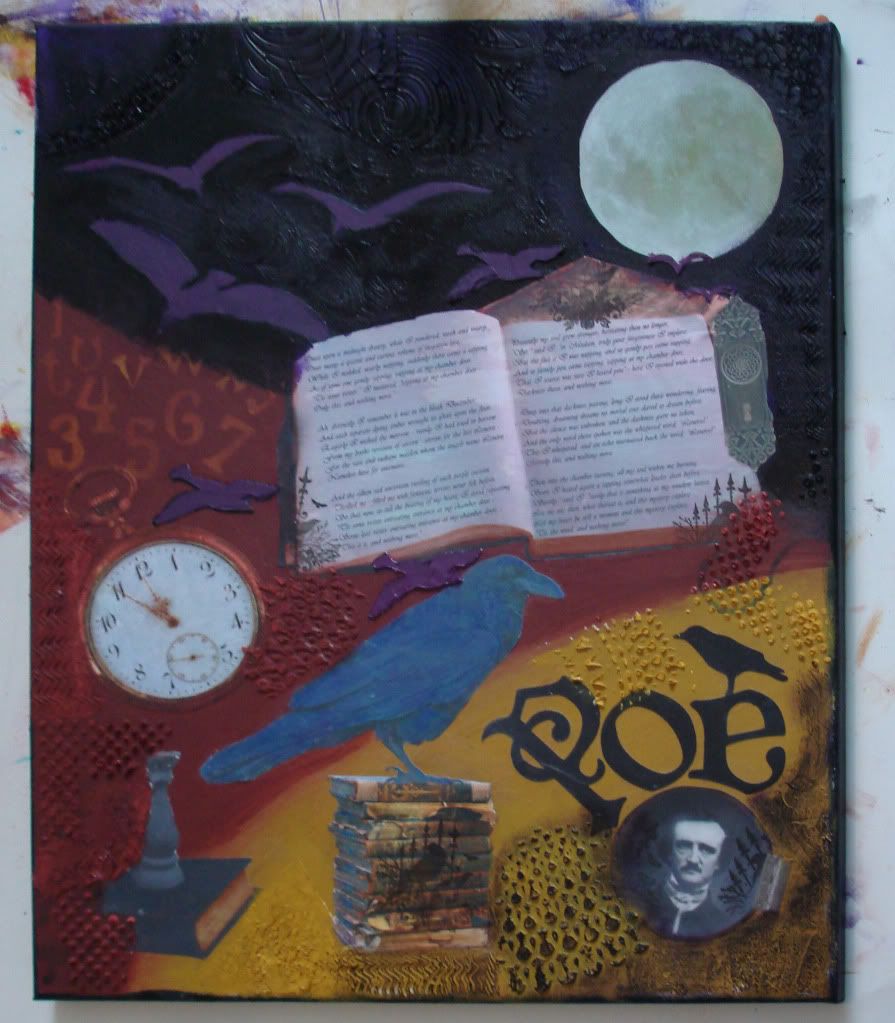
I started out by painting a background on a 16x20 canvas. The top part is a deep purple, almost black.

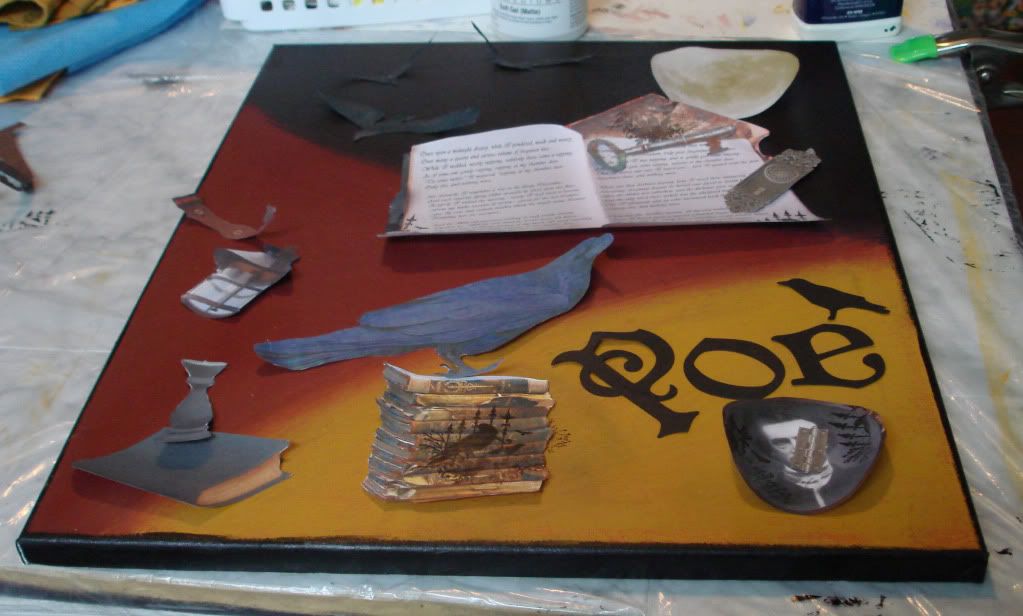
I collected images that I wanted to use and did a little embellishing to them with markers and rubber stamps.

Once all the images were glued down I did some more painting and stenciling.

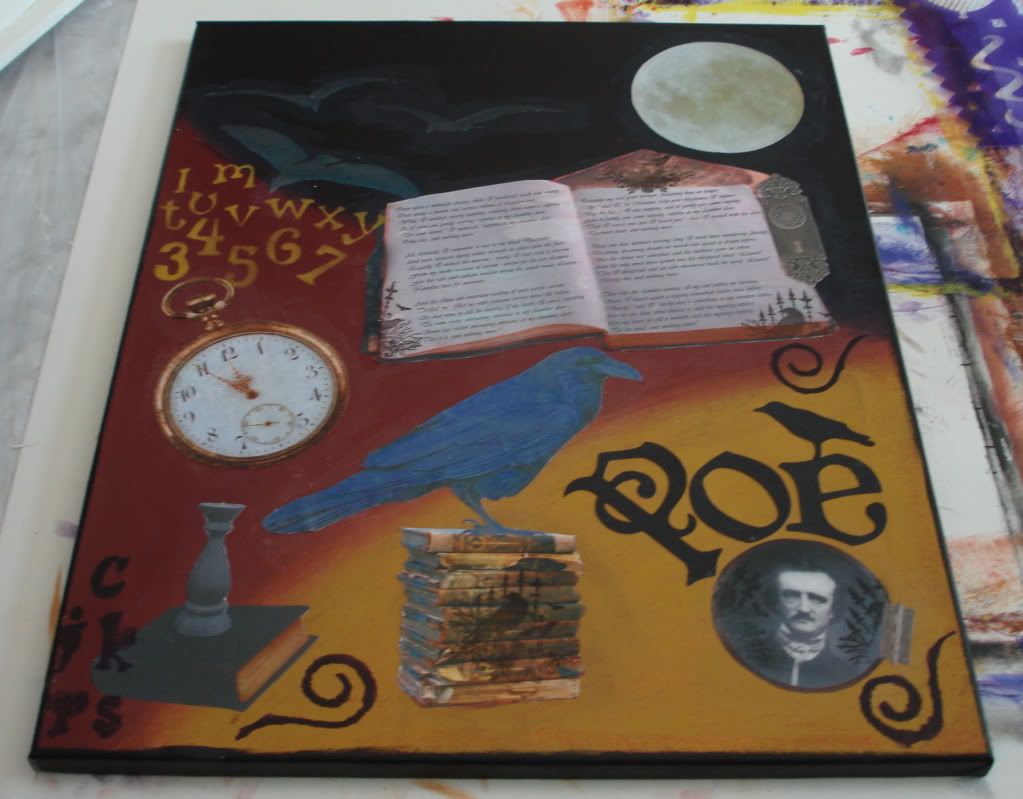
I use a thin layer of modeling paste where ever I want some texture.

Once the modeling paste is dry I paint over it and blend it in to the background. I add metallic paints and glazes for the final steps.

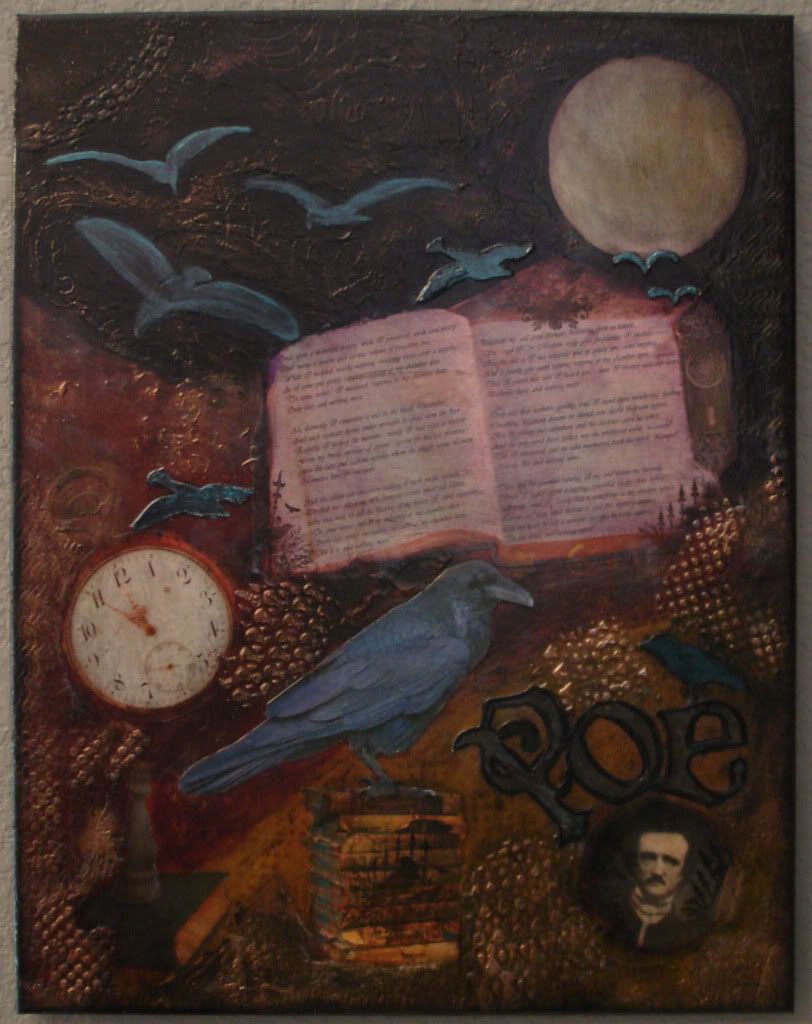
I enhance what I like and cover what I don't until I am happy with the end result.


Tuesday, August 3, 2010

Renovation Progress III

It took 4 coats of paint over the tinted primer to get the red even but it was definetly worth it! It looks great and I am finally able to move on to the next stage.

This is the trim I picked out to go on the wall between the two paint colors.

This is the trim on the wall once I got it primed and painted!

We had to get my mom to help us haul the MDF home because it wouldn't fit in either of our vehicles. We did manage to get the 2x4's in my Jeep but I had to sit on the floor in the back on the way home.

 We set up all the power tools and got to work measuring and cutting the wood for all the tables.

This is the island work counter. It is standing height, built so that 4 small bookcases fit underneath. The top is going to be a 4' x 5.5' piece of MDF covered in vinyl floor tiles.

Wednesday, July 21, 2010

Renovation Progress II

I primed the whole room and then decided to go over the top half with a second coat since I would be painting that part white.

We used a chalk line to get a nice straight level line on the walls. I had never used one before but it was very easy!

After covering the chalk line with painters tape I got the tinted primer on the bottom part of the wall.

I had read that getting a good even coat with red paint was not easy but I had no idea what I was in for! The first coat ended up looking like a kid just threw paint everywhere! You can see every brush stroke and every place I set the roller on the wall.

The second coat got a little better but now the corners and baseboards are a lot lighter than the rest of the walls (which are also still blotchy). After applying the third coat I have hope that eventually it will work out, even if it means I have to go buy some more paint!