Showing posts with label miniatures. Show all posts

Friday, November 13, 2009

Graveyard - MMC Part 9

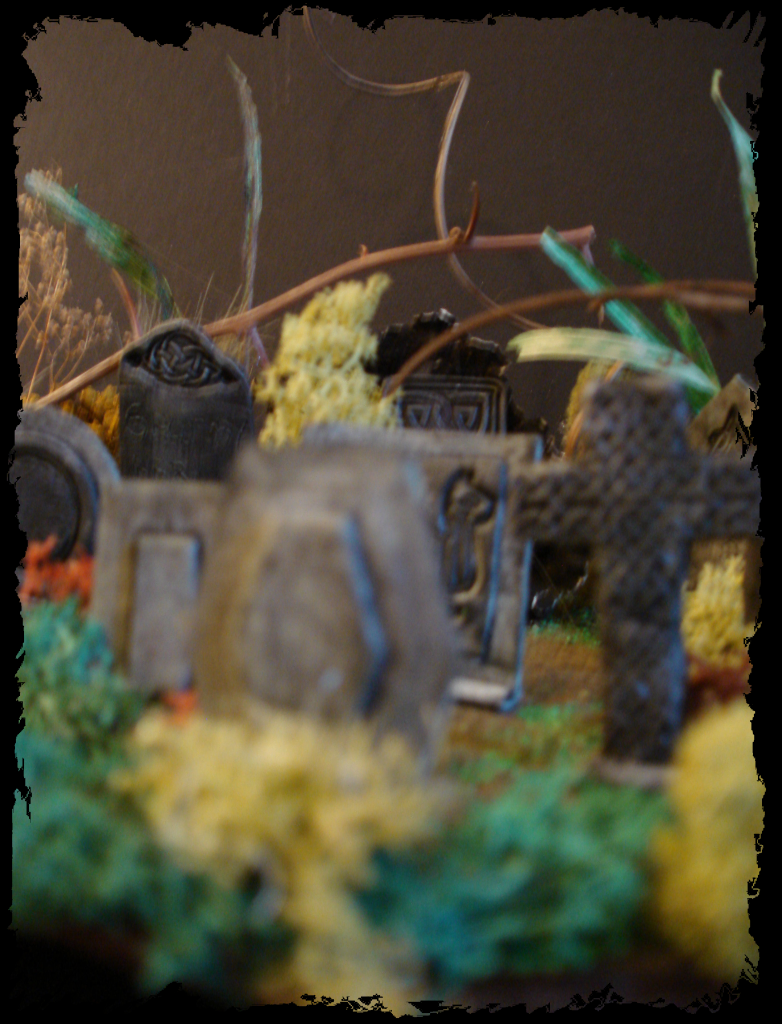
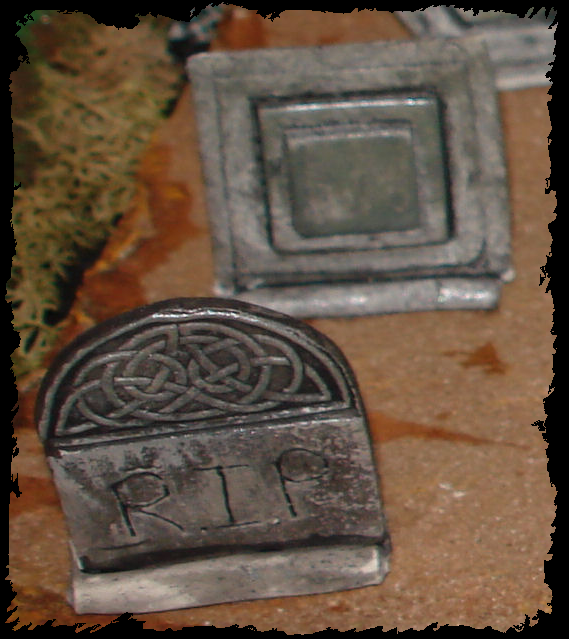
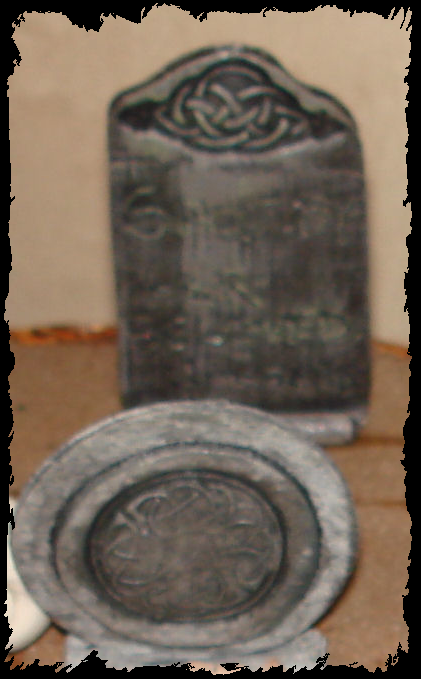
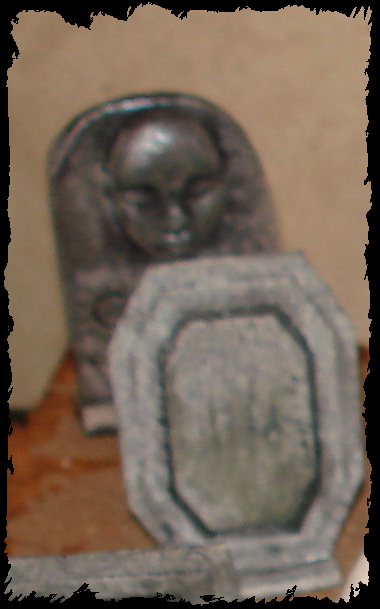
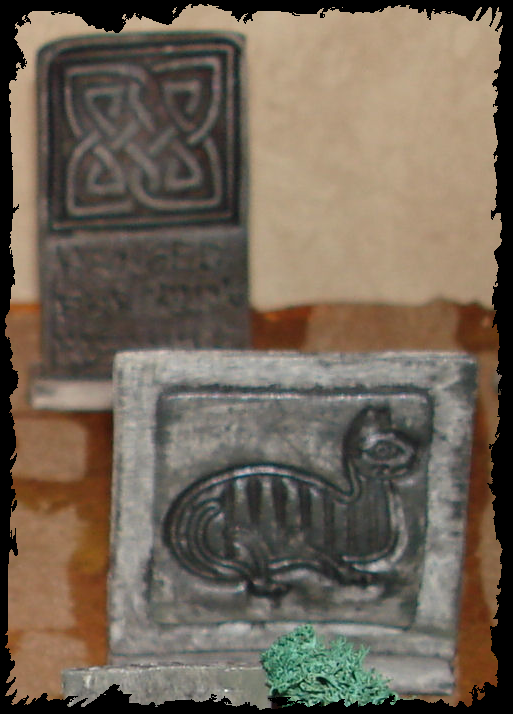
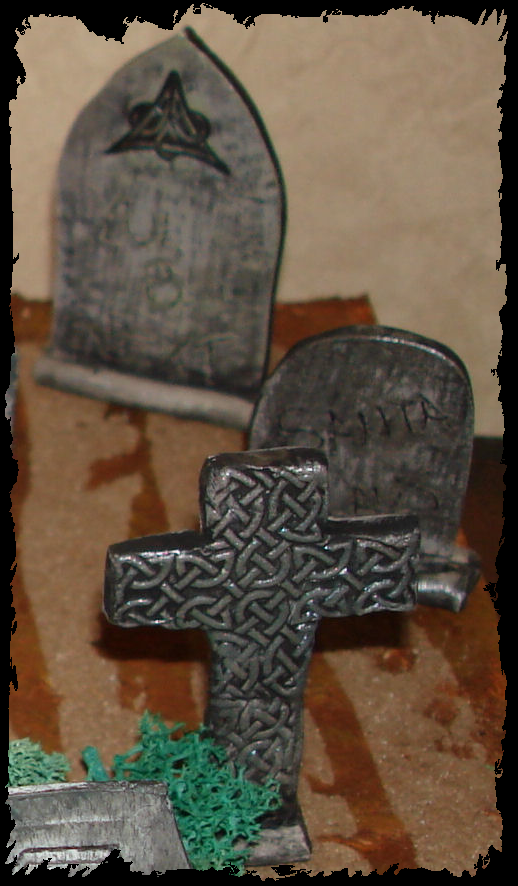
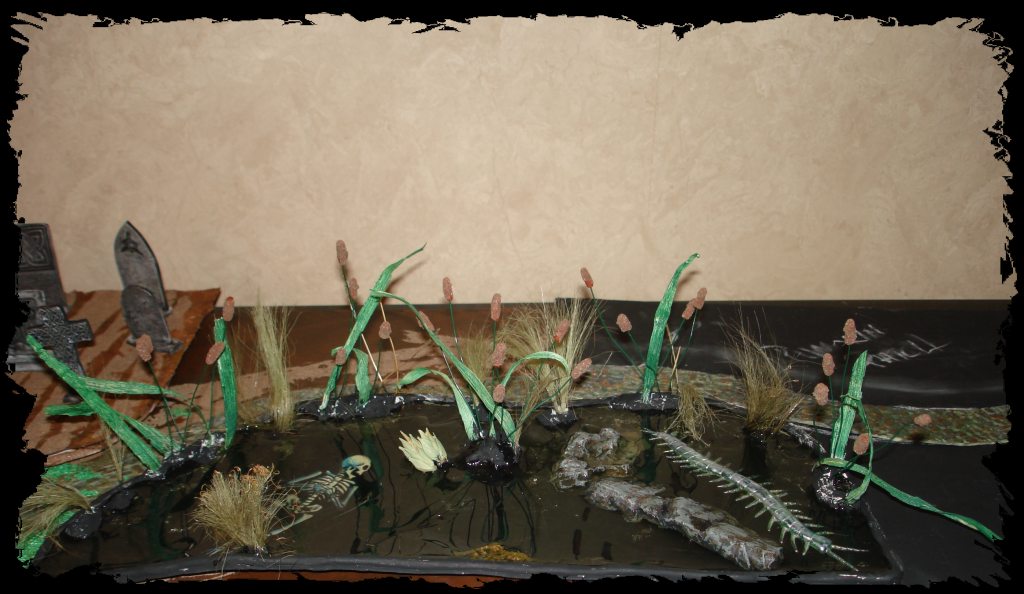
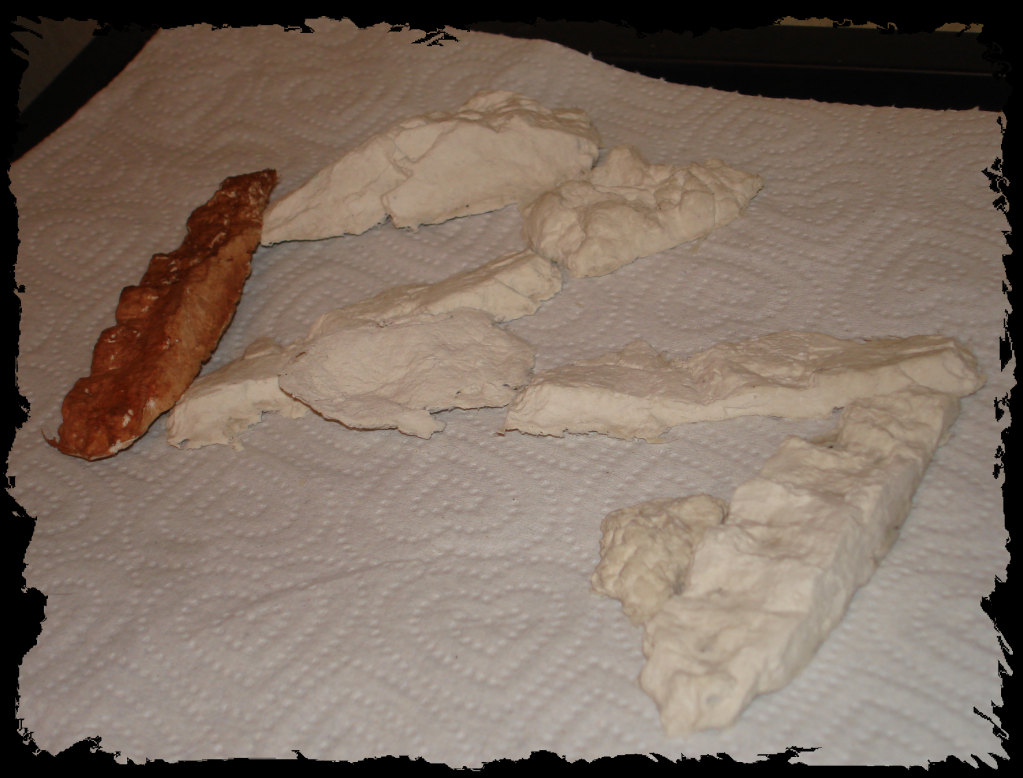
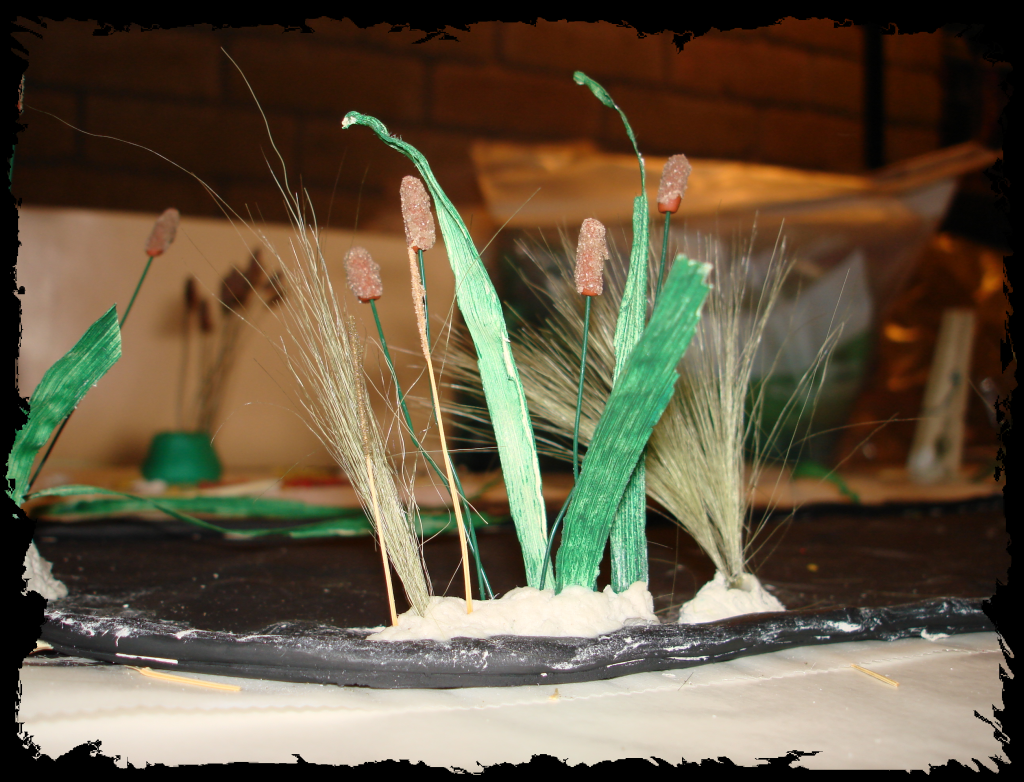
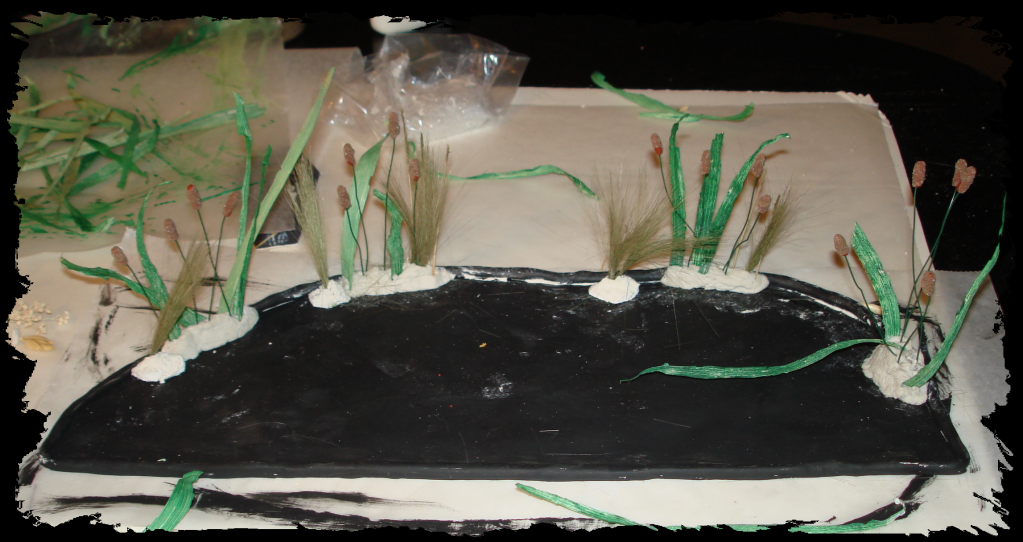
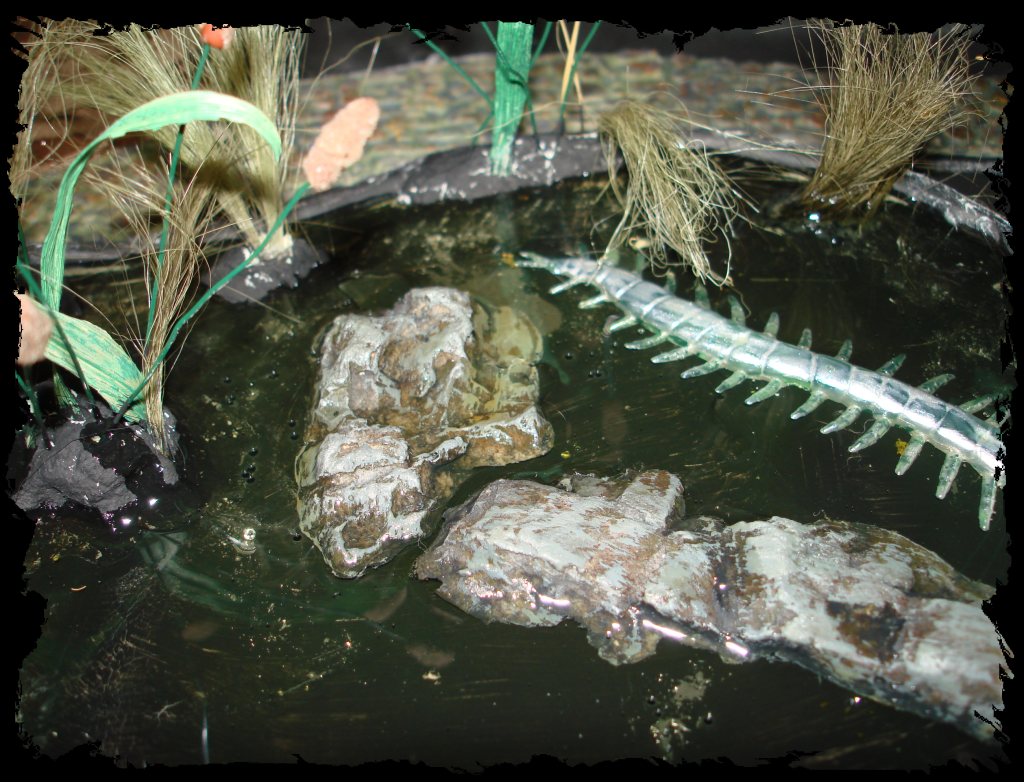
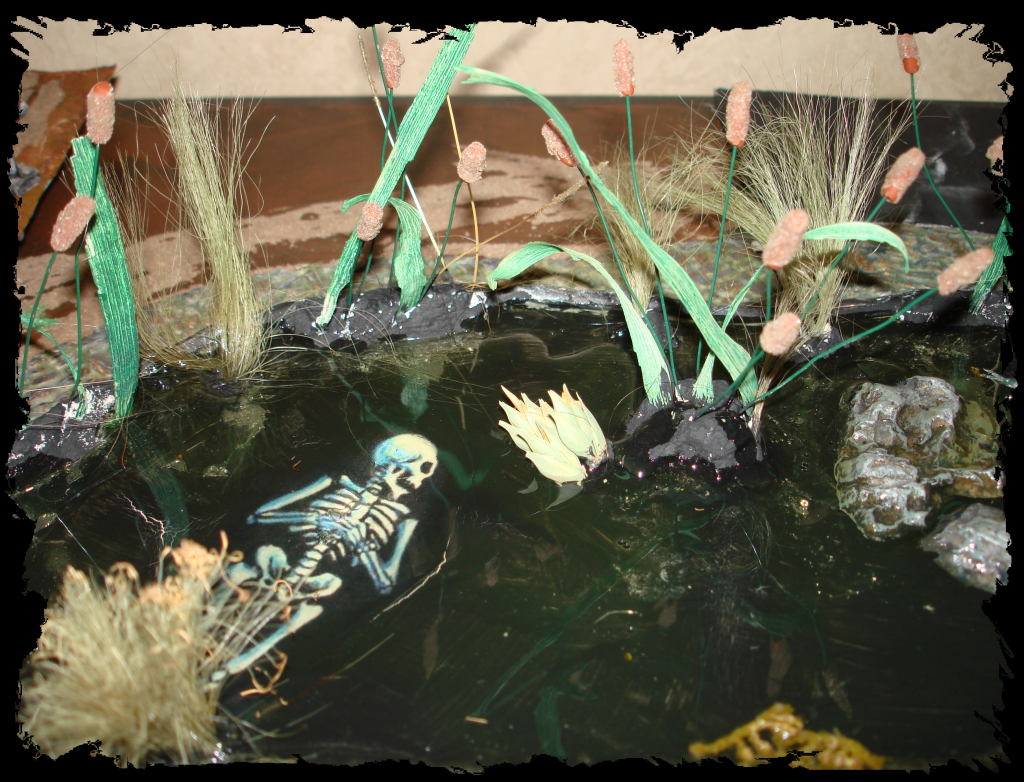
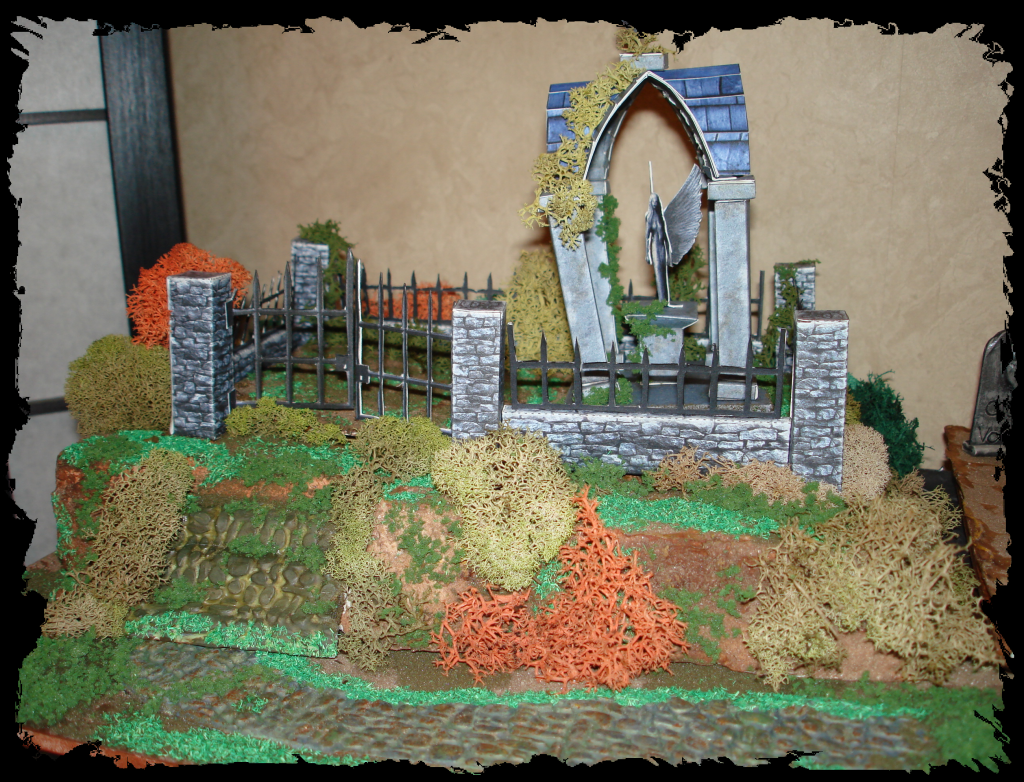
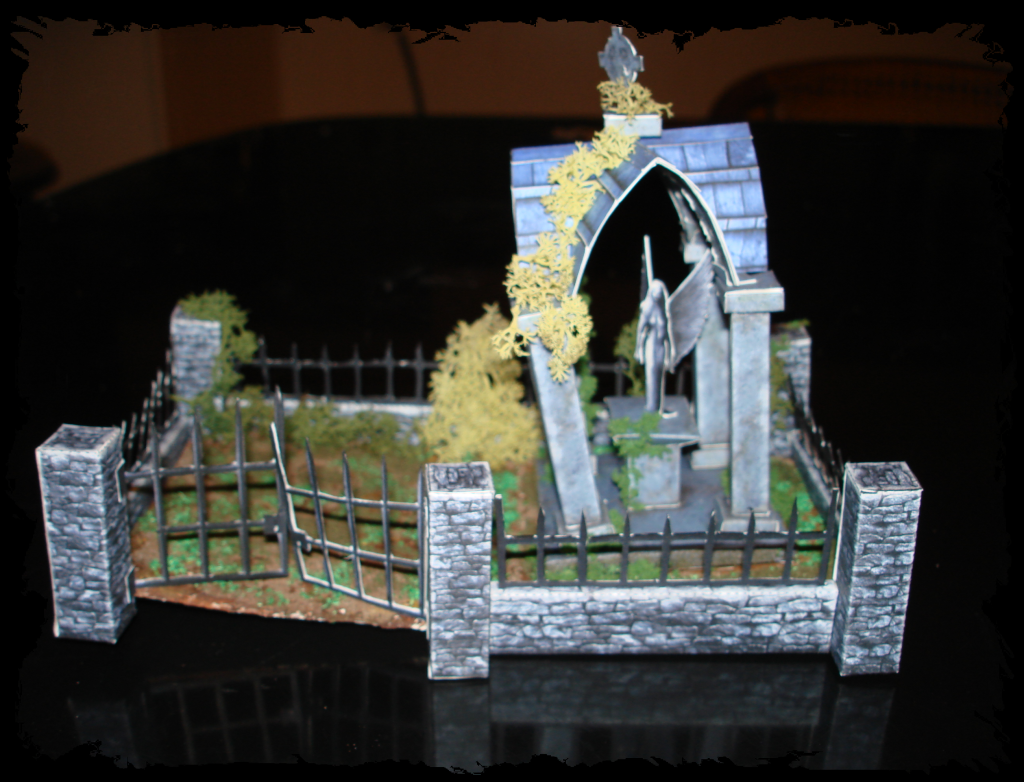
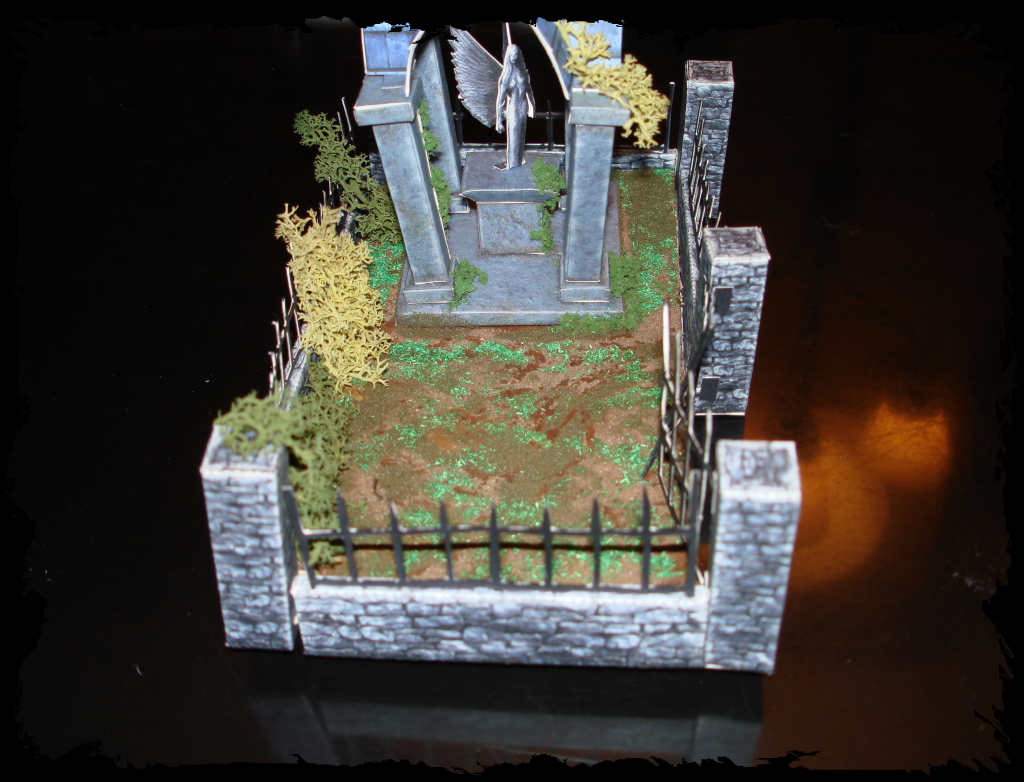
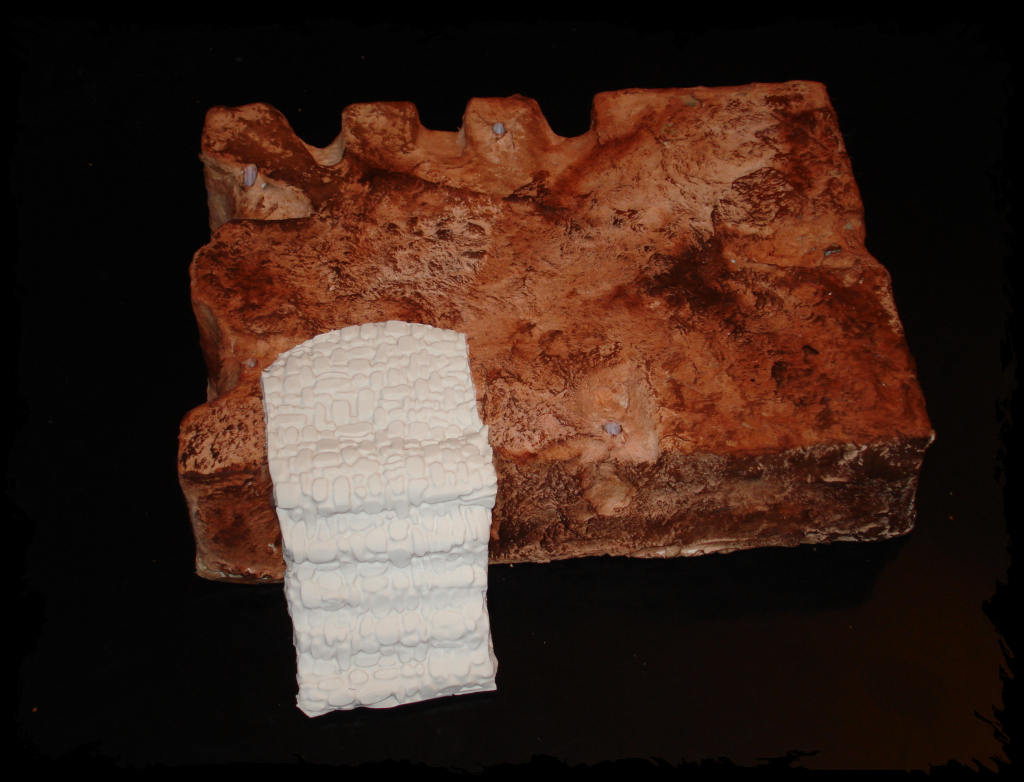
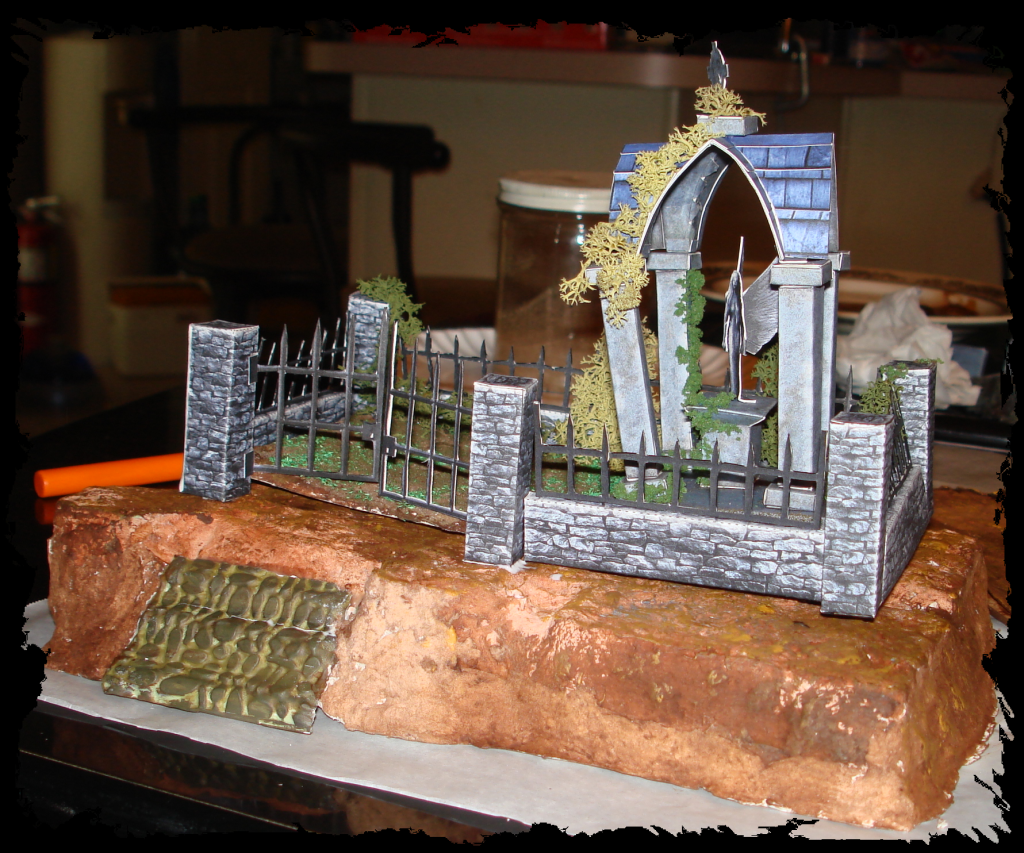
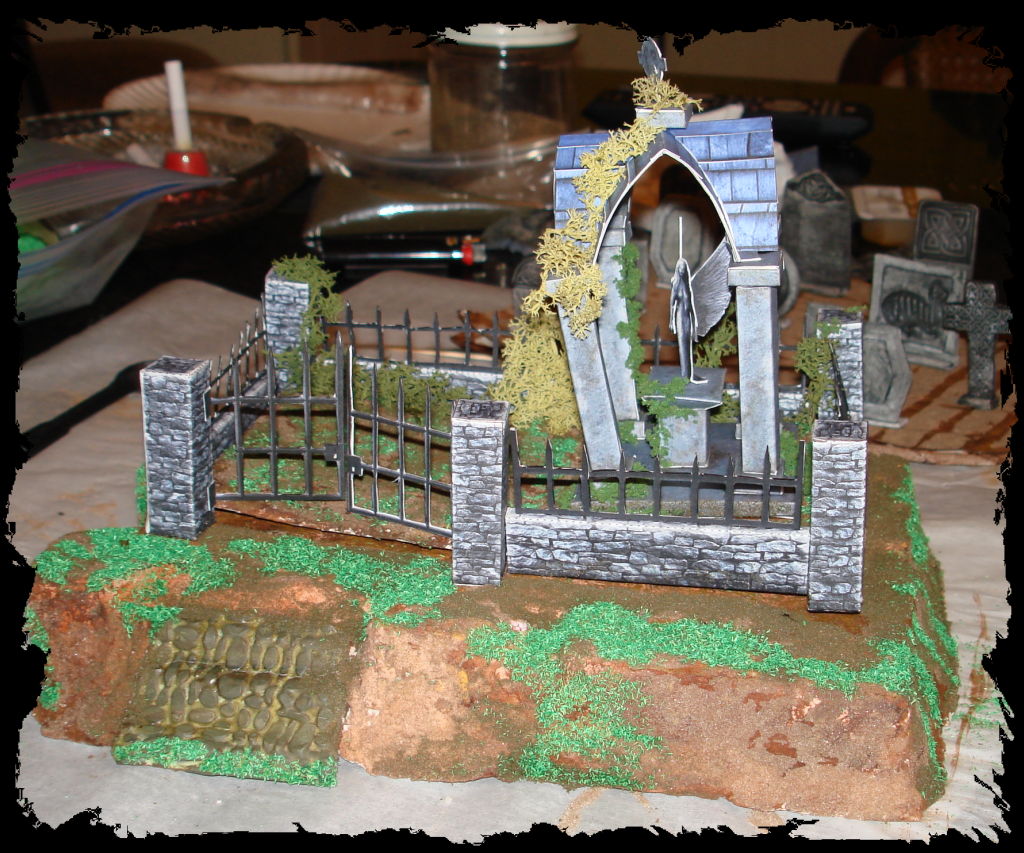
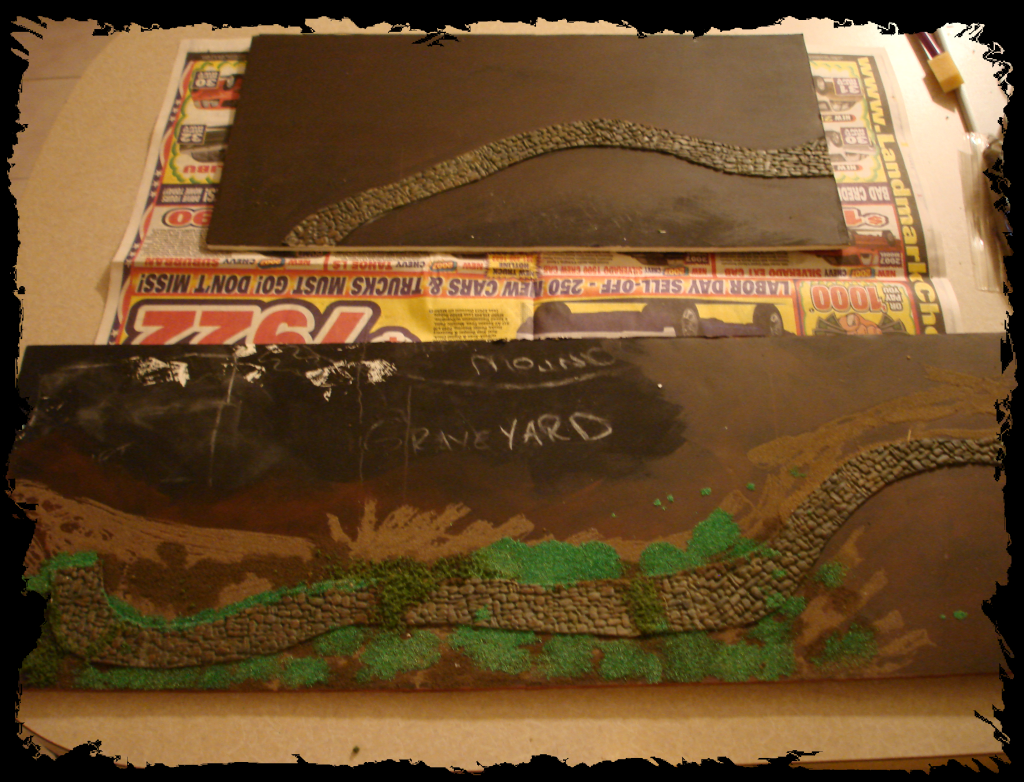
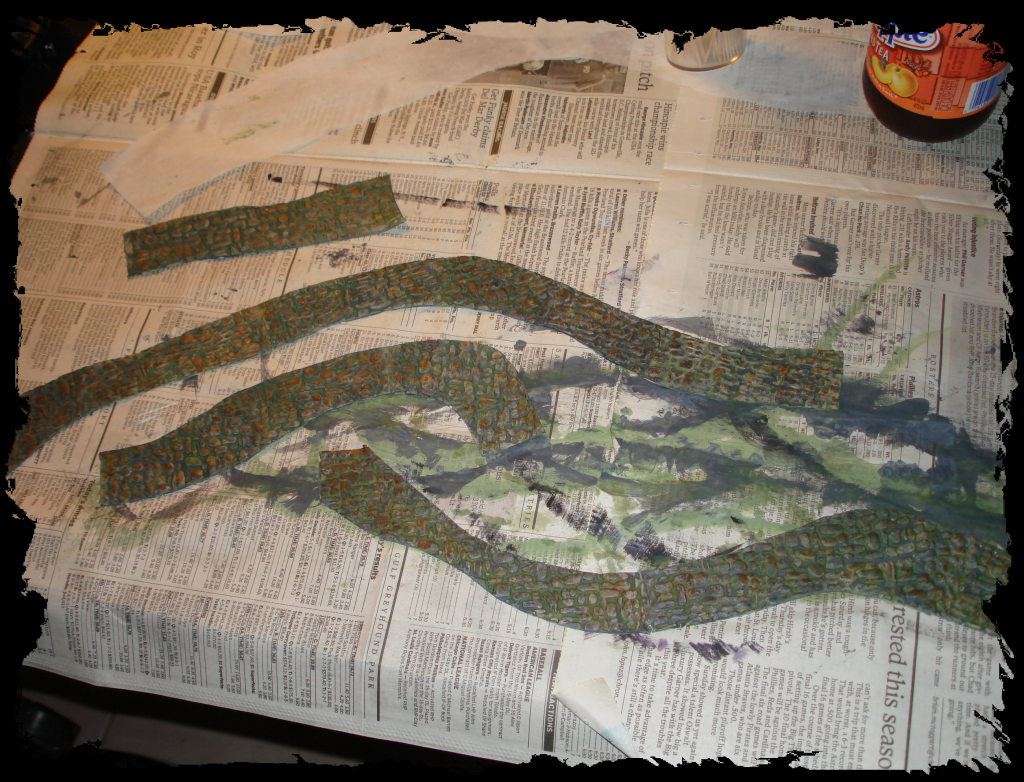
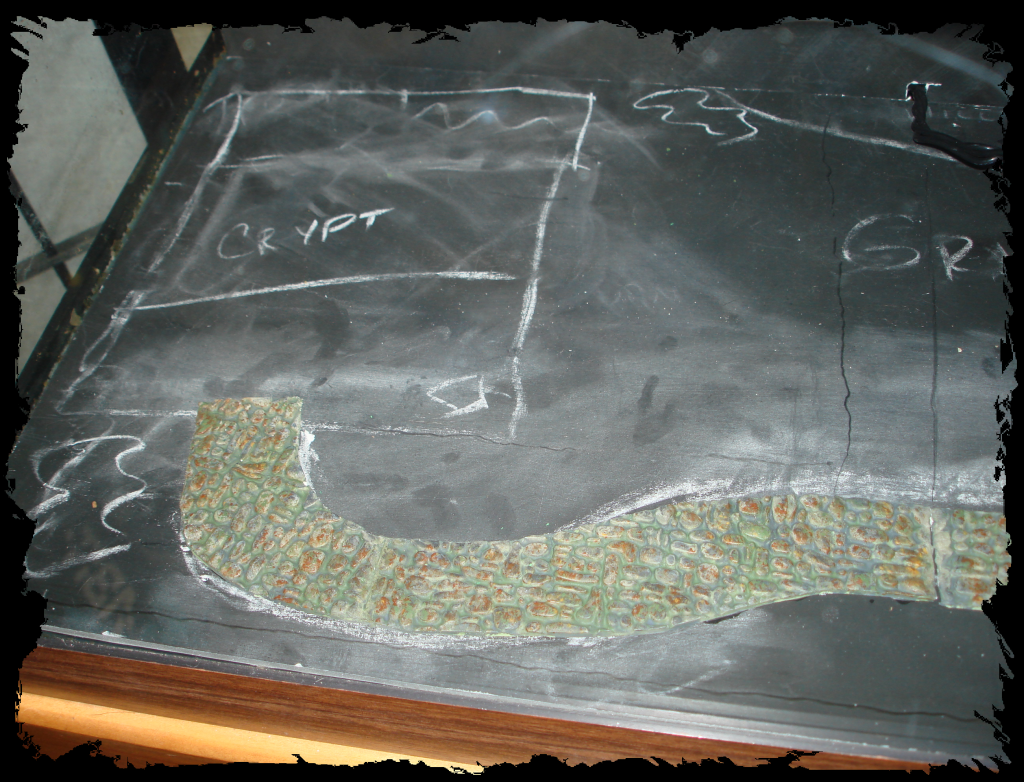
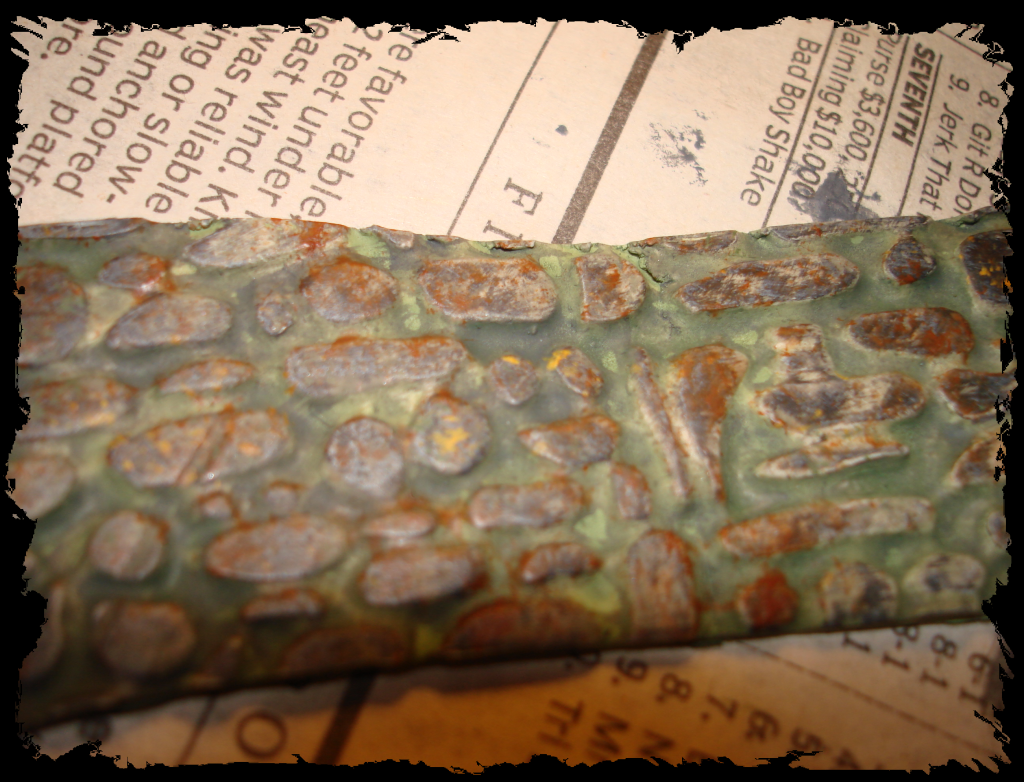
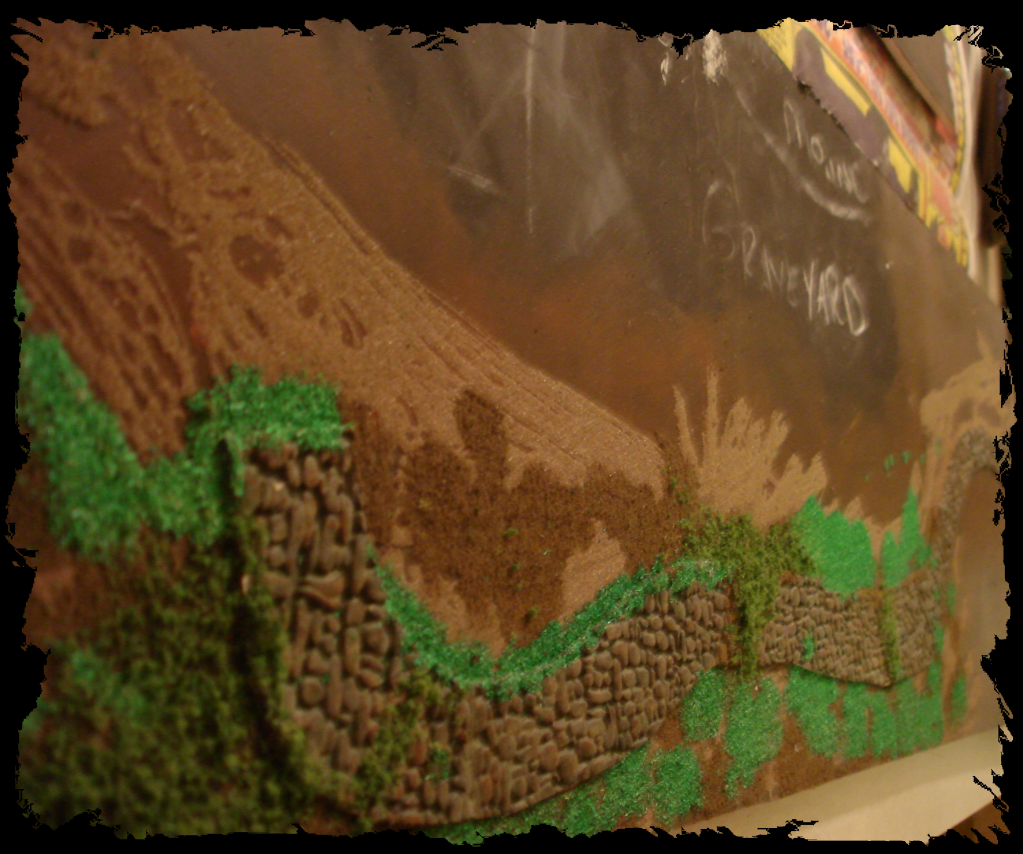
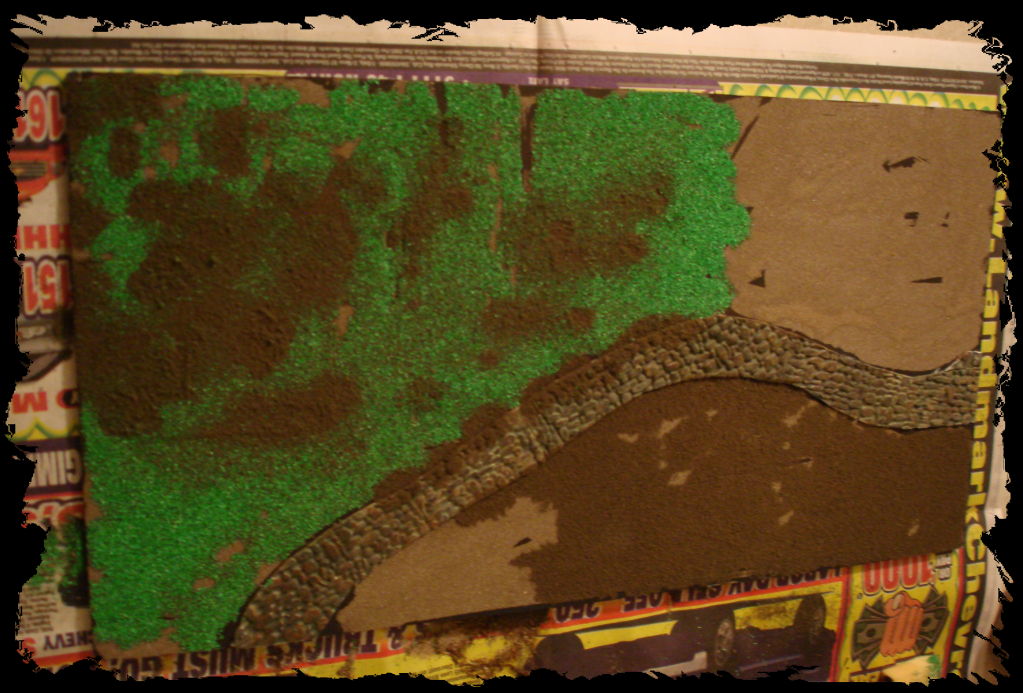
I had so much fun making the graveyard. I used a foam core base and built it up with paper mache. The tombstones are made from polymer clay and then I landscaped the whole thing.

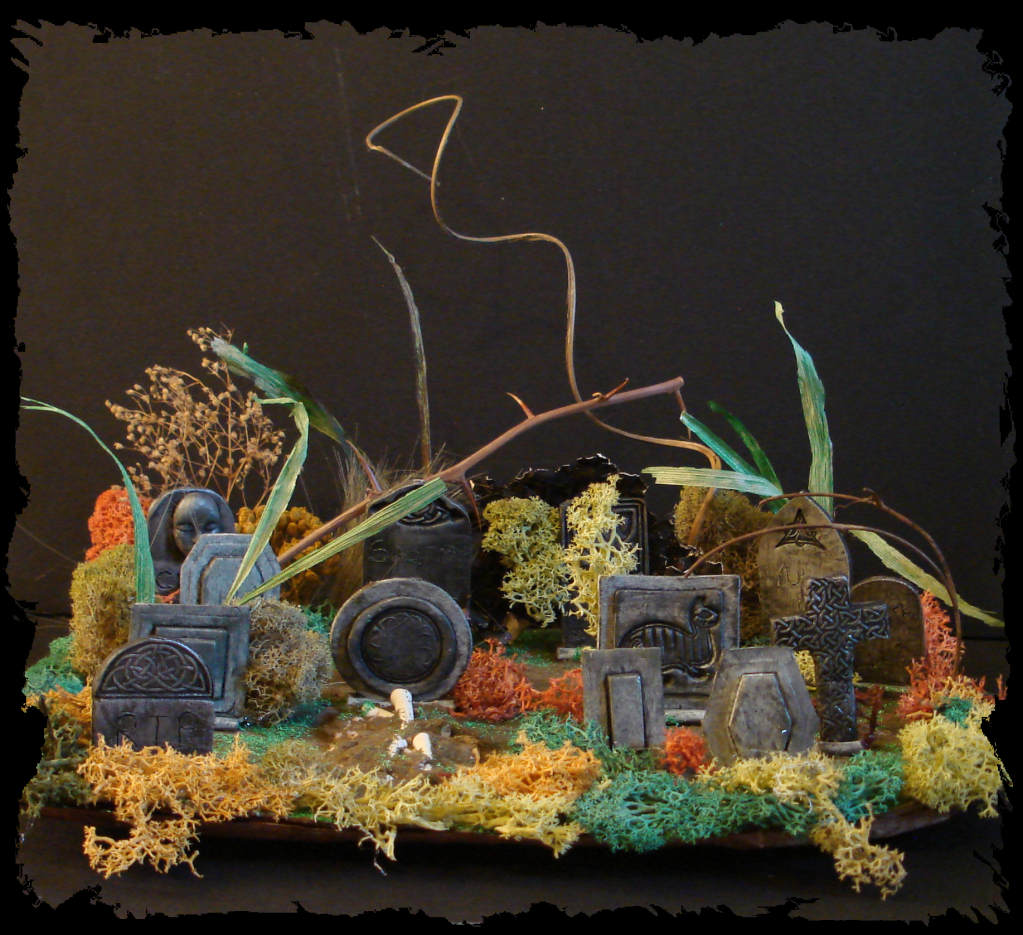
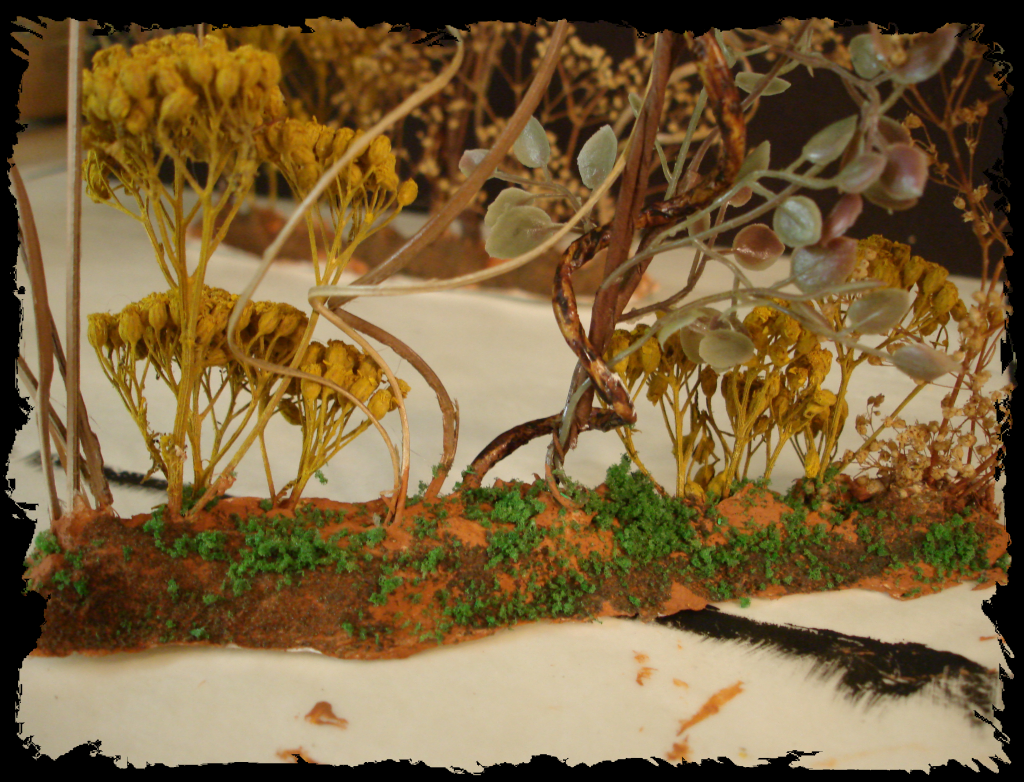
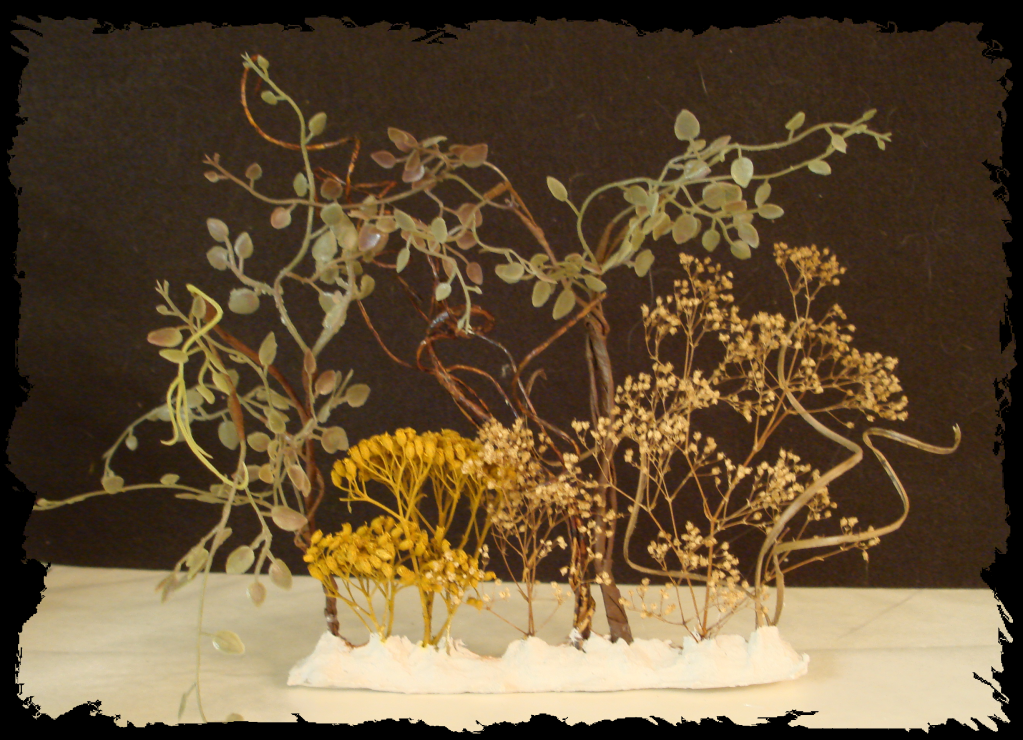
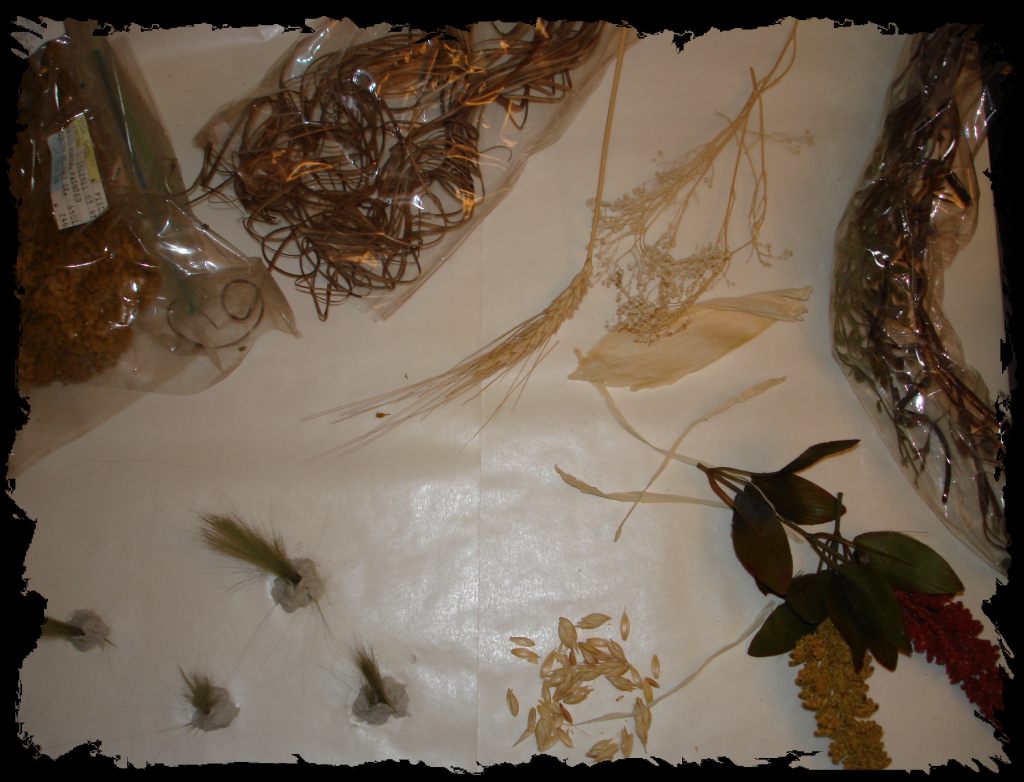
I cut some of my Bouganvilla branches to get those fabulous thorns.

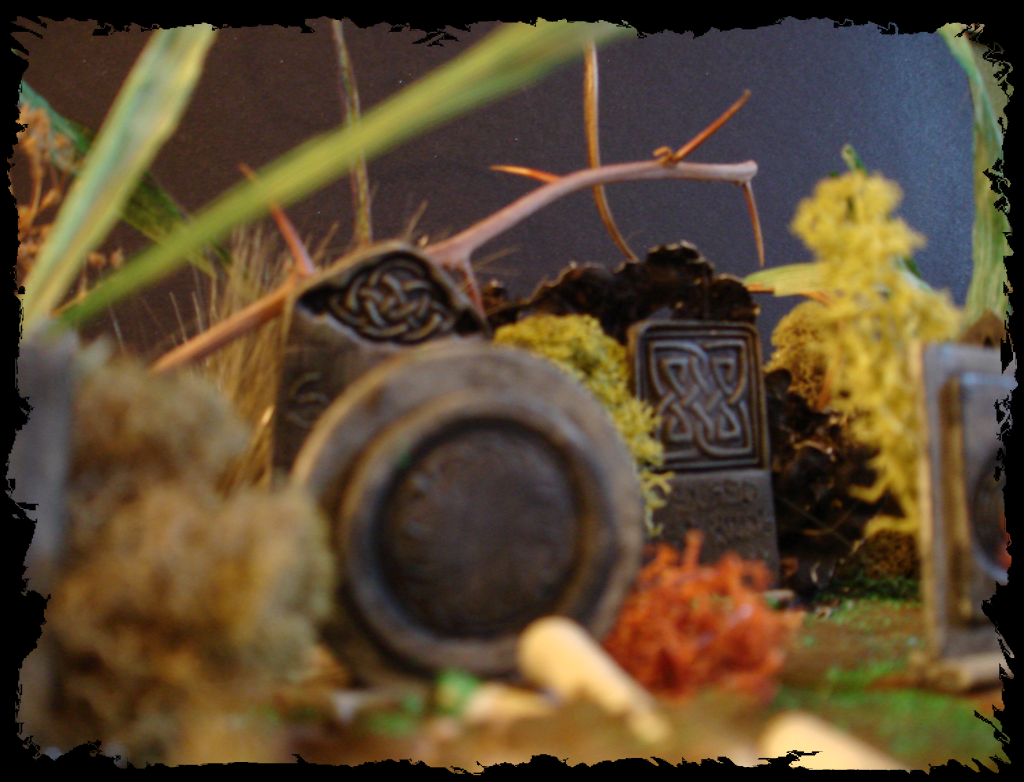
I spent a lot of time trying to get some good tombstones. I used my celtic knot rubber stamps on some of them, layered beveled jewelry molds for others and a few of them I just hand carved funny names.


Saturday, July 25, 2009

Witchy Woman of the Woods- MMC Part 8


 I have never made a doll from scratch before so this is another element I left to my mom. She whipped this one out in no time and I think she is appropriately creepy looking!


 Every woman needs a little bling, even an old hag like her!


 I adore the frayed and tattered look of her dress.


 She even has a little beaded veil over her long gray hair.


Thursday, June 4, 2009

Scary Tree - MMC Part 7


I want several trees in my miniature scene but I wanted one really especially scary tree. I had visions of the mean tree from the Wizard of Oz that threw his apples at Dorothy. My mom took that idea and ran with it. In one afternoon she made this tree and his brother, the happy tree, for her fairy garden.


She used a wire mesh armature, covered it in clay and started sculpting. Once she had it looking amazingly like bark, she painted it many many times to pick up all the details.


I had also mentioned that I wanted to be able to light it from the inside so she left a hole in back for that purpose!


After attempting to make a few trees of my own (pictures coming soon) I am SO glad she took this one on herself!

Friday, April 3, 2009

Demons - MMC Part 6

So, speaking of monsters (from the last post) here are a few creepy dudes that mom made for my aquarium scene.


Monday, March 23, 2009

Foliage - MMC Part 5


Now that I have some of the biggest features completed (the path, crypt and swamp) I need to start working on foliage for the background. I collected all the dried floral arrangements again and got to it. I cut 3 thin strips of foam core and hot glued the foliage to them. Once they were full enough I covered the foam core with paper mache to give them a natural looking ground texture and to make them more stable.


 When the paper mache was dry I painted them and started layering on the landscape material.


 A little dirt and grass for the finishing touches and I really like the way they look!

Thursday, March 19, 2009

The Swamp - MMC Part 4


So the next phase in my little (HA!) project is a swamp. There is nothing creepier than a stagnant body of water with who knows what rotting and decaying just under the surface!


First, I had to make a bunch of stuff to fill the swamp. The rocks I made from paper mache and painted them with acrylics until they looked natural. Swamp grass and some water plants were mostly from old dried floral arrangements, mounted in more paper mache.


 And what is a marsh without cattails? I used brown clay to make the tops and stuck them onto green craft wire stems. Once the clay was cured I rolled the tops in glue and dipped them in sand. I painted some dried corn husk green and used that as the leaves.


 Once I had all the flora made I started assembling the actual swamp. I made a tissue paper template of the area it had to fit in and rolled out more clay for the base and sides. Once I had it all done I started filling it up.


 I found some more printable goodies online and this skeleton was perfect for the swamp!


Around Halloween I found a package of little rubber bugs and knew I could use the centipede in here. Once I had all these things glued down in place I started on the water. I did a lot of brainstorming on how to get realistic water and after some trial and error I decided to buy model railroad E-Z Water pellets. They were so much fun to work with! The instructions suggested melting them in a pot on the stove and pouring it, which really didn't work out that well, so I used my heat gun to melt them instead. That gave me much better control over where it went and not as many bubbles as pouring created.


Sunday, March 15, 2009

The Crypt - MMC Part 3


I should have taken more pictures at the beginning on this particular part of the project, but I didn't. I found a few websites that have free paper projects and this crypt was at Odissey Paper Models. It was easy and fun and it really turned out great! I changed it up a little and only used bits and pieces to achieve the look I wanted.


I attached the crypt and fence to a piece of foam core and landscaped around it. When that was all finished I realized it was too low and I went off in search of something to recycle that would give it some height.


I think this piece of cardboard was from my cellphone.


I used paper mache to give it some texture and added the stairs which I made from clay the same as the pathway. Of course then it was too tall and I had to cut the bottom off but eventually I got it just how I wanted it.


I attached the crypt onto the base and started with more landscaping. The more layers I do the better it looks so I try to do as many as possible!


Wednesday, March 11, 2009

The Pathway - MMC Part 2


Once I got everything sketched out in chalk I started on the pathway. I wanted it to twist and wind through the whole scene.


First I made tissue paper templates of the shape of the path I had drawn. I rolled out sheets of clay, applied a stone texture to it and then cut it along the template.


Once it was cured I started on the paint. After many many layers of a lot of different colors I ended up with a pretty realistic look.


Once all the paint dried I went ahead and glued the pathway right onto the foam core. Although a lot of what I put in here will be removeable, the pathway won't be. Everything else will grow up around it and I don't want it shifting or moving at all.


Close up of the finished pathway.


Sand and miniature landscaping grass fill in all the cracks around the path to make it look like it's been there a long time.


Tuesday, March 10, 2009

What's in a name? - MMC Part 1

My lastest project inspired me to start a blog as a way to document my progress. Of course a lot of other things will end up on here because I am usually working on several things at once.
After years of working at tropical fish stores I have accumulated quite a collection of aquariums. The largest one is a 75 gallon and it has fish in it at the moment but all the rest of them are stored in my garage and I really wanted to come up with an idea to use some of them. I decided to do a miniature scene in an aquarium that measures 48" x 18" x 18".


My Morbid Curiosities

I cut pieces of foam core to fit inside the aquarium and painted everything in shades of black. I punched holes in the background and pushed a string of christmas lights through them to look like stars. A sickly green full moon finished it off.


On the bottom I used chalk to sketch out a general idea of where I wanted things to be and got to work.