Wednesday, January 6, 2010

Getting Organized - Ribbon!


I was so inspired by seeing all my beads organized that I decided to move on to another one of my supplies that has outgrown every storage solution I've had for it. I have ribbon on big spools, on little spools and on no spools at all. I have wide trim, thin trim and tasseled trim. And I finally came up with something that will work for all of it! Way back in the way back, when I used to buy CD's, I bought several matching CD racks. I moved all the CD's into crates years ago once I got them all digitized and those old CD racks are my new ribbon racks. I even have two more so my ribbon collection has plenty of room to grow!


I put the pegs in the back lower than the pegs in the front so that all the shelves slope backwards and my ribbon won't roll off.
I seperated all the smaller loose pieces of ribbon by color and organized them into storage boxes.


Sunday, January 3, 2010

Getting Organized - Beads!

It's not as easy as it sounds! I am not an organized kind of person but sometimes I can certainly see the benifits in trying to be! So I decided to tackle one of my biggest headaches and work on getting my beads in order. I have thousands of beads in all shapes, sizes and colors so it was no easy task.


I started with my seed beads. I moved them all into these containers that screw together and seperated them by color. They were the most difficult to organize and once I finished with them I knew the really hard part was over. The rest of the beads got seperated by type and organized into flip top containers.


Stone chips and beads


More stone and hematite beads


Metal beads


Acrylic beads


Shell beads


Bells


Findings

After several hours I am very pleased with the results and I'm glad I did it! Now I'm actually motivated to move on to some of my other supplies and maybe eventually I'll get the whole room to the point where I'm not embarrassed to let people peek their heads in there.

Thursday, December 31, 2009

Kitty Condo


Like most people who own cats Allan and I went looking around for a scratching post and I was appalled at the high prices and shoddy construction so we decided we could do much better.


We bought some wood, carpet and sisel rope after Allan sketched up what he wanted to build.


We have some really large cats so he gave it a large base with a two story cubby hole and two more shelves above that.


We brought it inside to finish it up and we had more help than we needed. We wrapped the bottom part in carpet and then wrapped the supports in sisel rope. I cut up some old bathmats for extra padding and hung a few toys from the bottom of the shelves.
(The little one next to it is one that my mom bought for $50 and her cat wouldn't even look at it)


We spent less than $50 on supplies and this will last a lot longer than that little one!

Wednesday, December 30, 2009

Pincushion


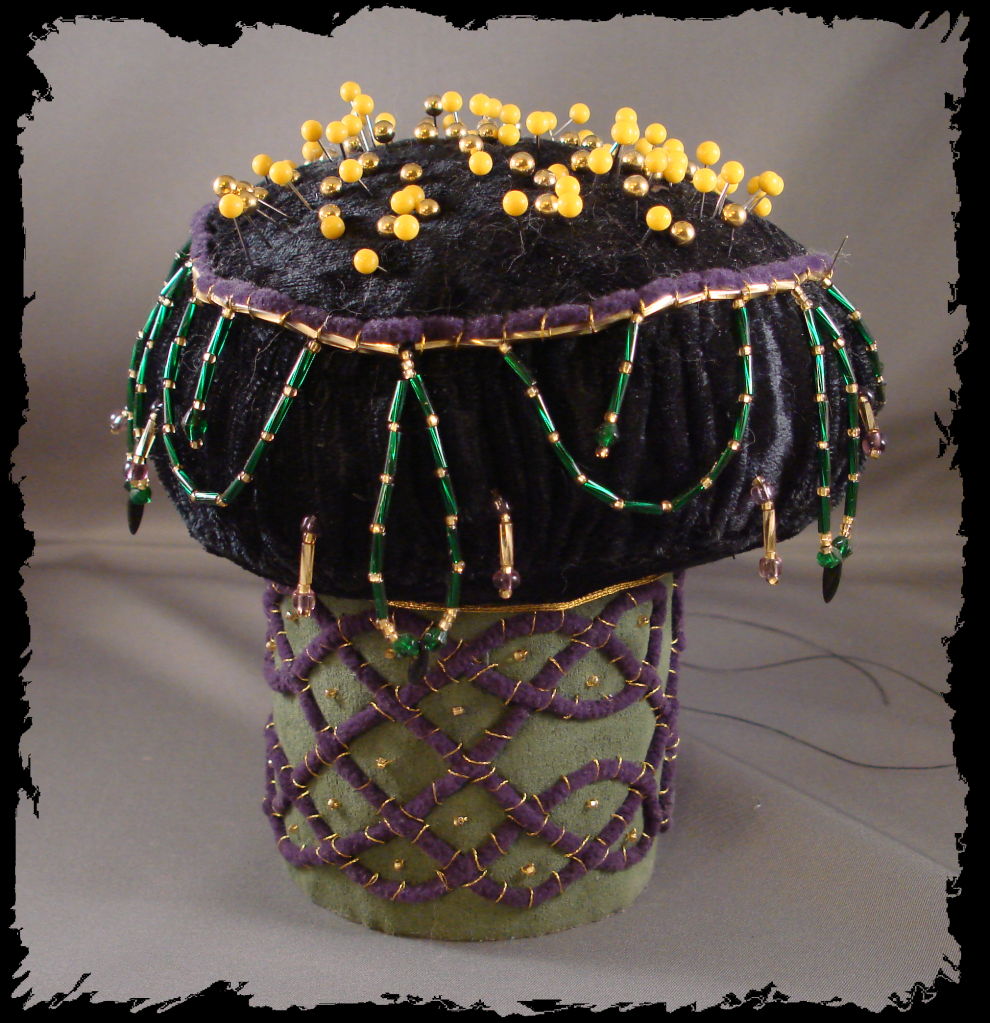
When I began sewing more I realized that those little tomato pincushions that you can buy in the store are useless. It is too small and it rolls away from me everytime I try to stick a pin in it! Not that I blame it, but I needed one that could take my kind of abuse! So I saw an idea on how to make a better one and I had to give it a try.
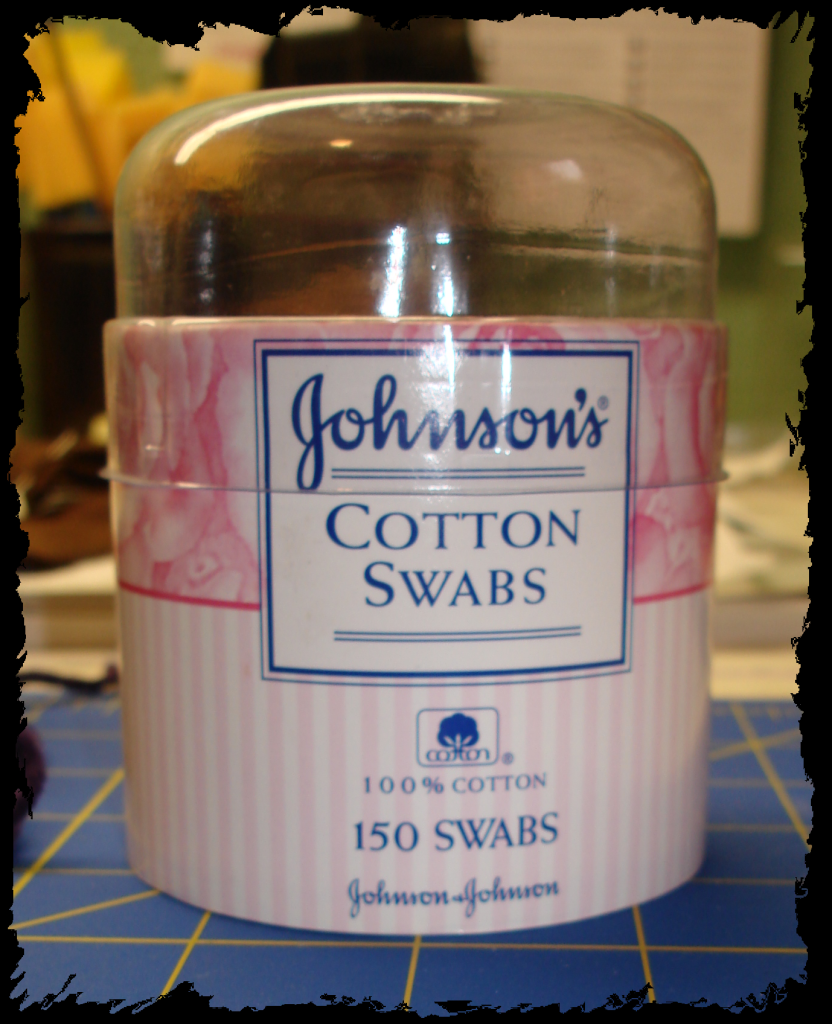
It all started with recycling a container and that is my absolute favorite way to start any project! I removed the lid and filled the bottom with rocks to make it heavy. This one is not getting away from me!


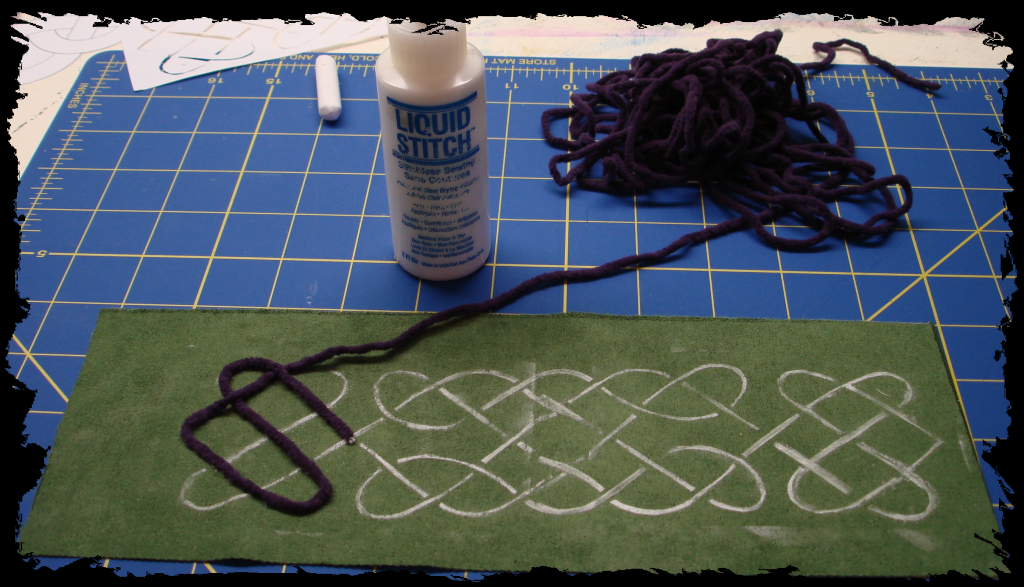
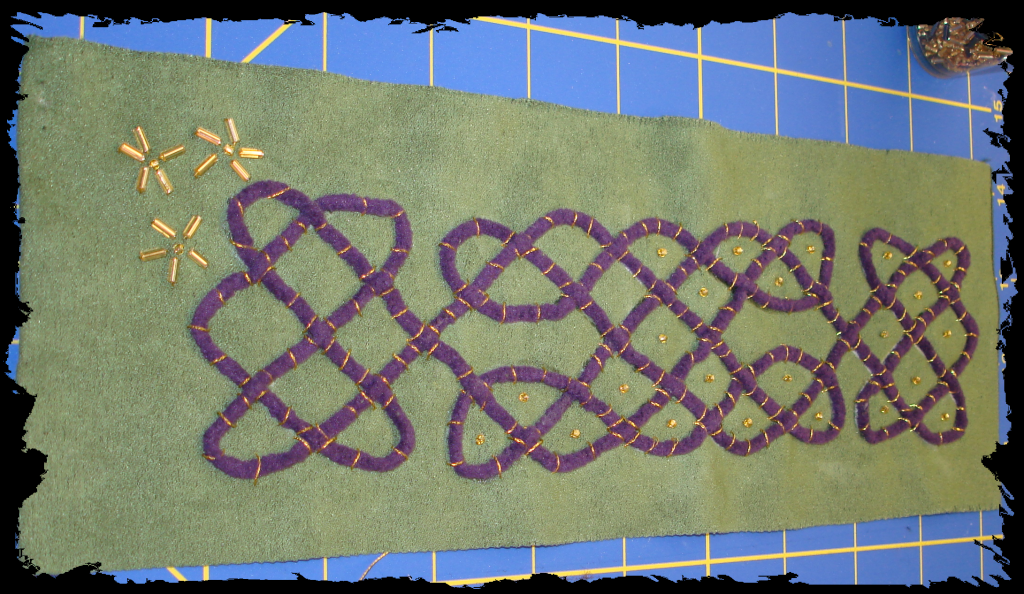
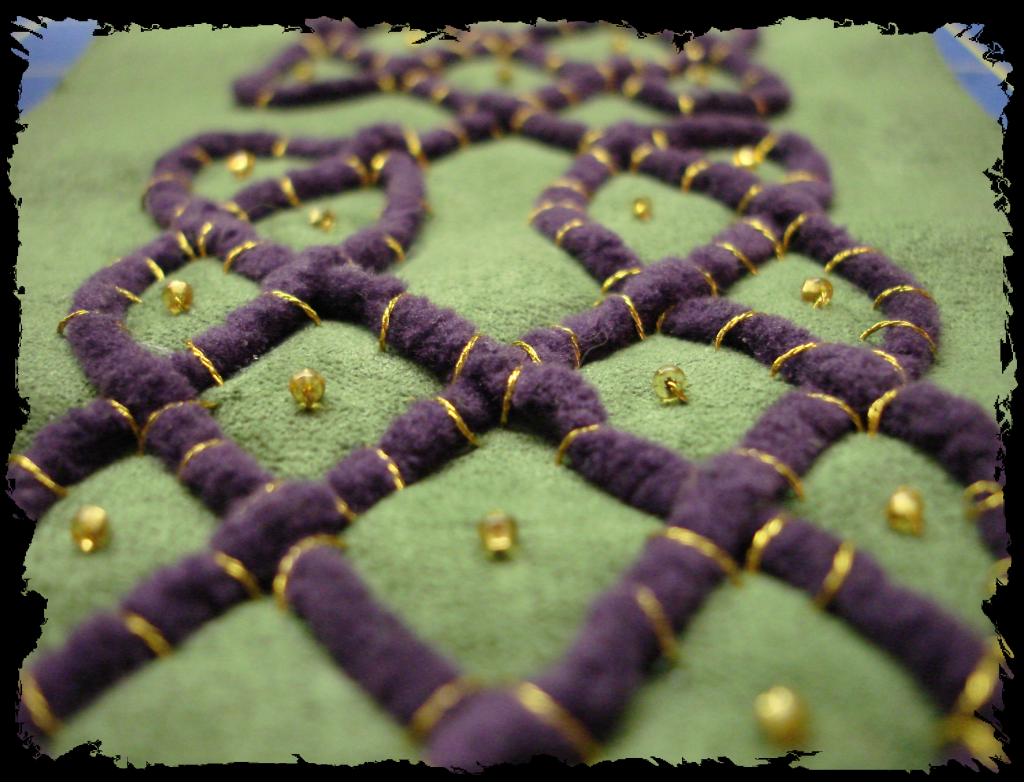
I gathered the rest of my materials together and got to work. I chalked an outline of my design onto green ultra suede and used dots of glue to hold my purple chenille yarn in place. I love knotwork and if you're careful and get it right it always looks fabulous.


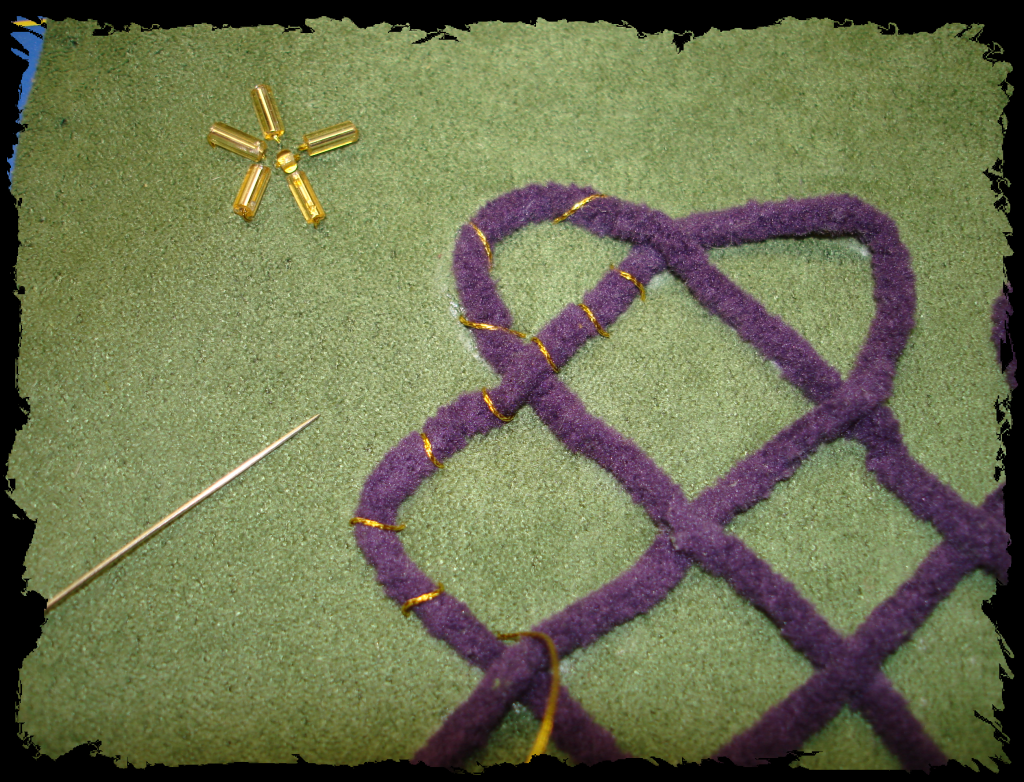
I added a few beads and starting couching with gold thread.


After the couching I went back and added seed beads in the spaces.


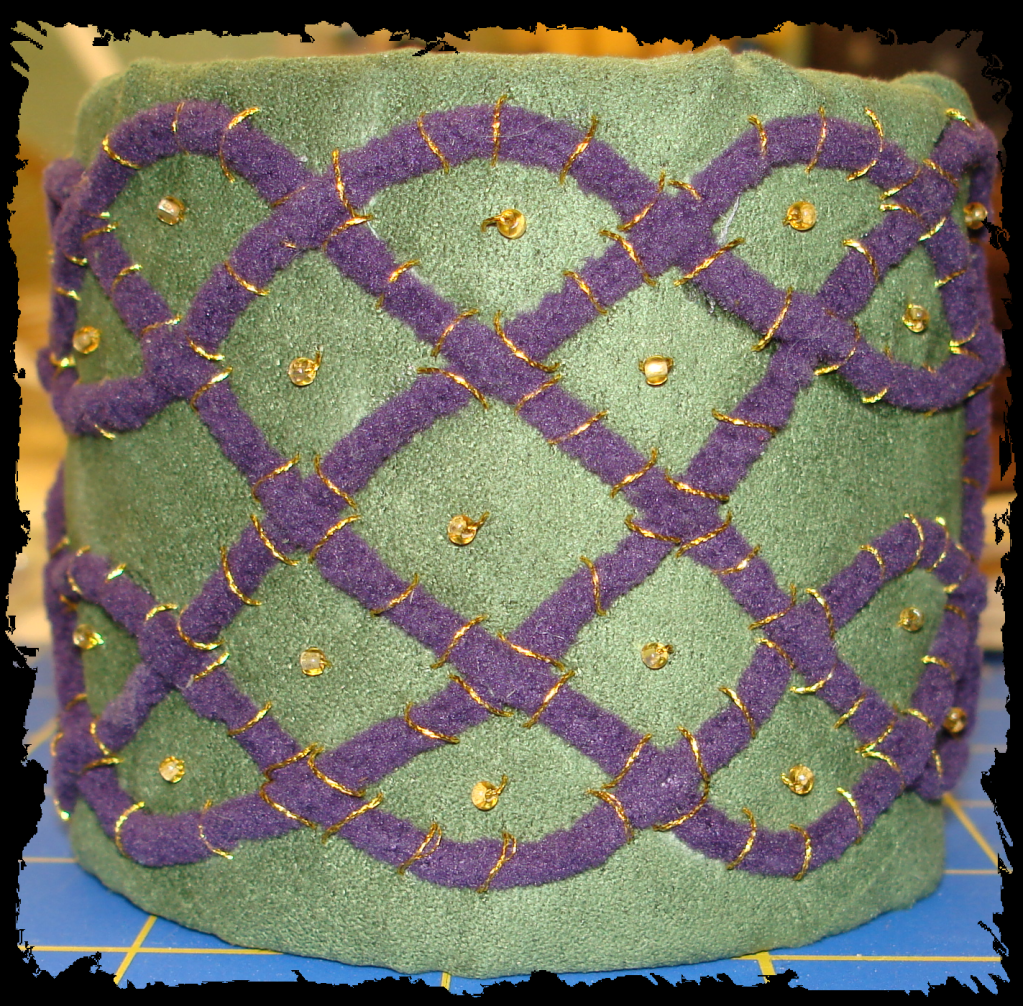
Once I was finished with all the embellishing on the bottom I glued it onto the container. I was too busy with the sewing machine to take any pictures of the rest of the process. I really wish I had more arms.. or maybe just more control of my toes would work! Anyway, finished photo is at the top of the post, as always.

Tuesday, December 29, 2009

Sewing Shirts

I have always done a minimal amount of sewing when it was required for some project I was doing but a couple years ago I got a sewing machine for Christmas and I started to think about taking on something more challenging. In my mind, clothing is the summit of that mountain so that is where I headed. I bought a couple shirt patterns that I liked and got my mom to walk me through it the first time.
It really wasn't as hard as I had expected, as long as I take my time and triple check everything before I cut or sew anything! Once I got throught that first one, I was able to whip out several more in no time at all. The pictures aren't great but you can get the idea.


I really need to take a photo of this one while I'm wearing it because the sleeves are the best part. They are square (kinda like a kimono) so the back of the sleeve hangs way down without covering or interfering with my hand.

I made this one to wear to a friends wedding. It is made from champagne colored satin, belted above the waist, with lace trim down the front and around the sleeves. I added a pretty little pearl button at the top.

This one is made from crinkle gauze so it's really light and comfortable. The bunched sleeves and high belt give it a very Roman look. I hand embroidered the design on the front.


This is the second shirt I made. It's the same as the first but has longer sleeves.


My maiden voyage into the world of making clothes!

Monday, December 28, 2009

Pumpkin Patch MMC Part 10


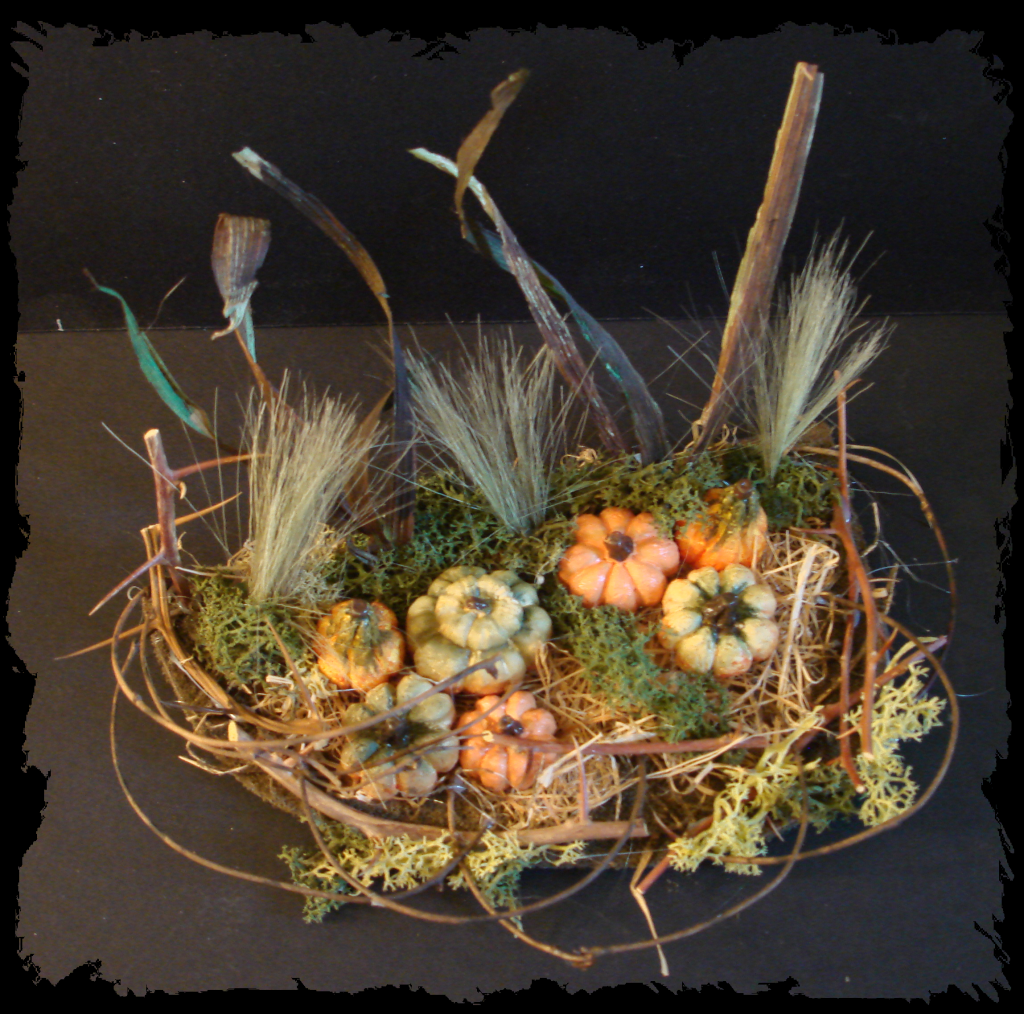
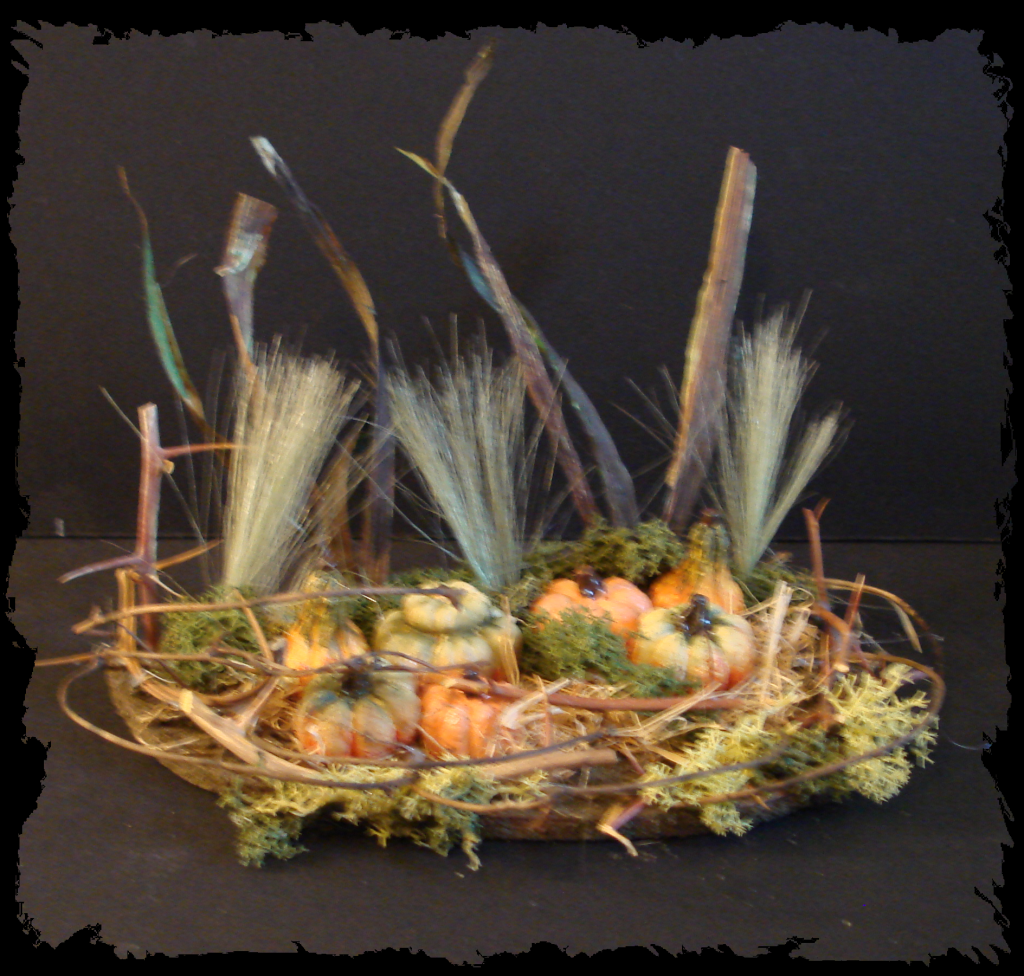
The pumpkin patch is one of the last elements to finish before I start assembling everything in the aquarium, and here it is! I used more Bouganvilla thorns and lots of moss along with the pumpkins all glued down to a solid base.

Friday, November 13, 2009

Graveyard - MMC Part 9

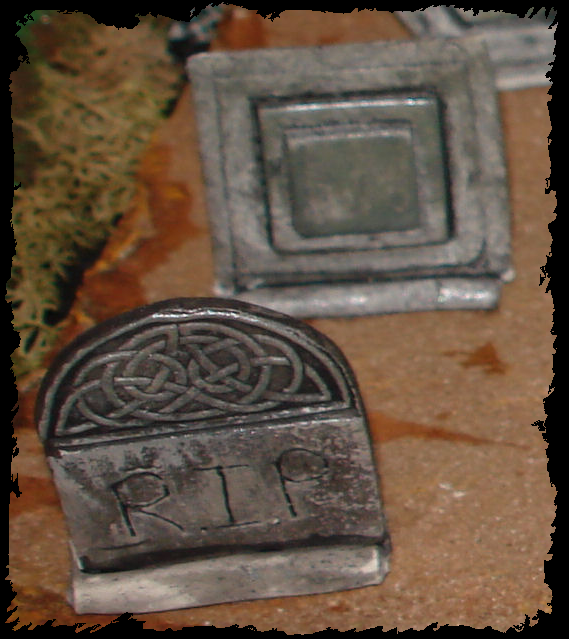
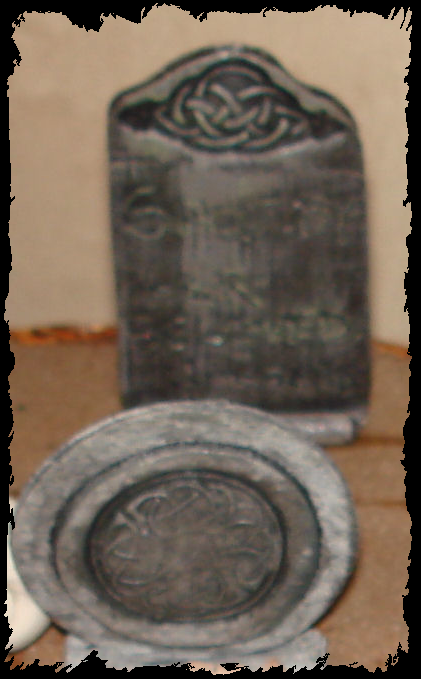
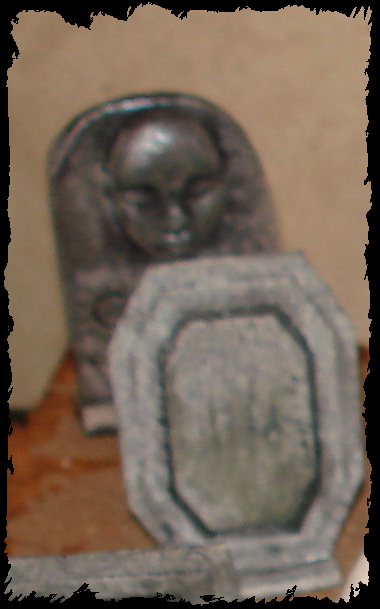
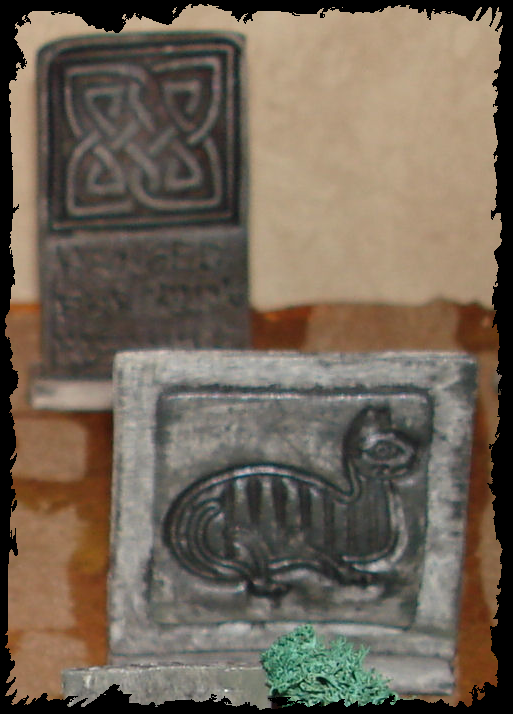
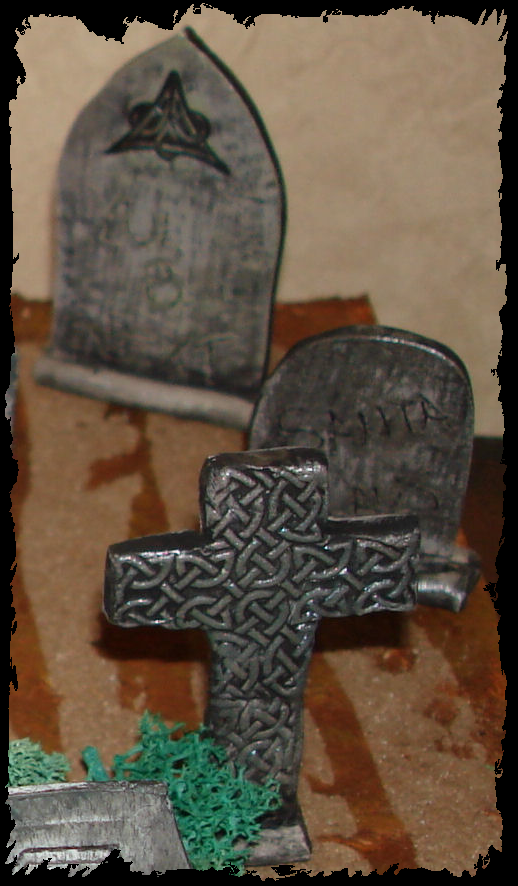
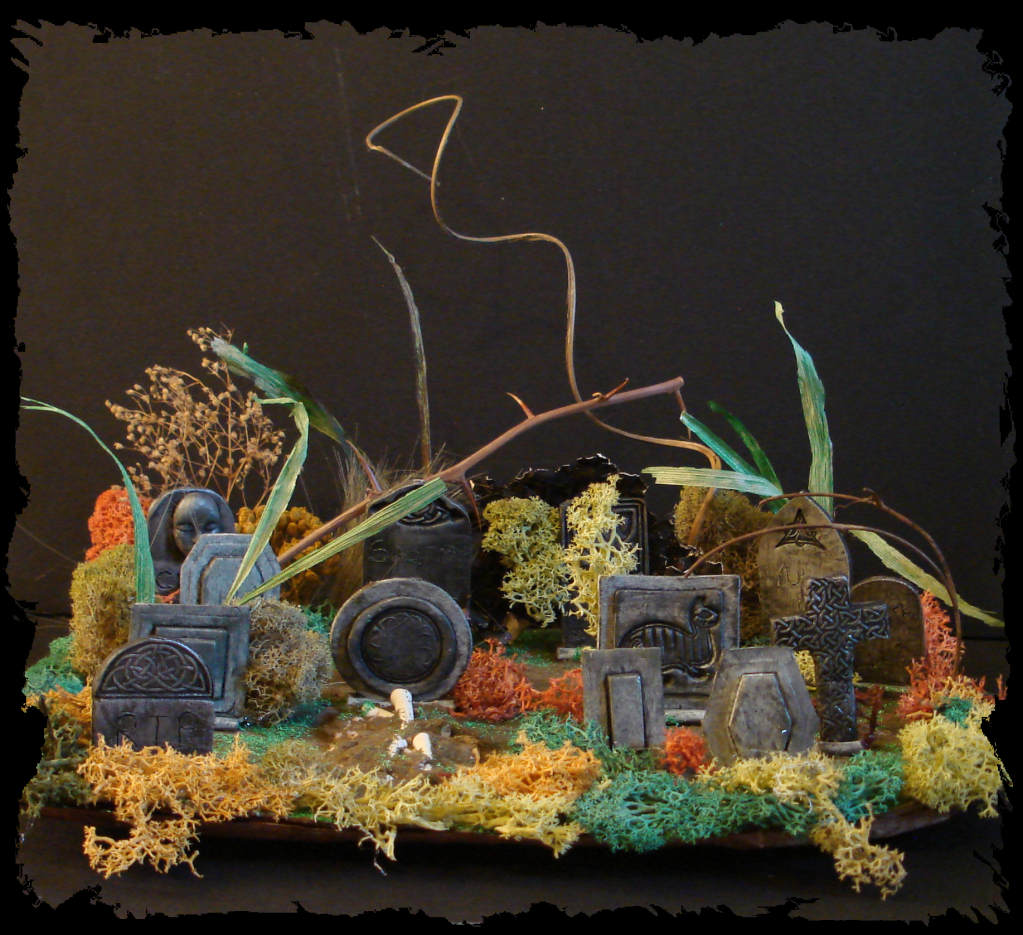
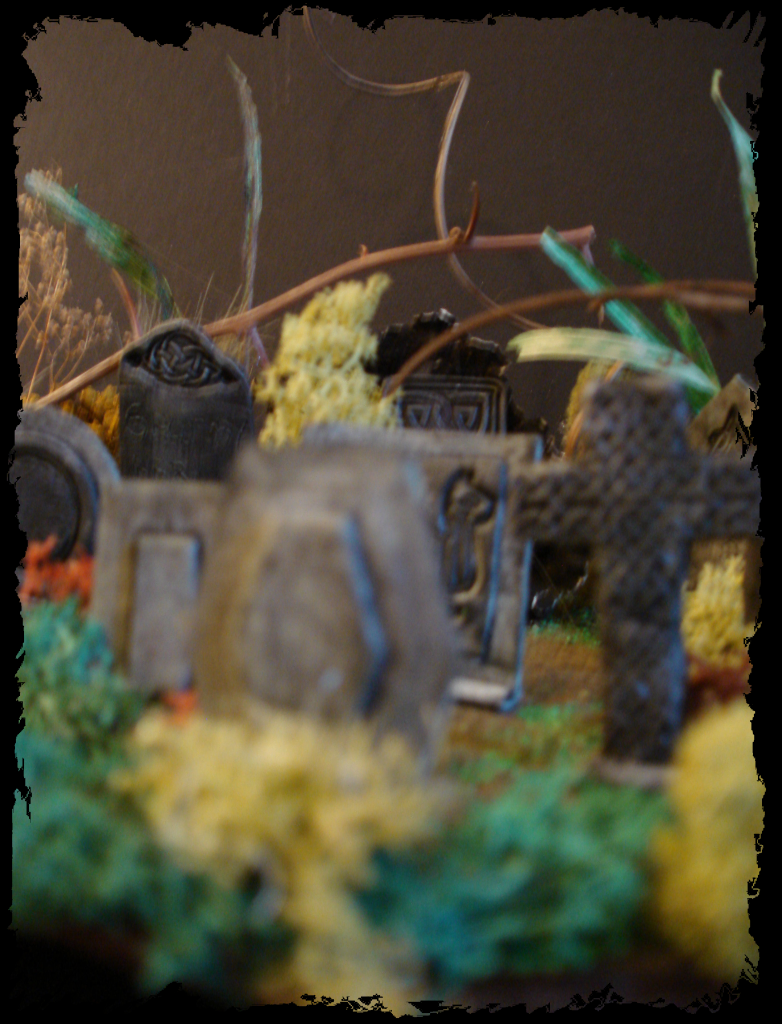
I had so much fun making the graveyard. I used a foam core base and built it up with paper mache. The tombstones are made from polymer clay and then I landscaped the whole thing.

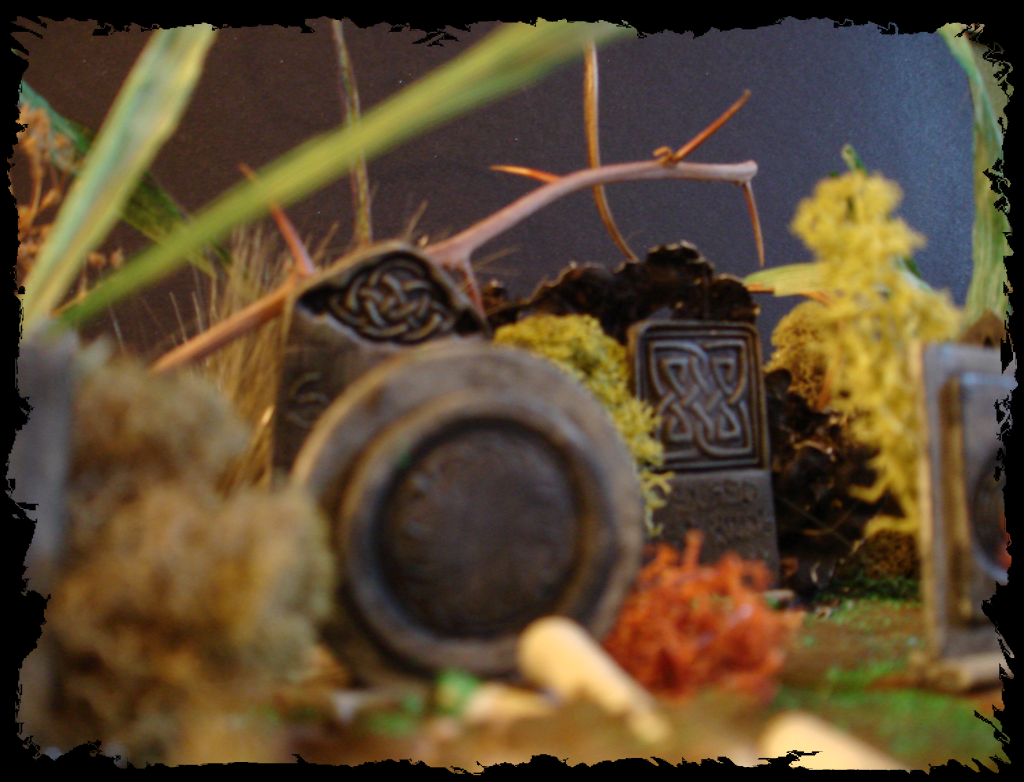
I cut some of my Bouganvilla branches to get those fabulous thorns.

I spent a lot of time trying to get some good tombstones. I used my celtic knot rubber stamps on some of them, layered beveled jewelry molds for others and a few of them I just hand carved funny names.


Saturday, July 25, 2009

Witchy Woman of the Woods- MMC Part 8


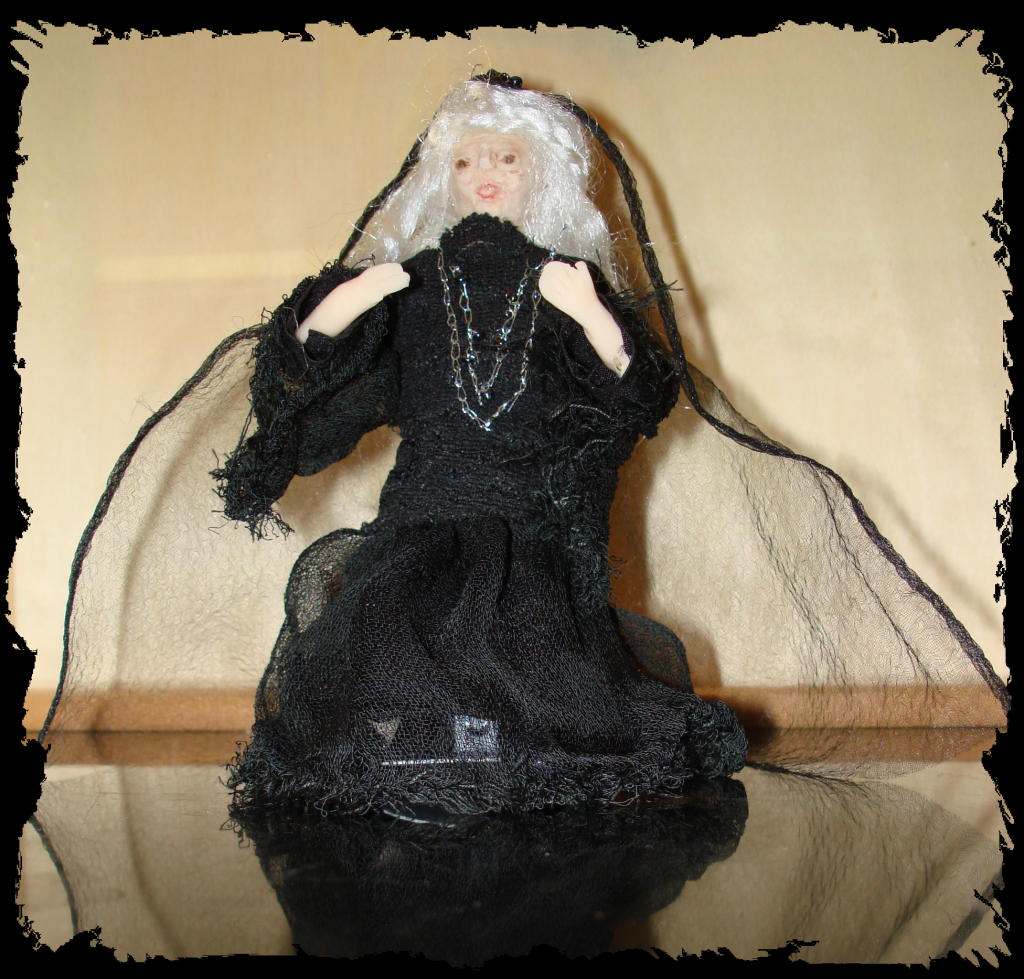
 I have never made a doll from scratch before so this is another element I left to my mom. She whipped this one out in no time and I think she is appropriately creepy looking!


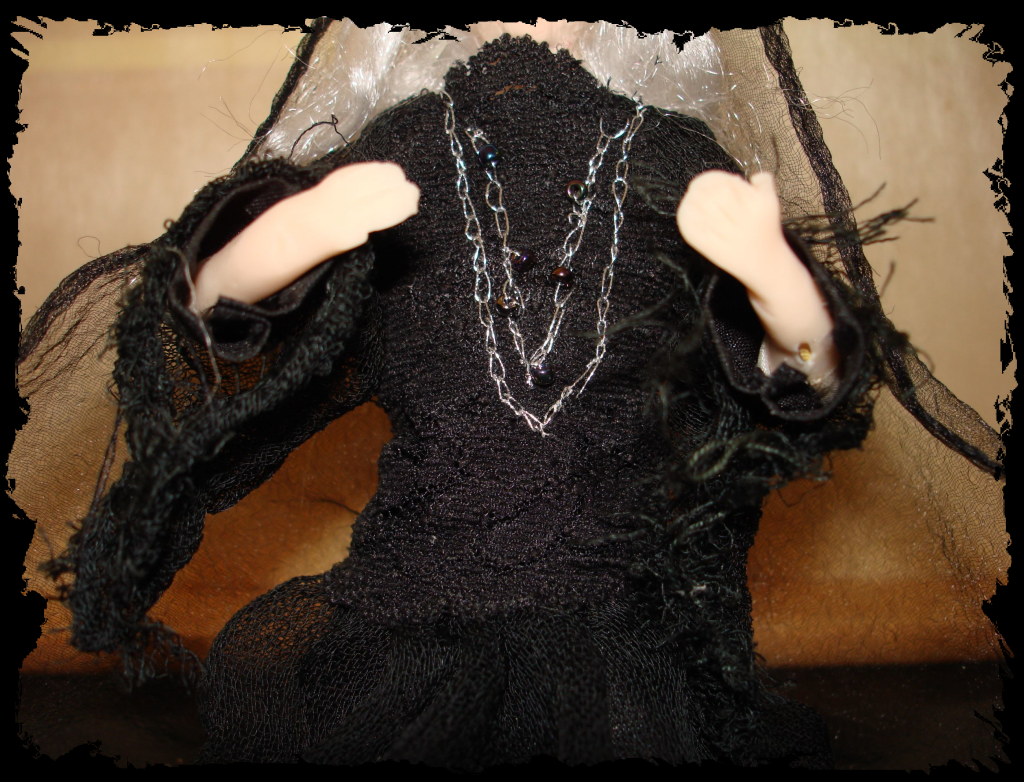
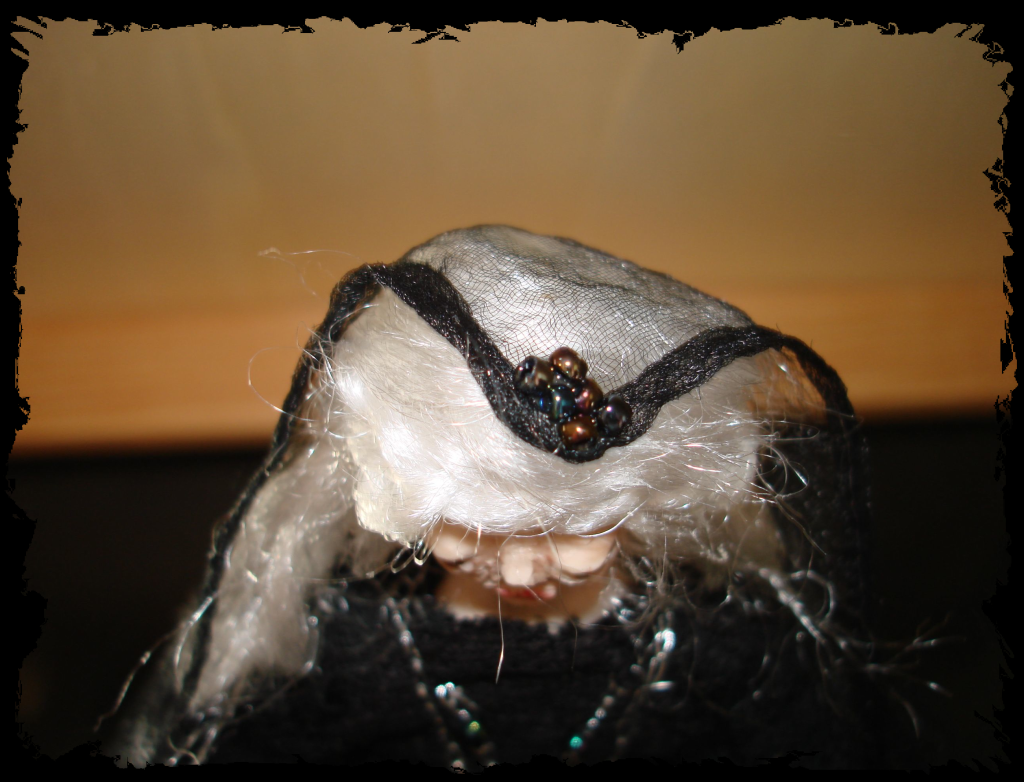
 Every woman needs a little bling, even an old hag like her!


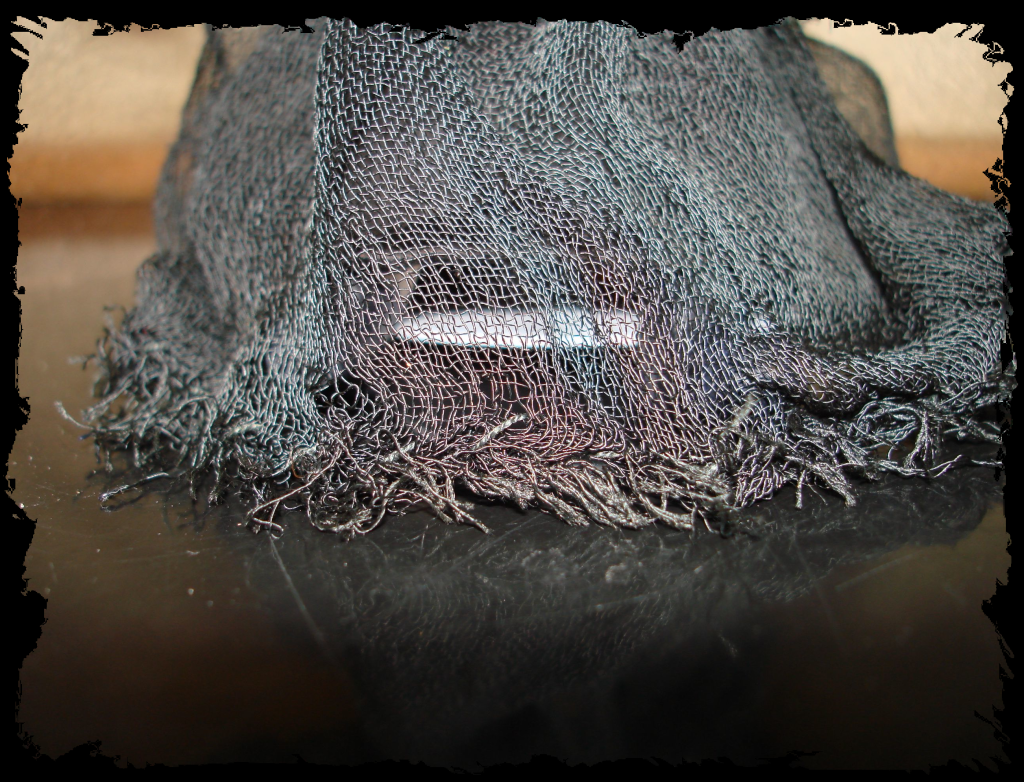
 I adore the frayed and tattered look of her dress.


 She even has a little beaded veil over her long gray hair.


Thursday, June 4, 2009

Scary Tree - MMC Part 7


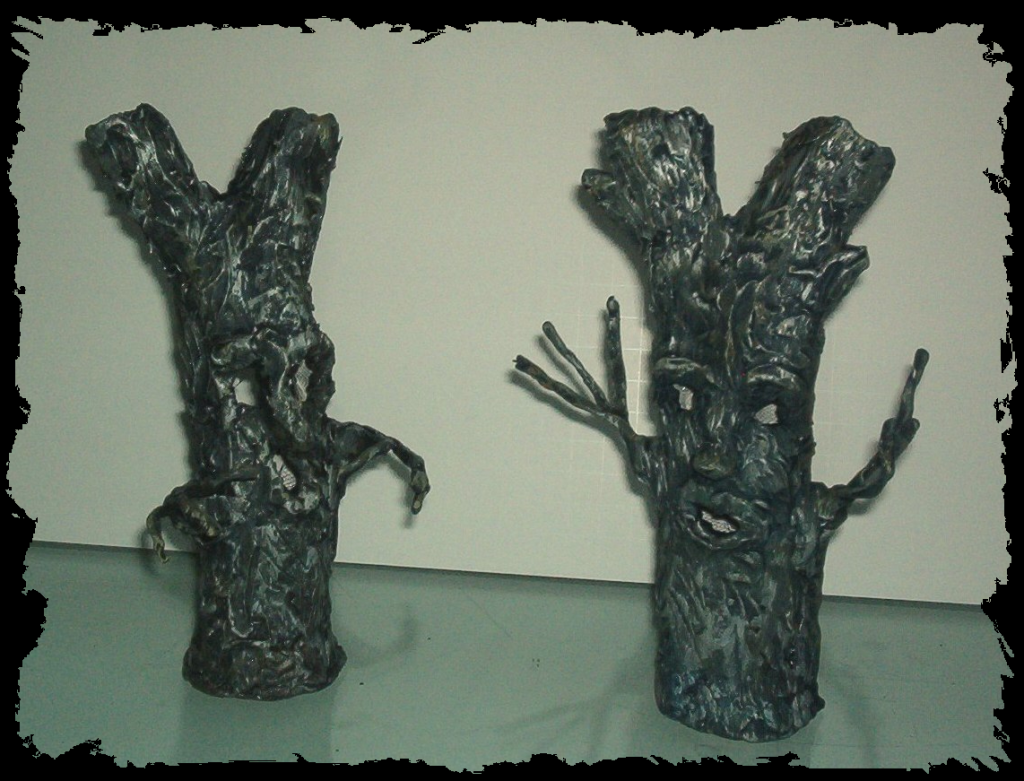
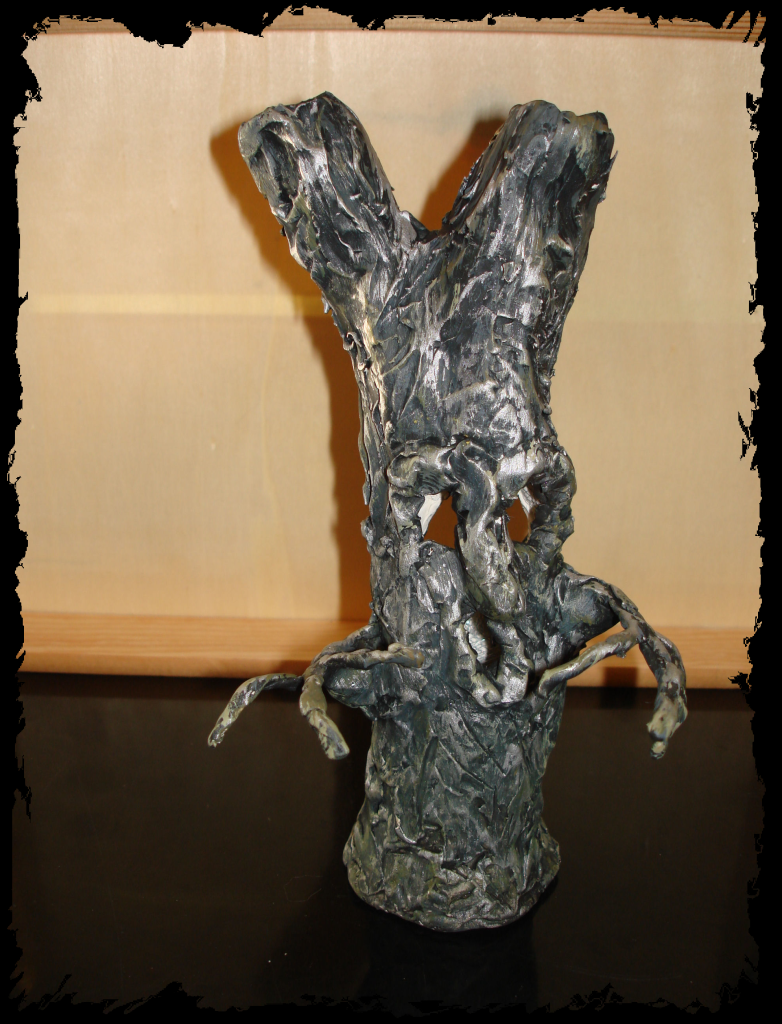
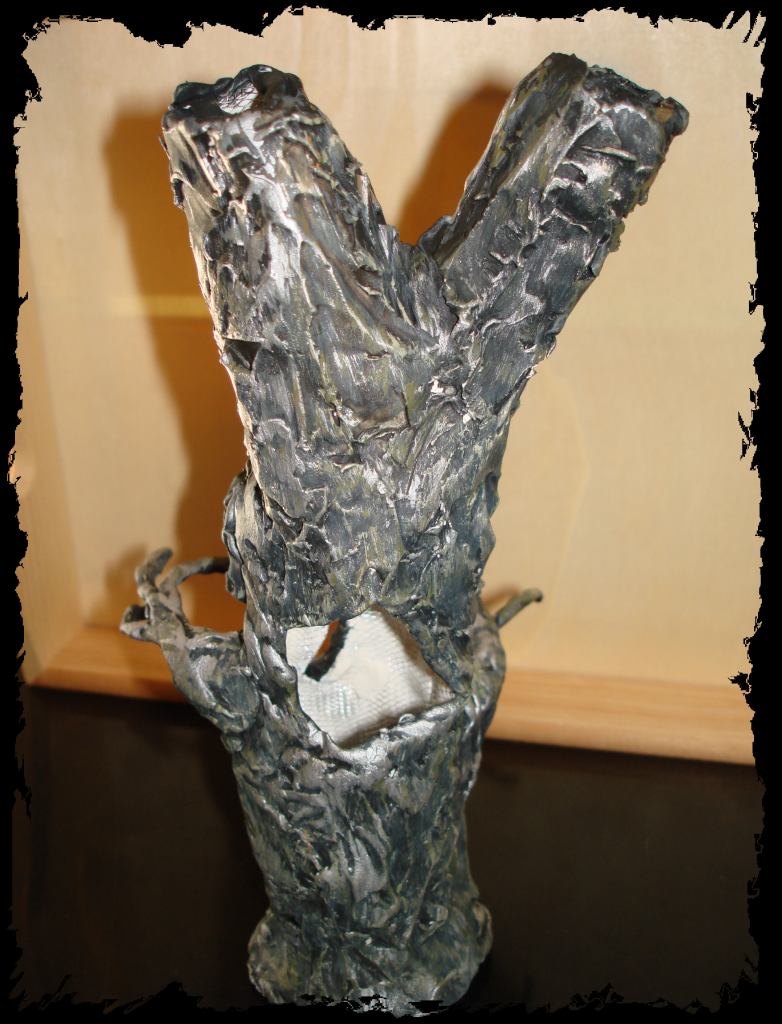
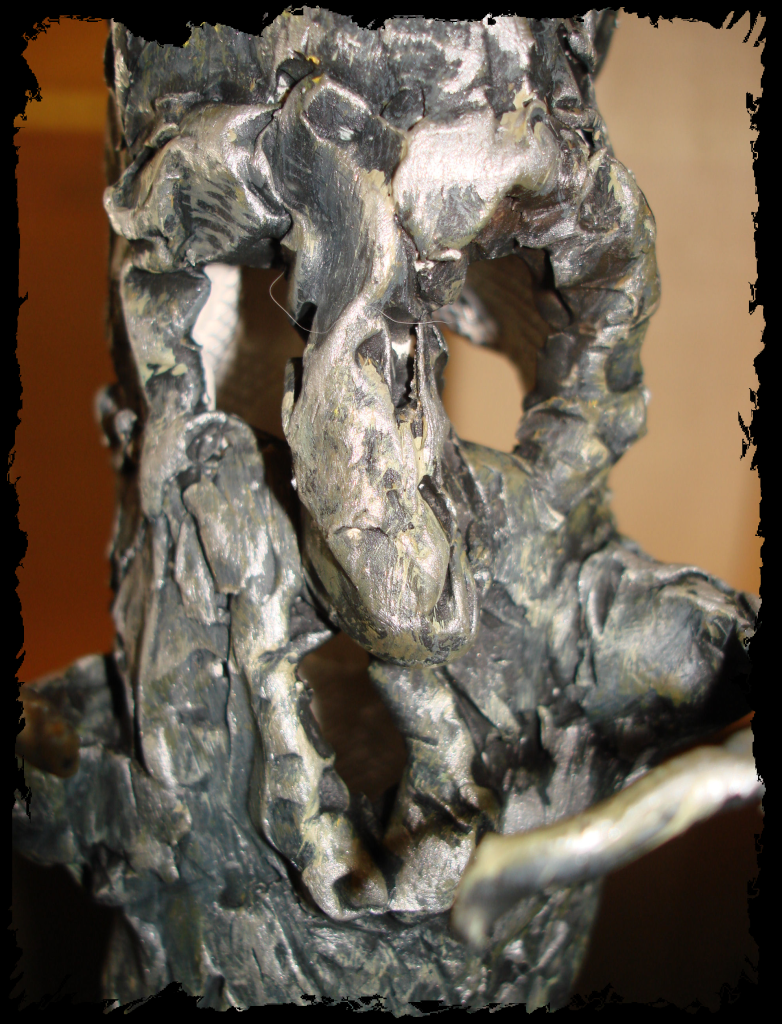
I want several trees in my miniature scene but I wanted one really especially scary tree. I had visions of the mean tree from the Wizard of Oz that threw his apples at Dorothy. My mom took that idea and ran with it. In one afternoon she made this tree and his brother, the happy tree, for her fairy garden.


She used a wire mesh armature, covered it in clay and started sculpting. Once she had it looking amazingly like bark, she painted it many many times to pick up all the details.


I had also mentioned that I wanted to be able to light it from the inside so she left a hole in back for that purpose!


After attempting to make a few trees of my own (pictures coming soon) I am SO glad she took this one on herself!