Wednesday, August 31, 2011

Madam le Corset de Gourd

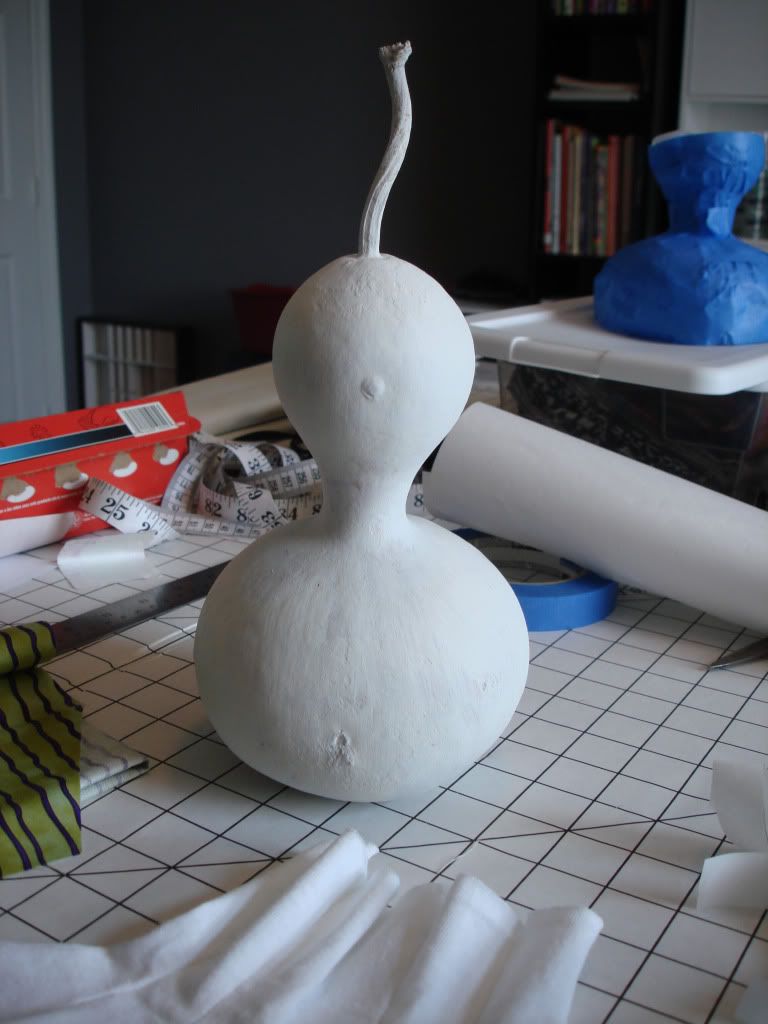
A couple years ago my mom grew some birdhouse gourds. She dried them and set them aside and thought that someday she would make something with them. She finally decided that she wanted to paint some of them so we gathered everything together and got to work. She went straight at it but I couldn't really get inspired or come up with any designs to paint. I just kept ogling the "figure" on the gourd I had choosen and imagining what it would look like all dressed up. I am not one to fight a good idea so I put away the paint and busted out the fabric instead.

Here is my gourd, primed and ready to be painted.
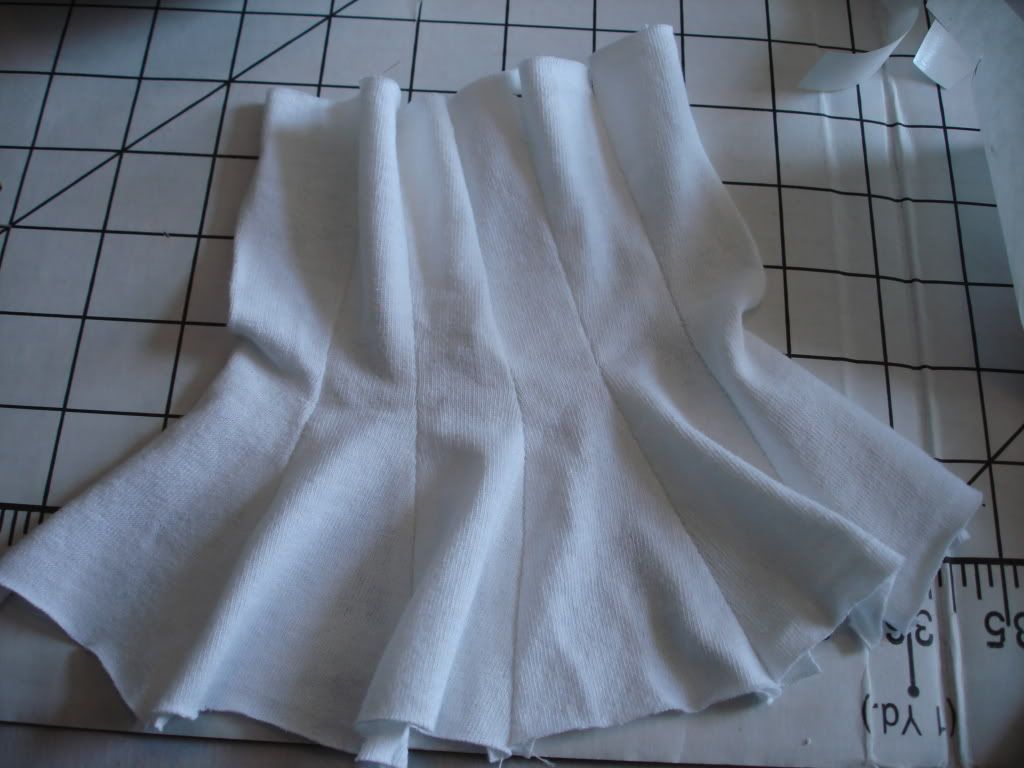
First I had to make a pattern and a test garment from some old tshirt material.

Starting out as a gourd and having that long stem (neck) meant that this doll would look whimsical and surreal without even trying so I choose to go in that direction with the fabric and embellishments.
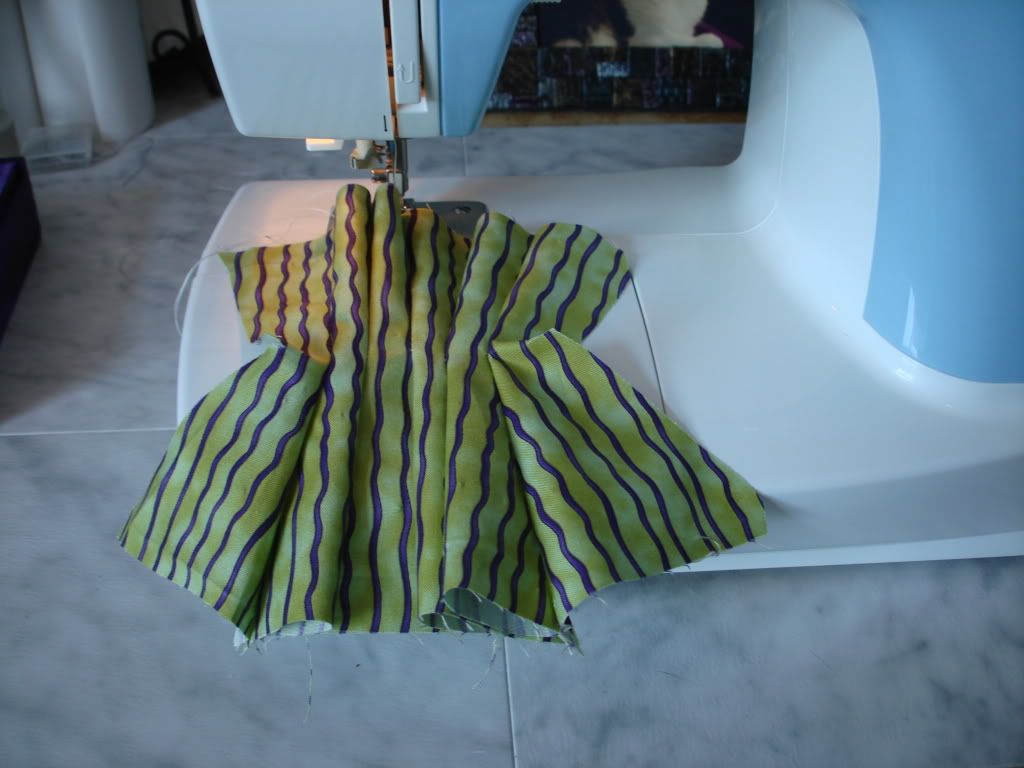

The corset was a little challenging so once I got it all sewn together I checked it for fit.
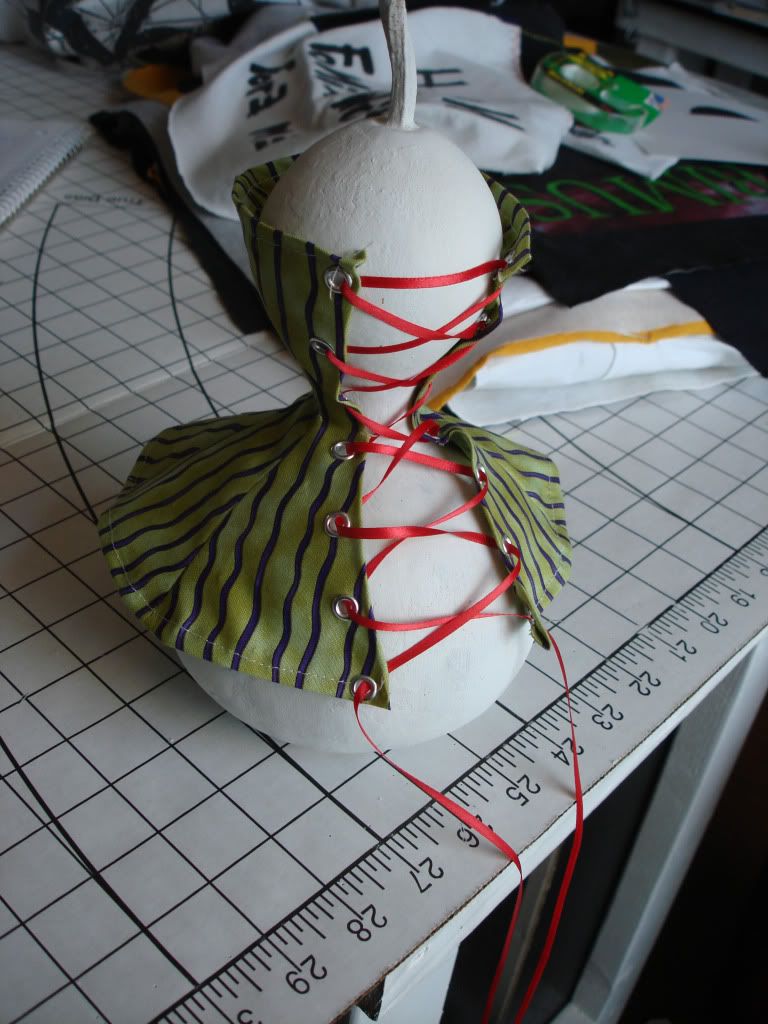
I wish now that I had not primed it, but oh well. I painted the exposed areas flesh tone and moved on. I cut a couple other pieces of fabric and made her some under garments and started layering it all together.
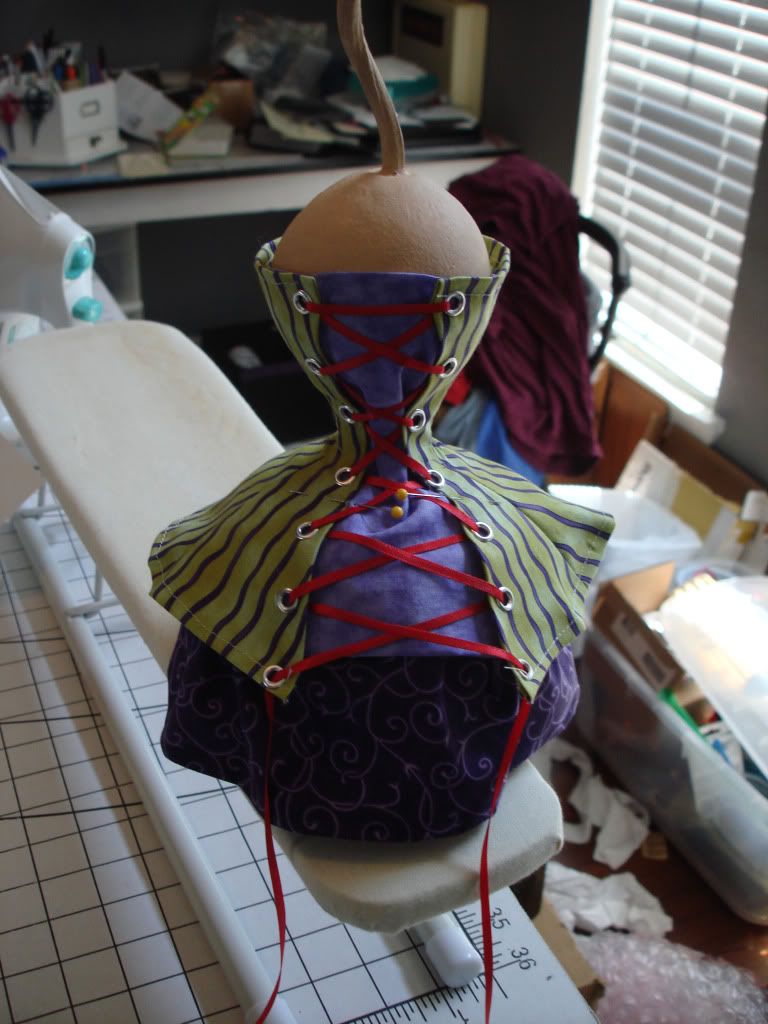
I made her a head from clay and painted her up with chalk and added a mole on her cheek.
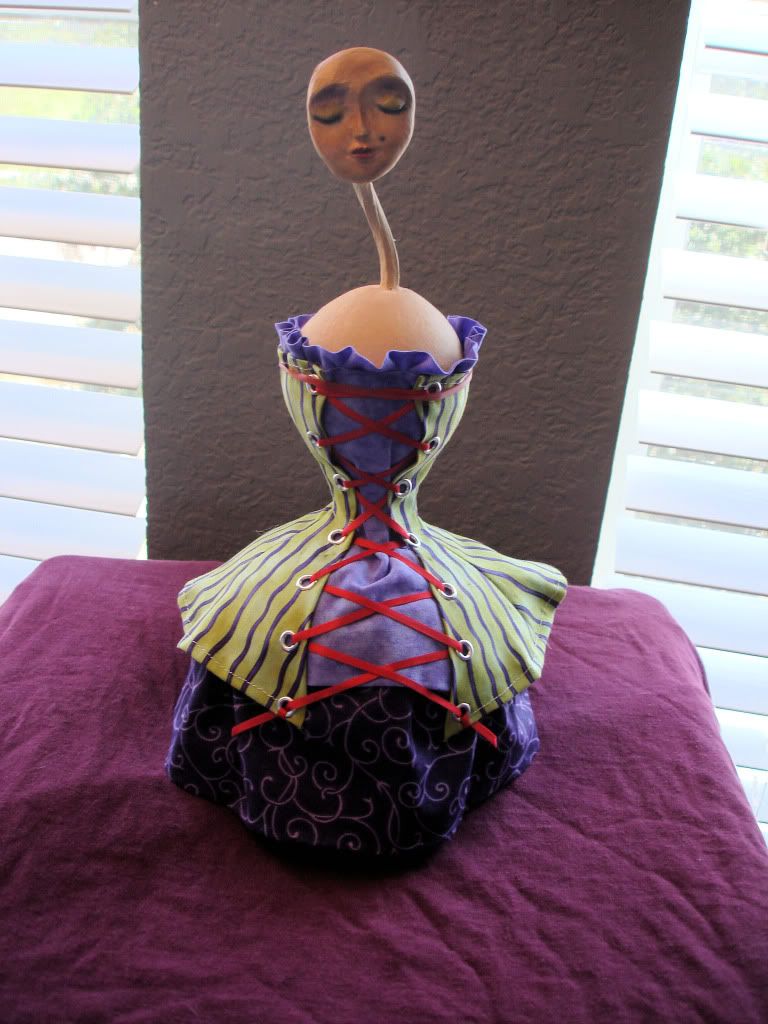
Next came the hair.
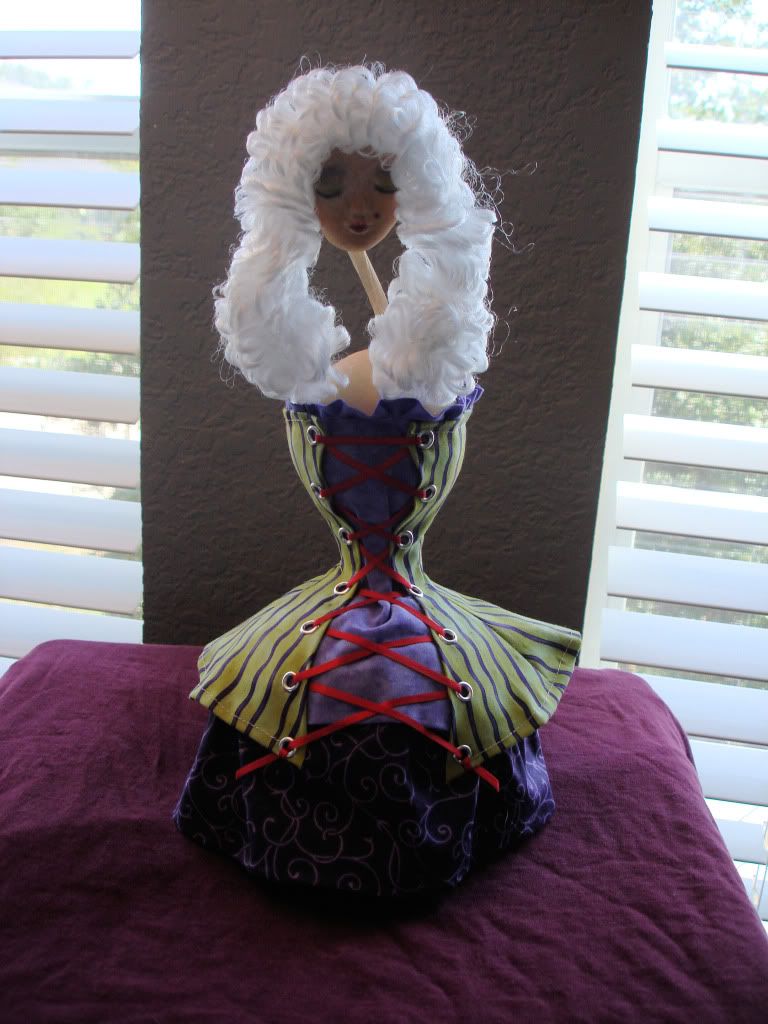
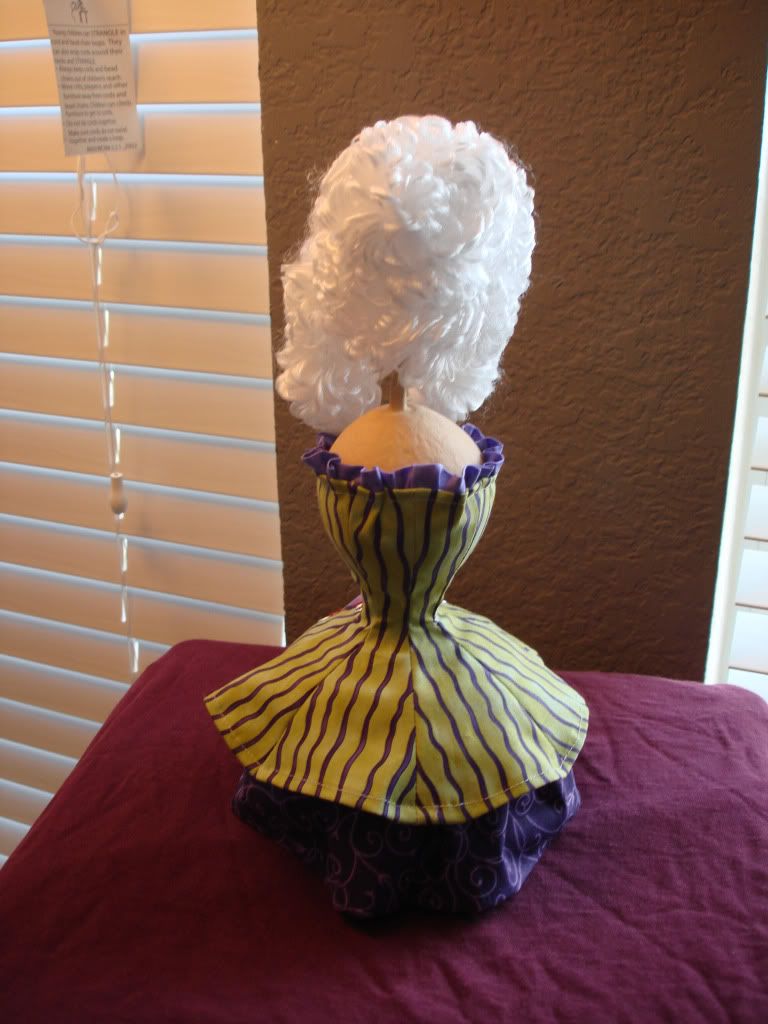
I had thought I was finished with her clothing but when I got to this point I did not like her back so I went rummaging through my stash and came up with some tulle that would work perfectly as a collar. Once I added that I figured she needed some jewelry and a hat.
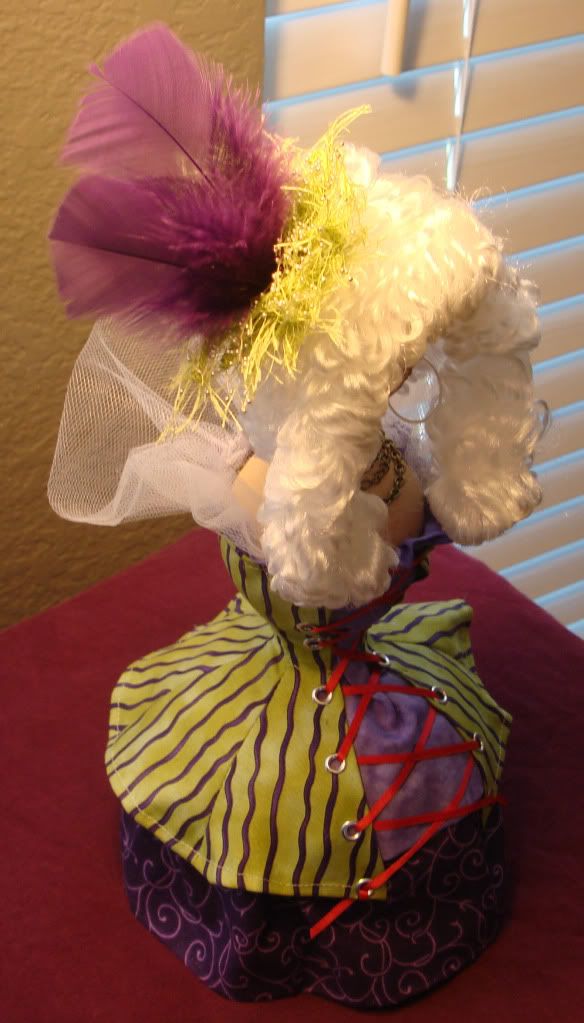
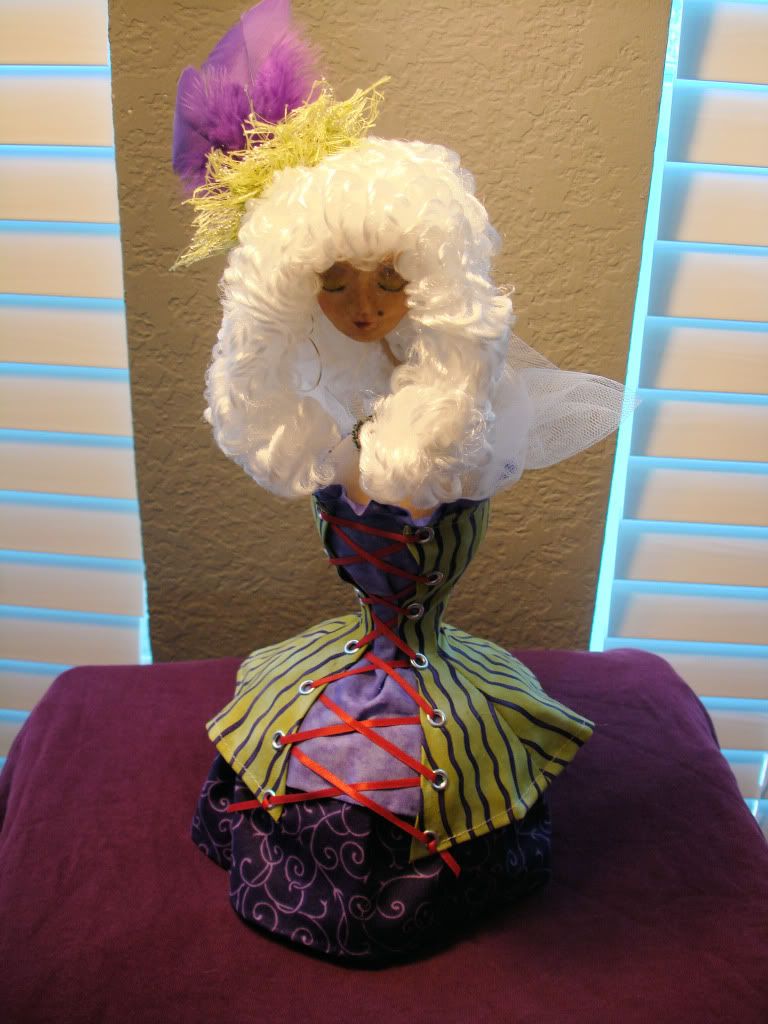
During this process I realized I had made up my own little piece of sexy medieval slang and that is where she gets her name. "To Corset The Gourd"

Collage with Cricut

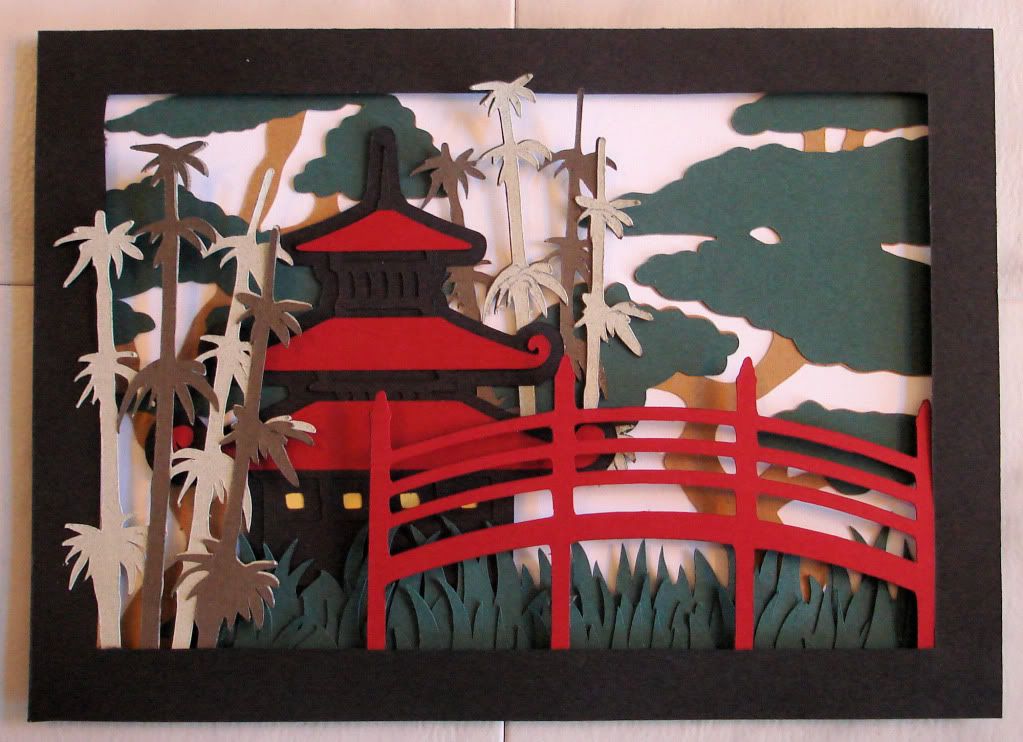
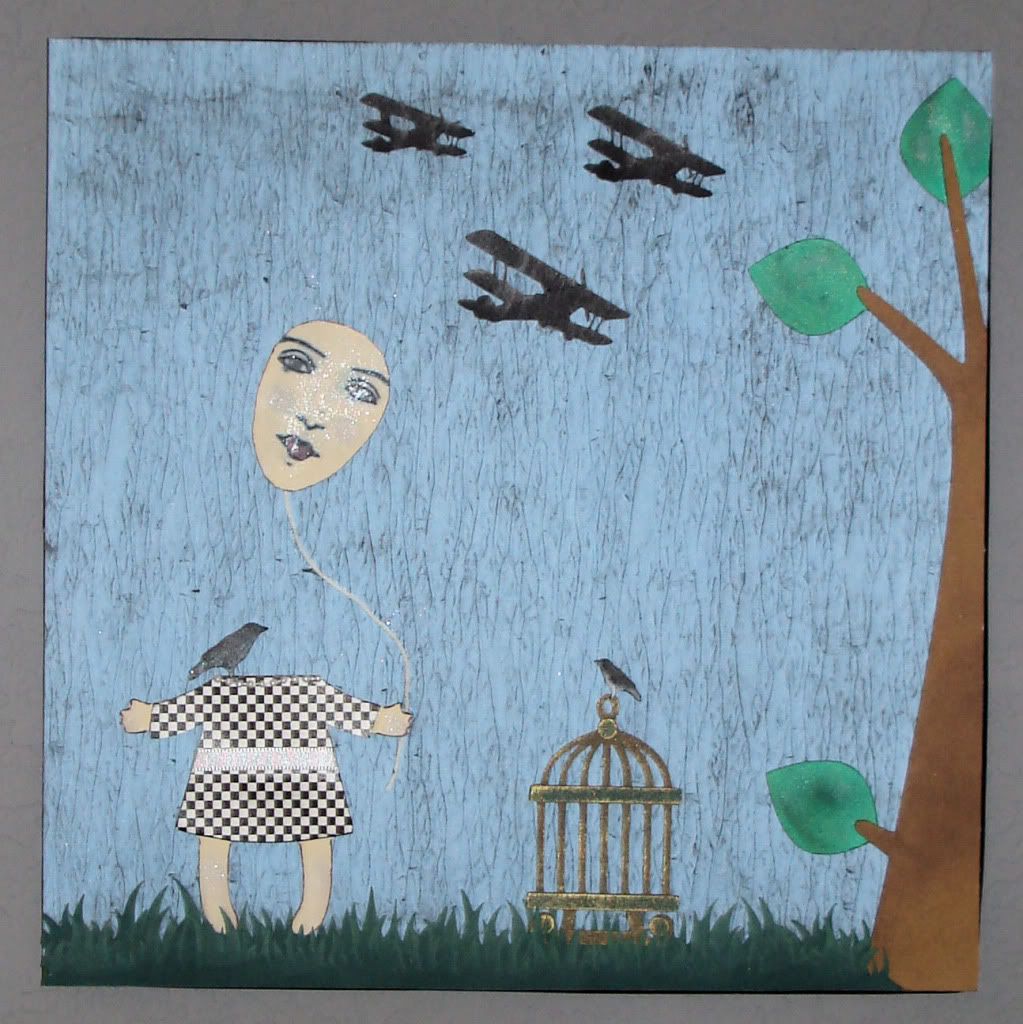
I really love my Cricut. Here are three more collages I made using it.

Friday, July 15, 2011

Post Surgery

I am finally up and about again and trying to get my mojo back. I still do not have full use of my hand so I am limited in what I can do, but making the best of it. One of the first things I was able to do was work on a digital collage. This is my cat Drake on his Big Adventure.

My new Cricut is something else I have been having a lot of fun with. It does intricate cuts on all kinds of materials. This first one is made entirely from paper and I inked over it for highlights and blending.

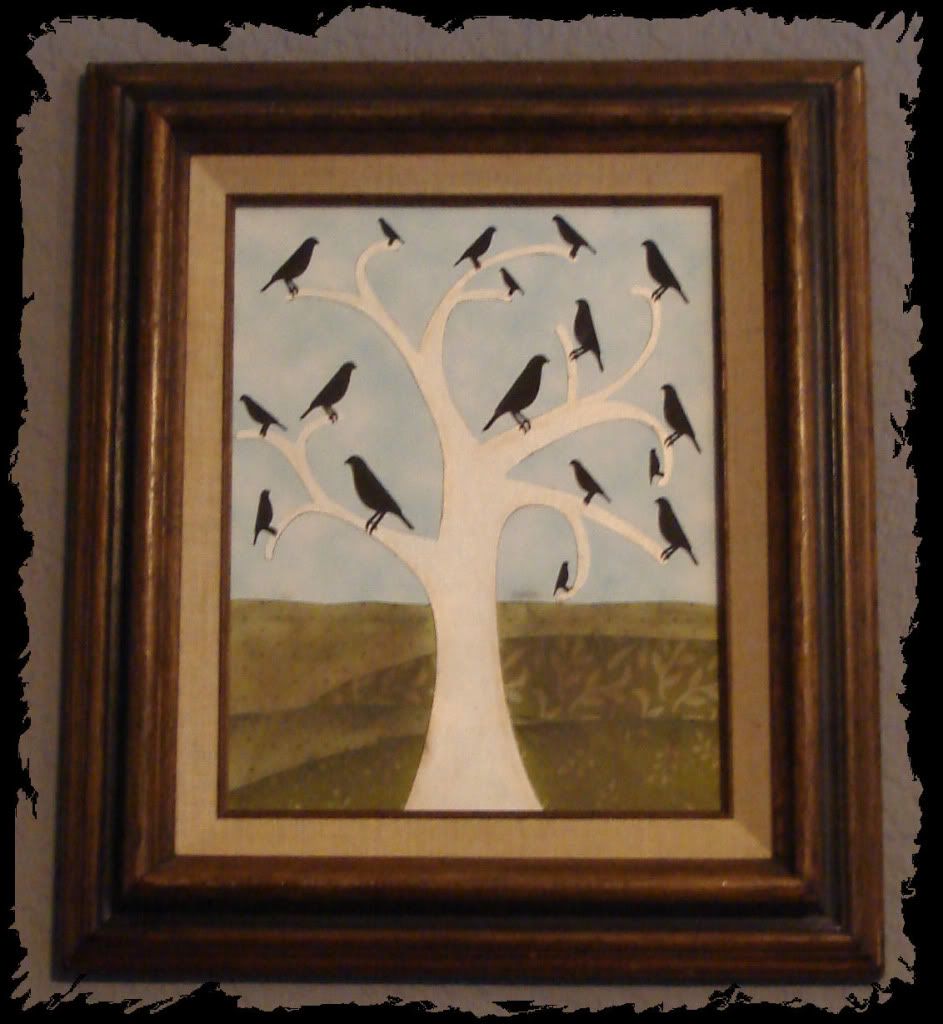
"The neighborhood is getting crow-ded"
This is a patchwork collage made from 1" squares of patterened paper with paint and embossing done on an 8x10 wood plaque. 
Friday, December 17, 2010

New Jewelry on Etsy

I returned to my love of jewelry recently and felt really inspired to make some new pieces. I added some of them to my shop on Etsy.


Friday, September 3, 2010

Denim Purse Project

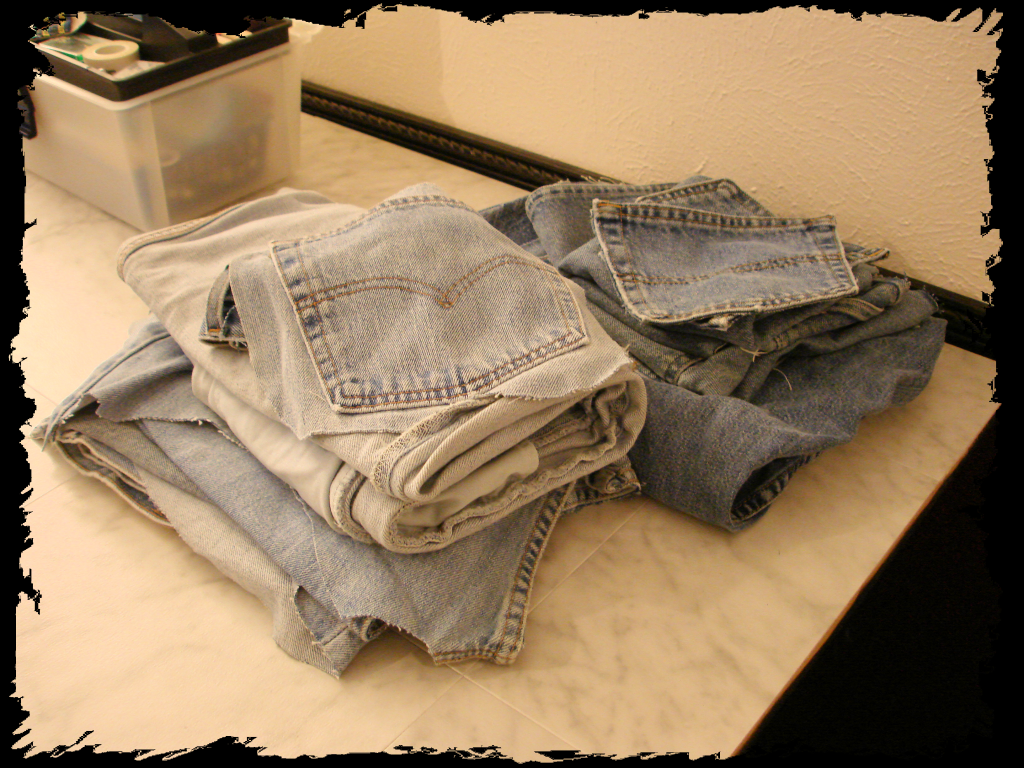
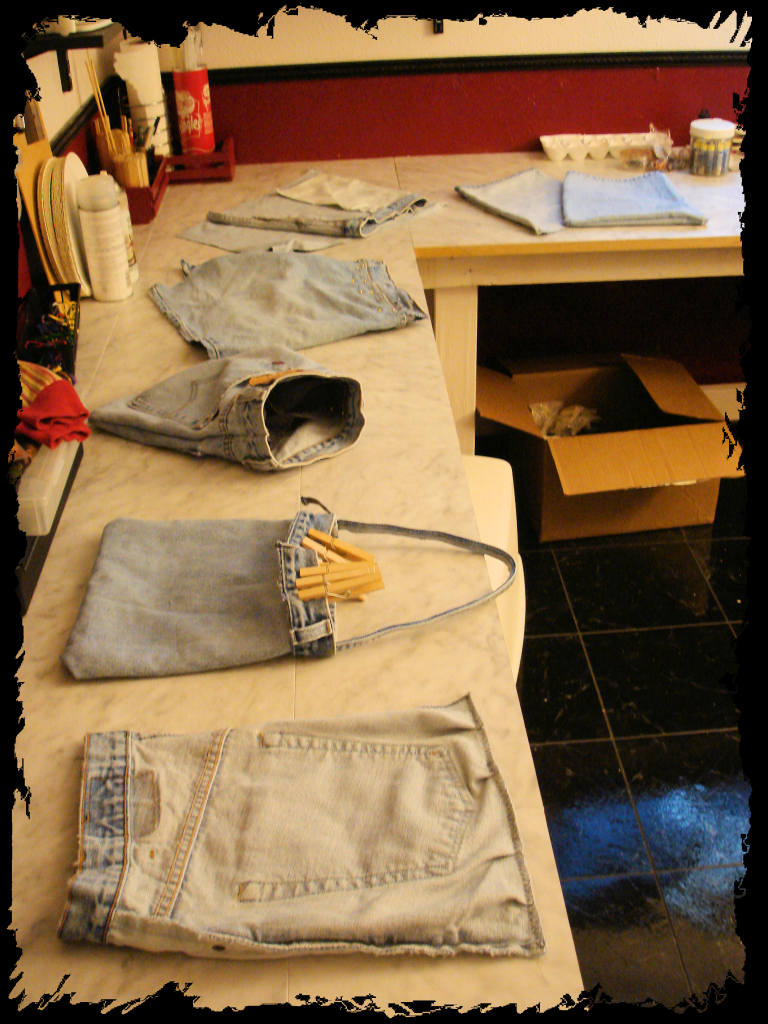
This is just a very small portion of my denim stash.

I decided to make several purses all at once. They are all different but this 'assembly line' made the process go a little faster.

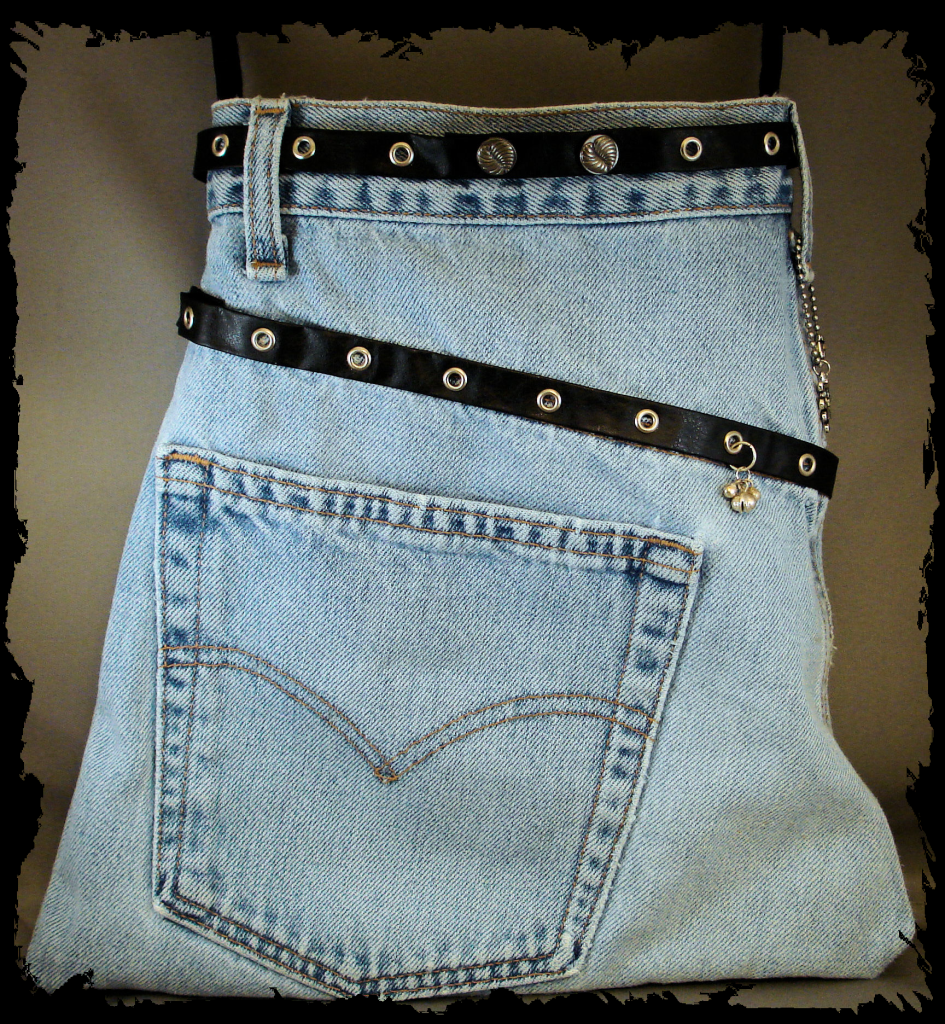
Charming Denim Hand Bag

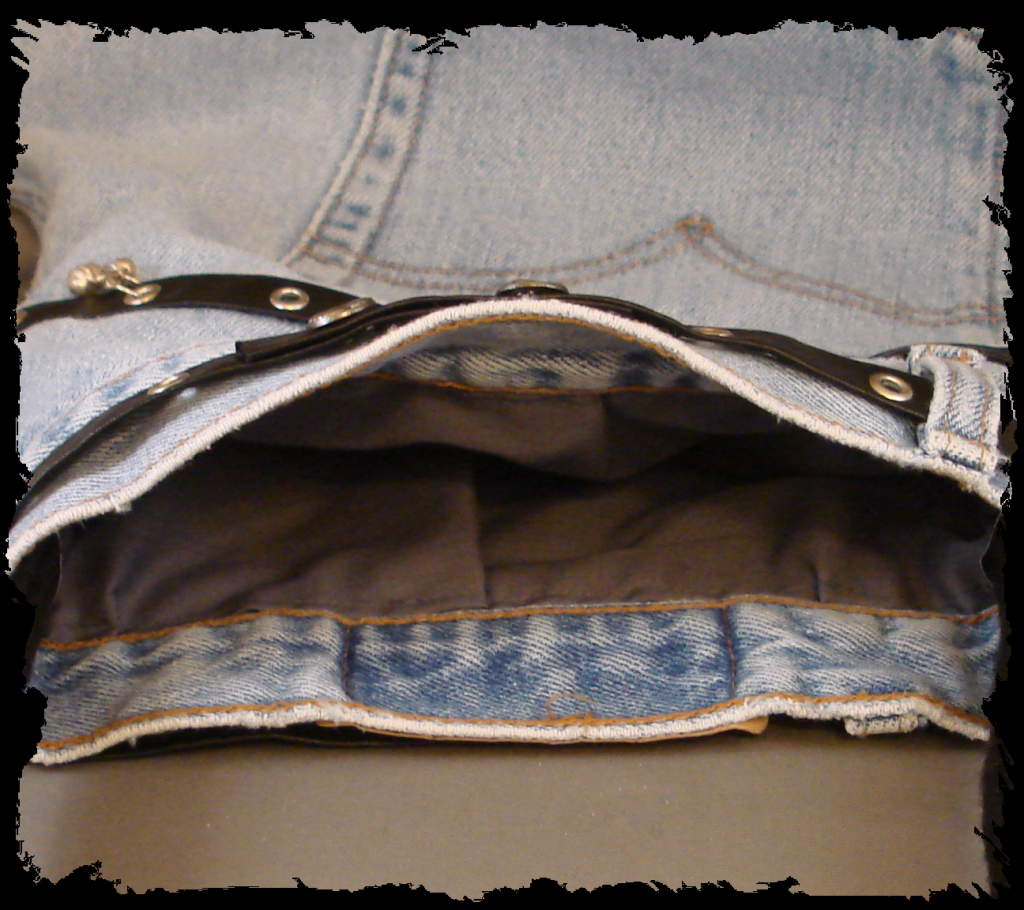
Lined in light weight gray fabric with a leather strap.

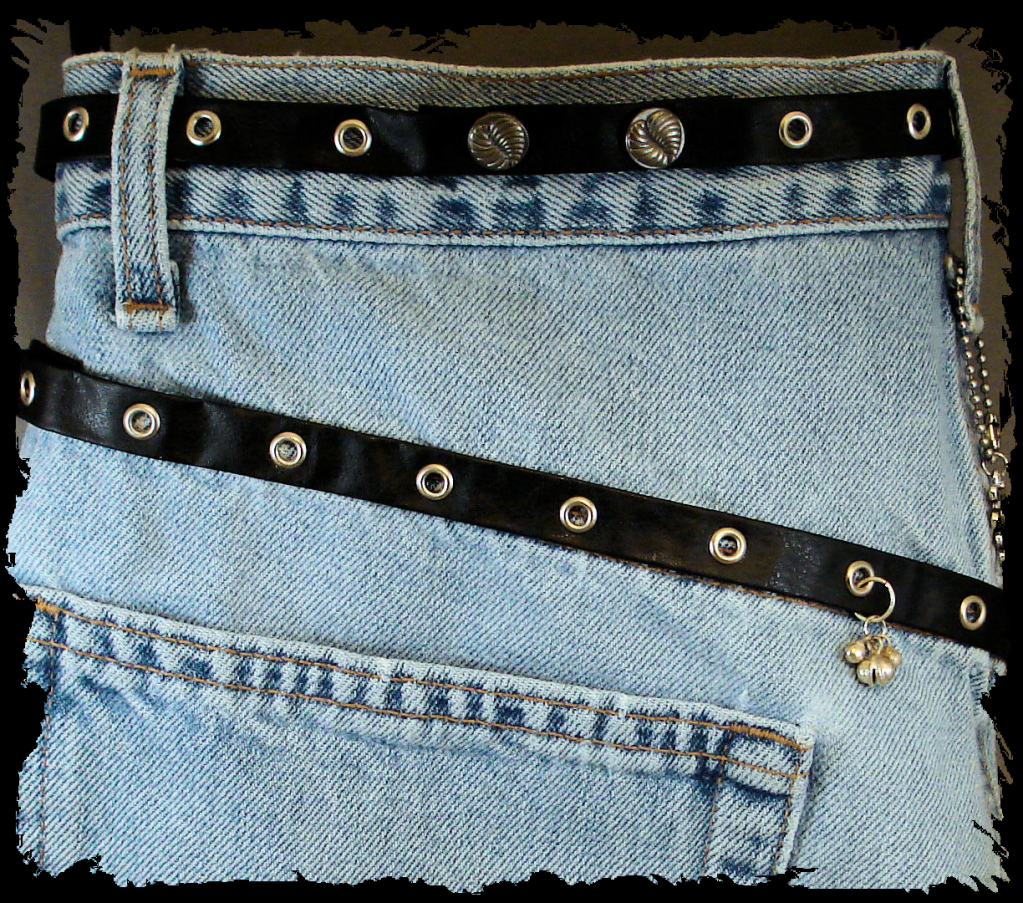
Eyelet trim and silver charms complete the decoration.

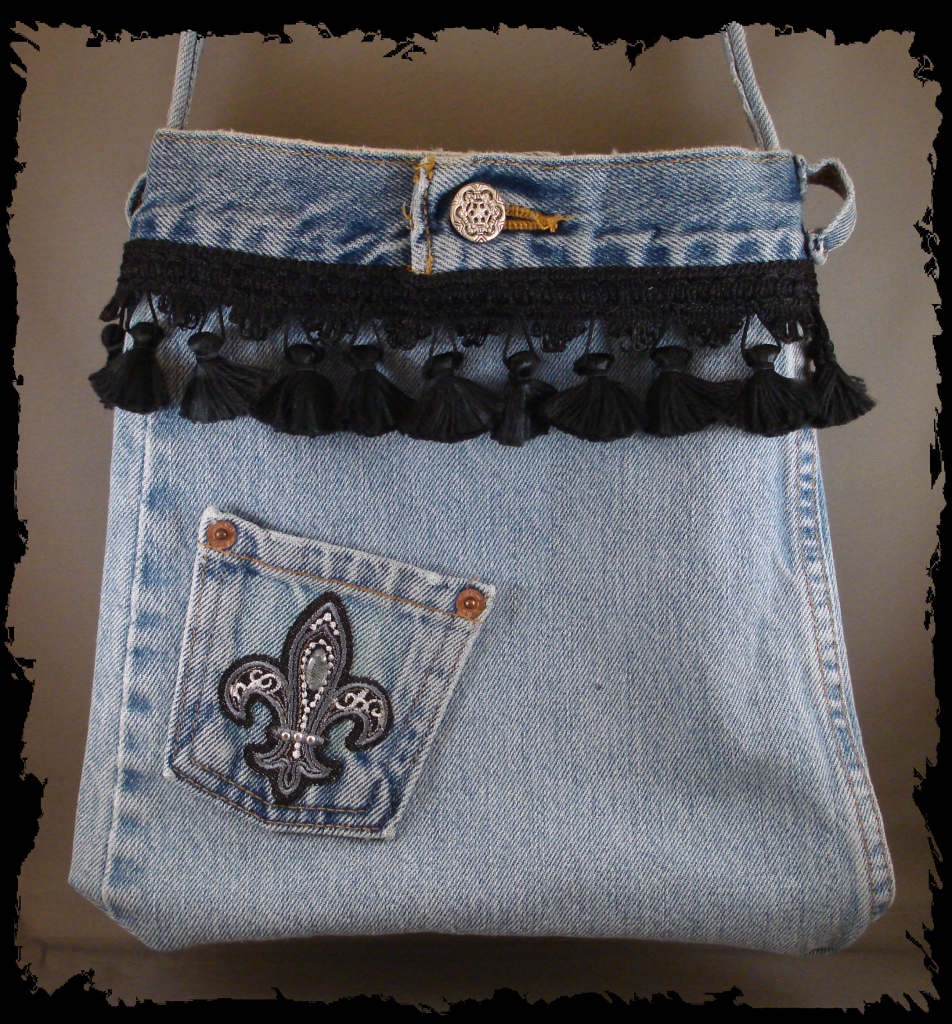
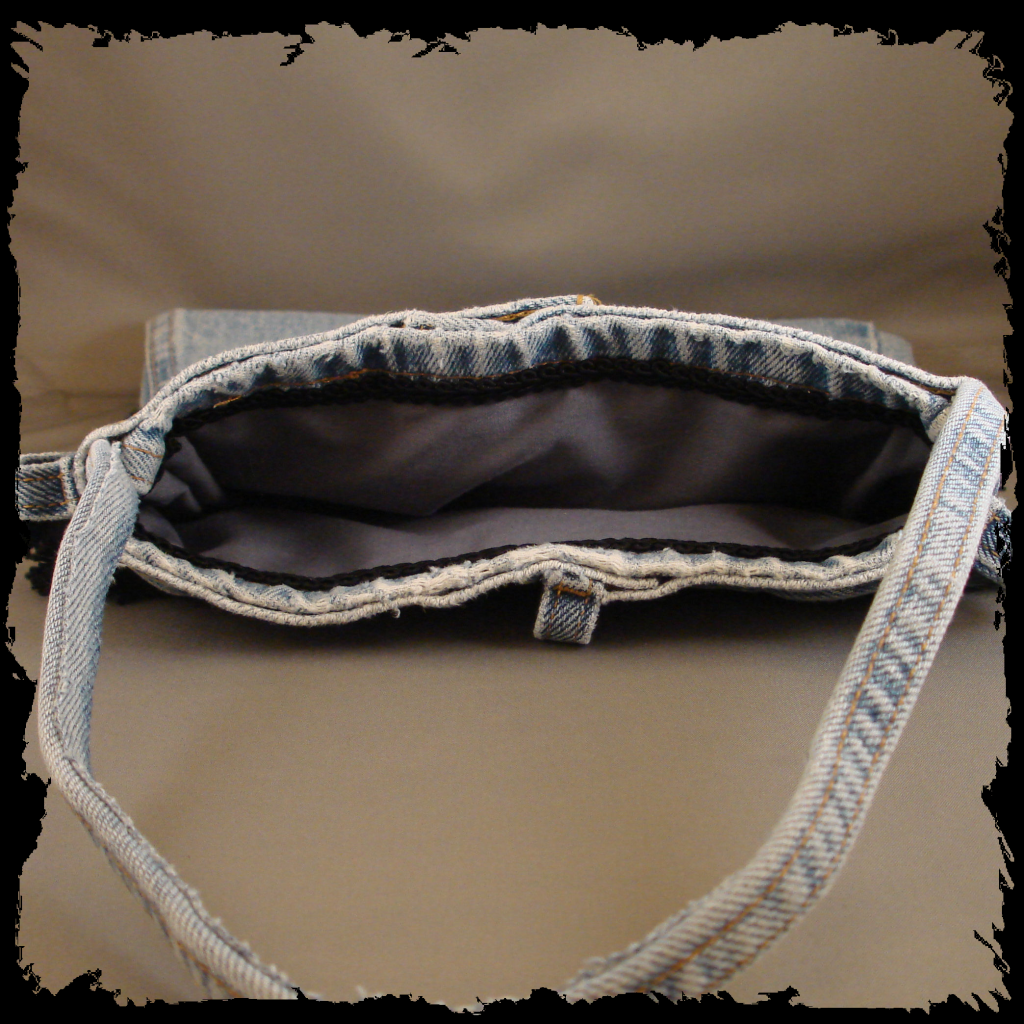
Darling Denim Hand Bag

Lined in light weight gray fabric with tassel trim and a fleur de lis applique.

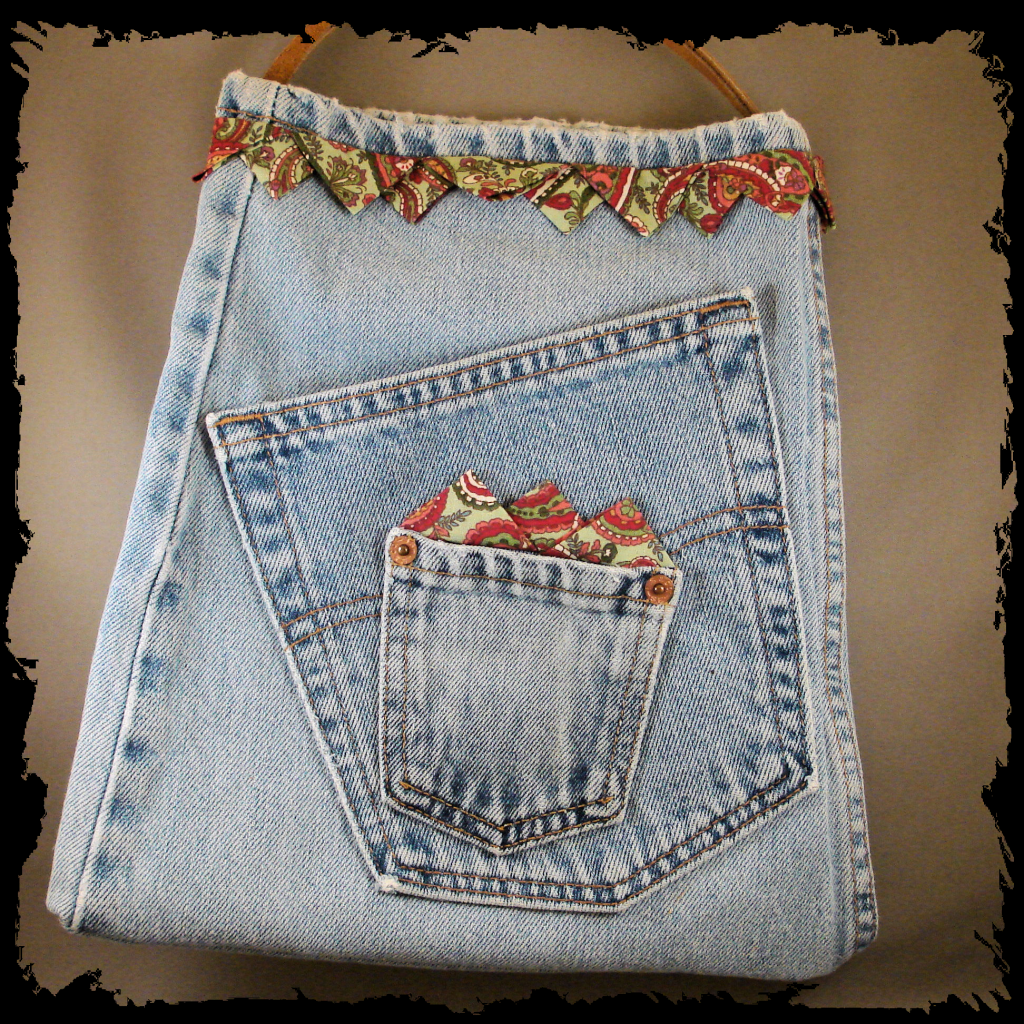
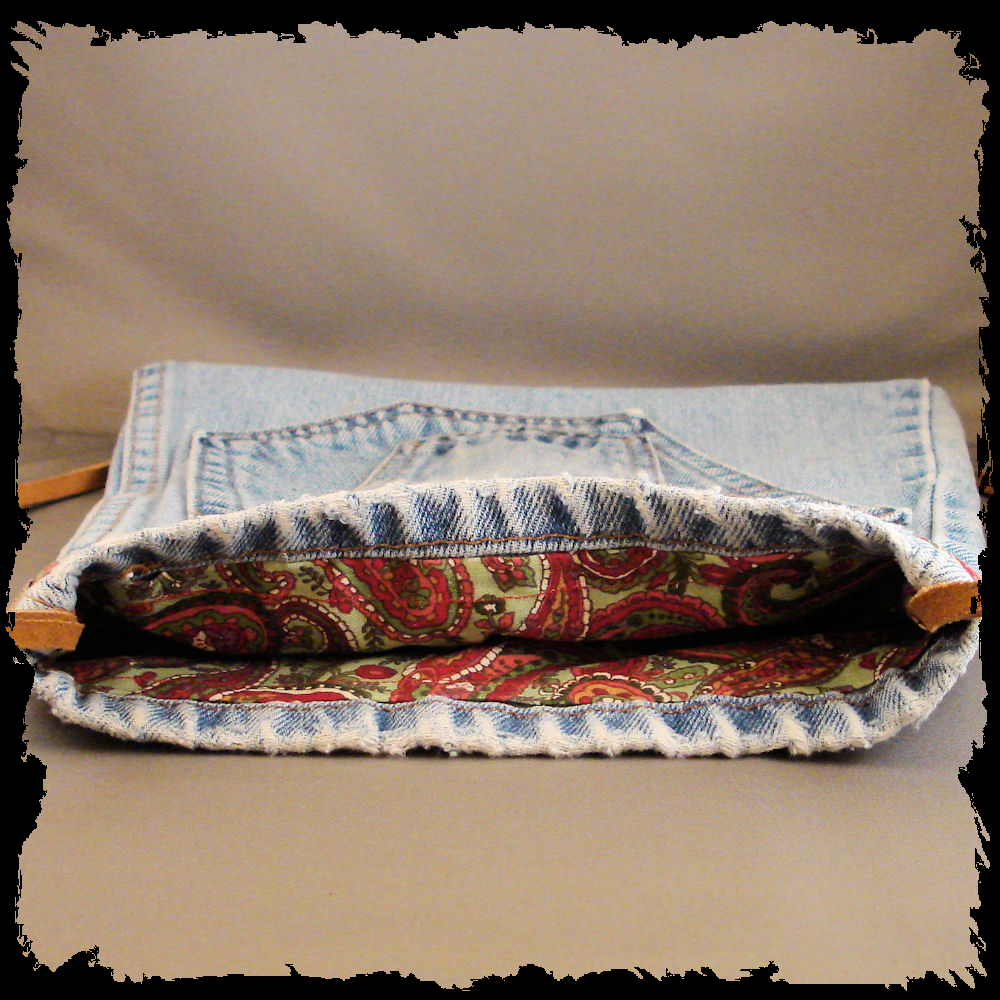
Pointedly Paisley Hand Bag

Lined in cotton print fabric with a suede strap

Thursday, September 2, 2010

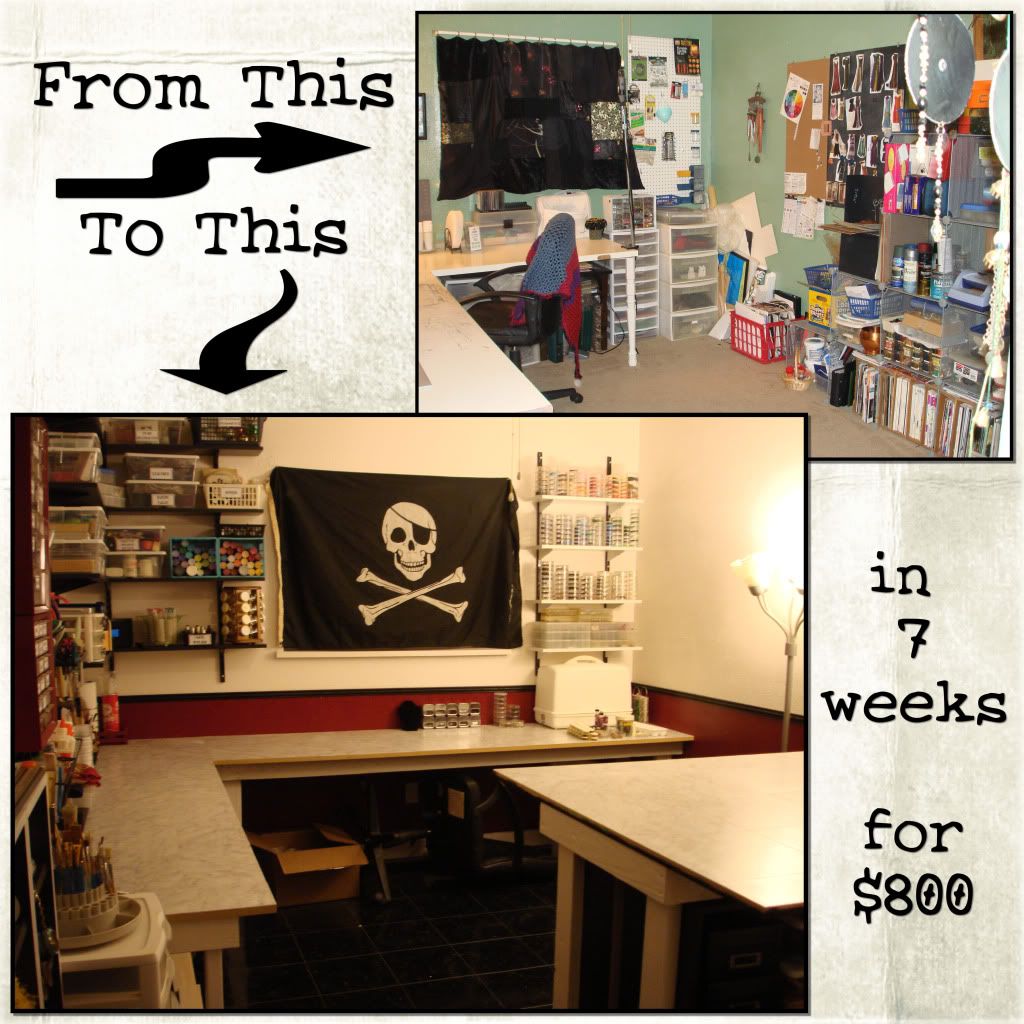
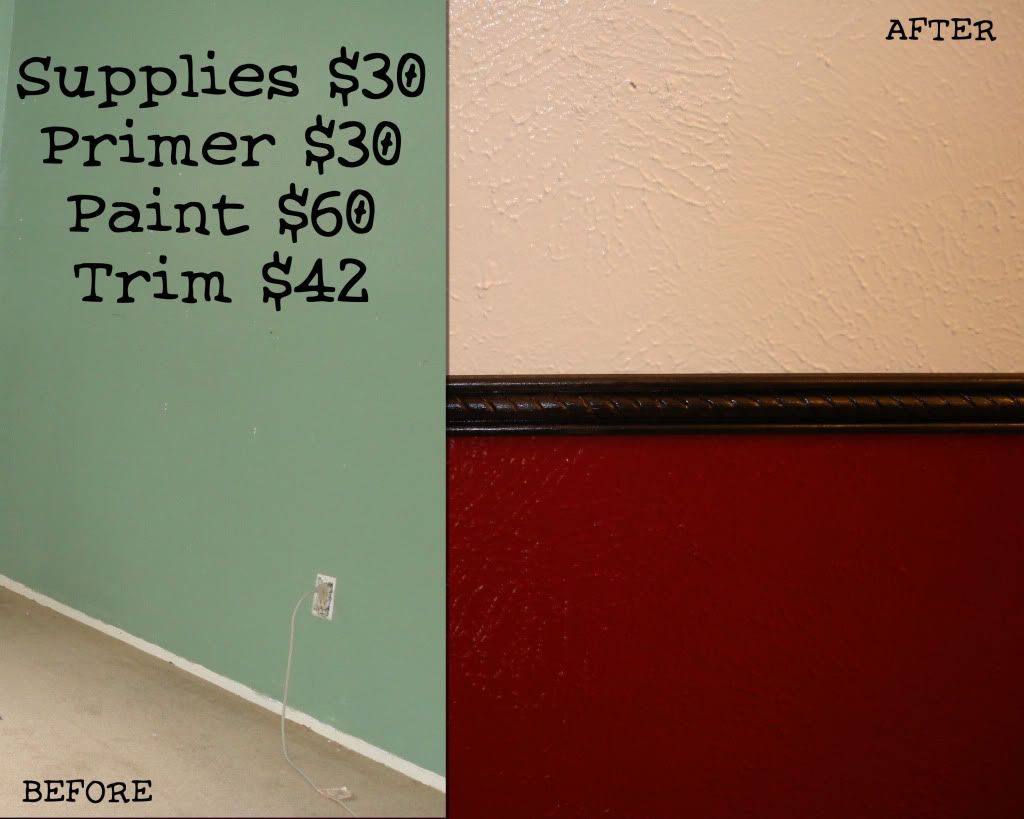
Renovation Progress VII

Monday, August 23, 2010

Renovation Progress VI

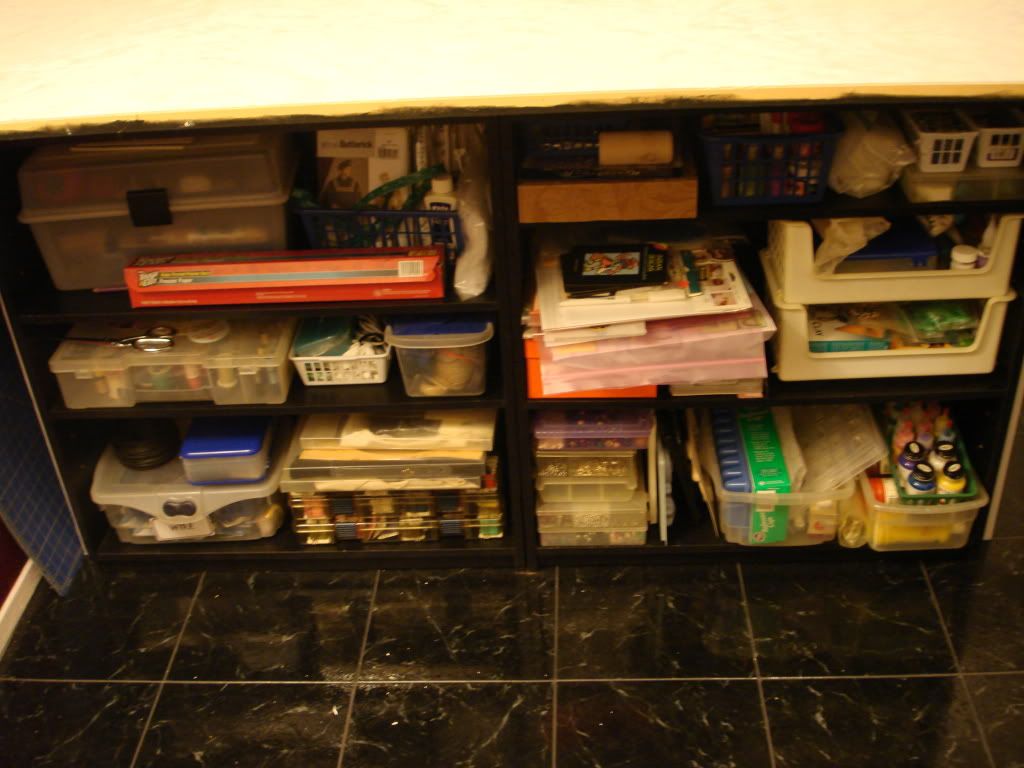
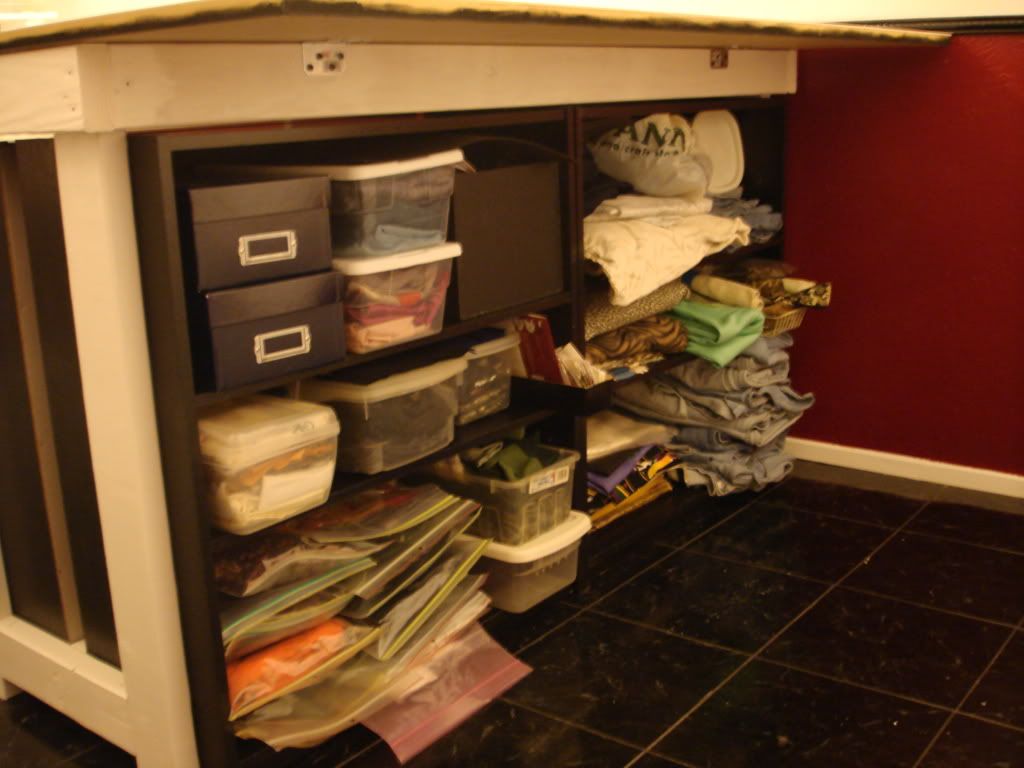
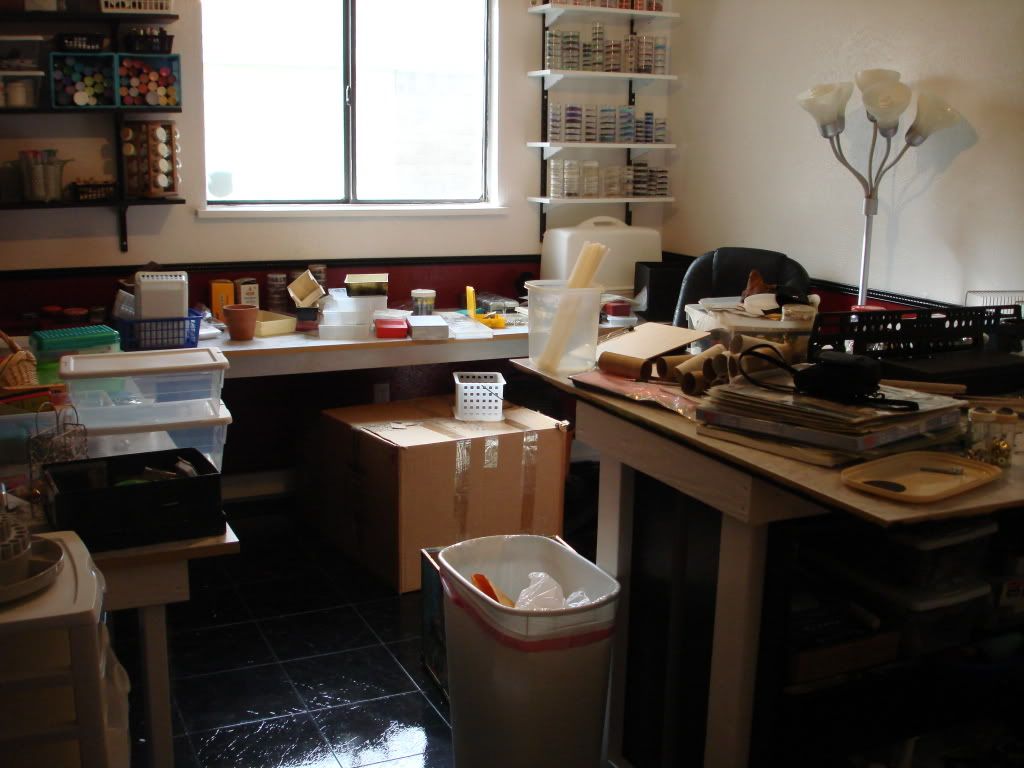
I have finally finished sorting, organizing and putting everything away!

The only thing I didn't do was put the trim on the tables. That is purely cosmetic and I really wanted to get the room functional. I will worry about making it all pretty over the next few weeks.

Wednesday, August 18, 2010

Renovation Progress V

The only renovation work left to do is attaching the moulding to the edges of the tables. That shouldn't take very long but it does require setting up the miter saw again.

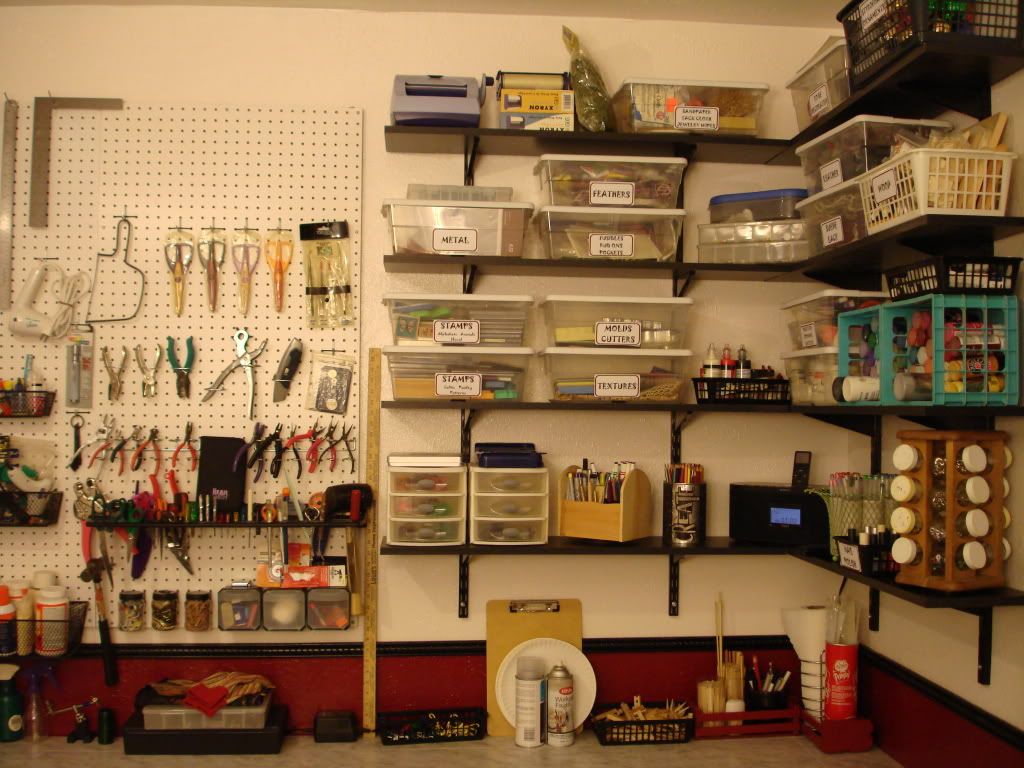
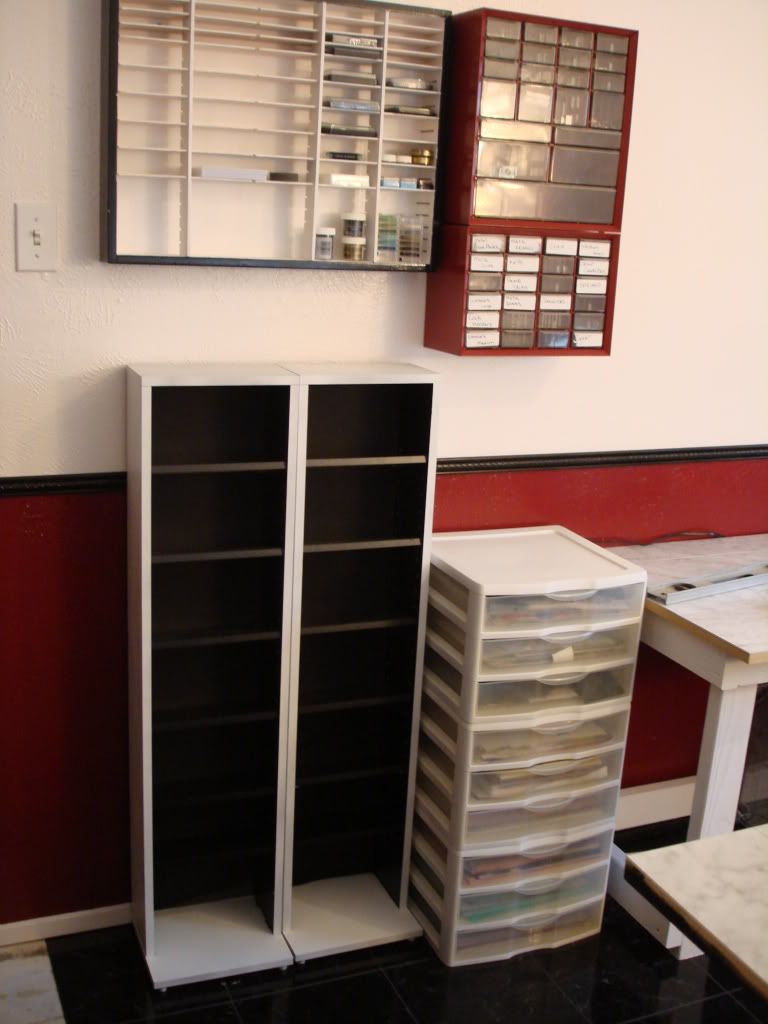
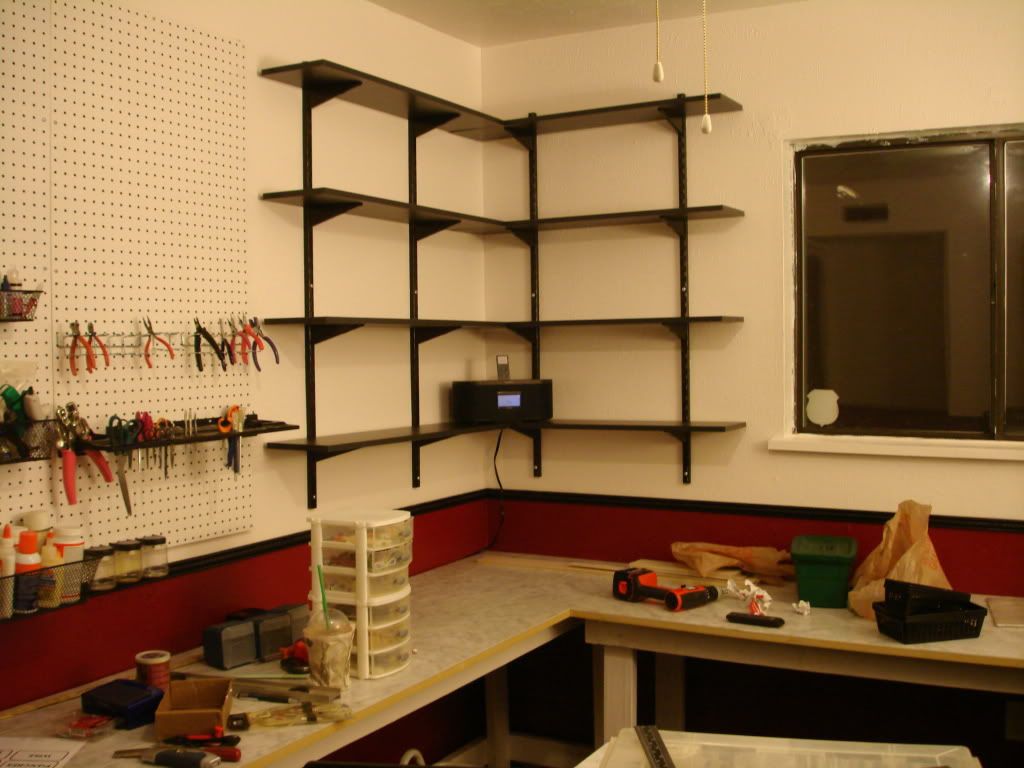
I had already planned out where I wanted everything hung so it didn't take too long to get a few things up on the walls. The plastic boxes hold all my paper, the DVD towers store my ribbon, the cassette holder on the wall is for my inks and glitters and the red drawers are all my metal collage doo dads.

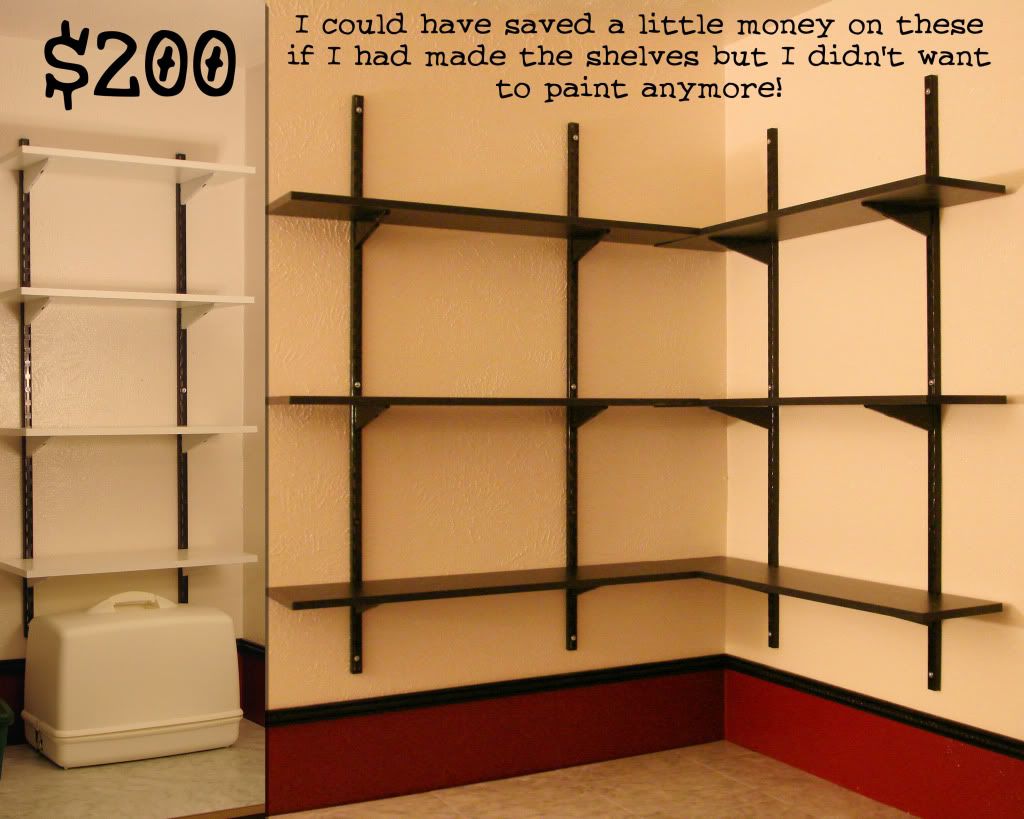
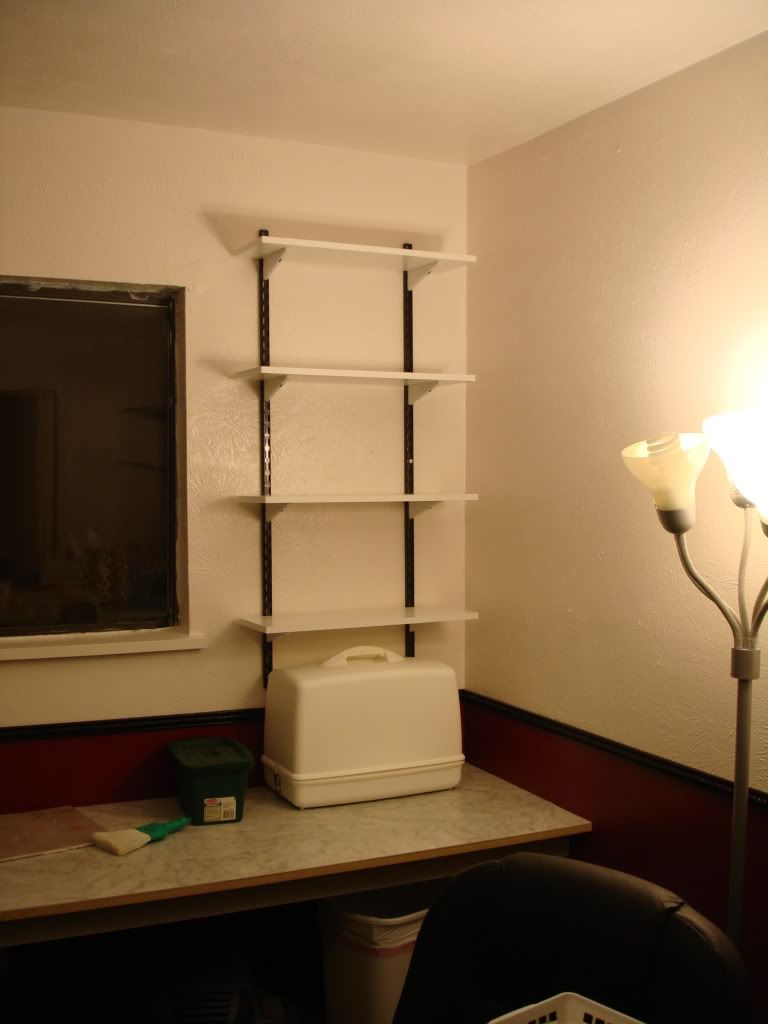
These shelves will hold all my seed beads and my sewing machine will live underneath.

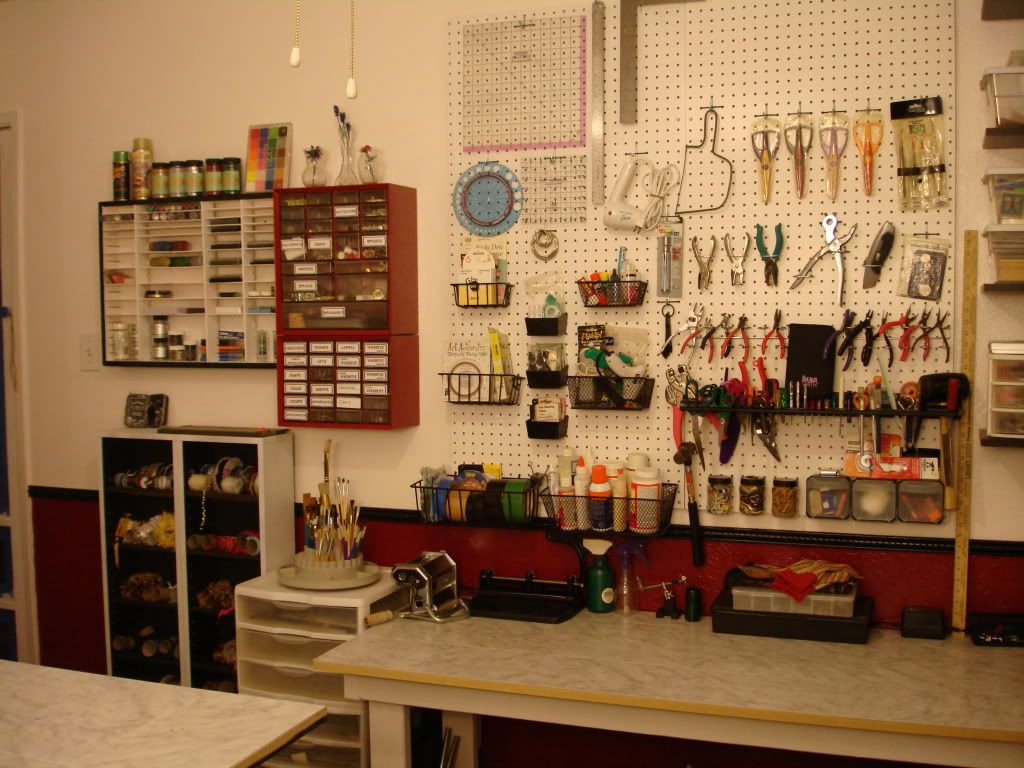
The pegboard is one of the most important things and I didn't even take a picture of it before I started loading it up. It holds all my tools, my glues and tapes and all my rulers. These shelves over my table will hold everything from pens, pencils, markers and paints to rubber stamps, punches, embellishments and things to be decorated.

I'm trying very hard to be organized and make a place for everything. The whole point of this project was to make my room more functional. I can't wait to find out if it worked!

Thursday, August 12, 2010

Renovation Progress IV

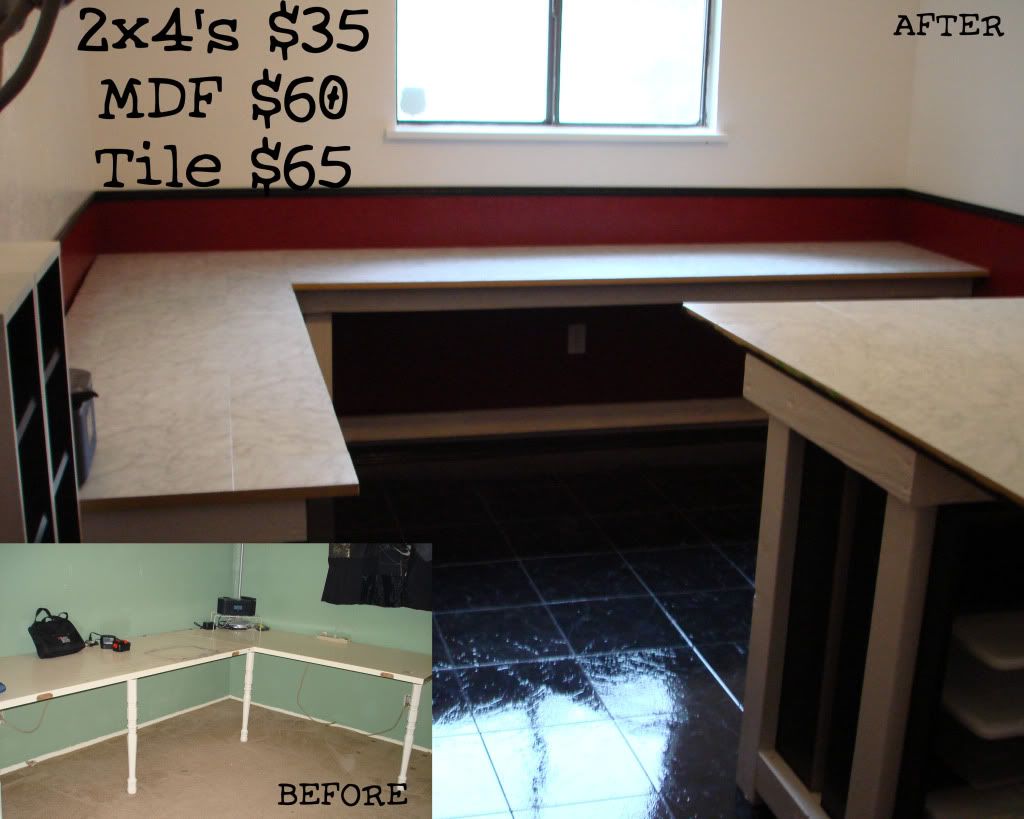
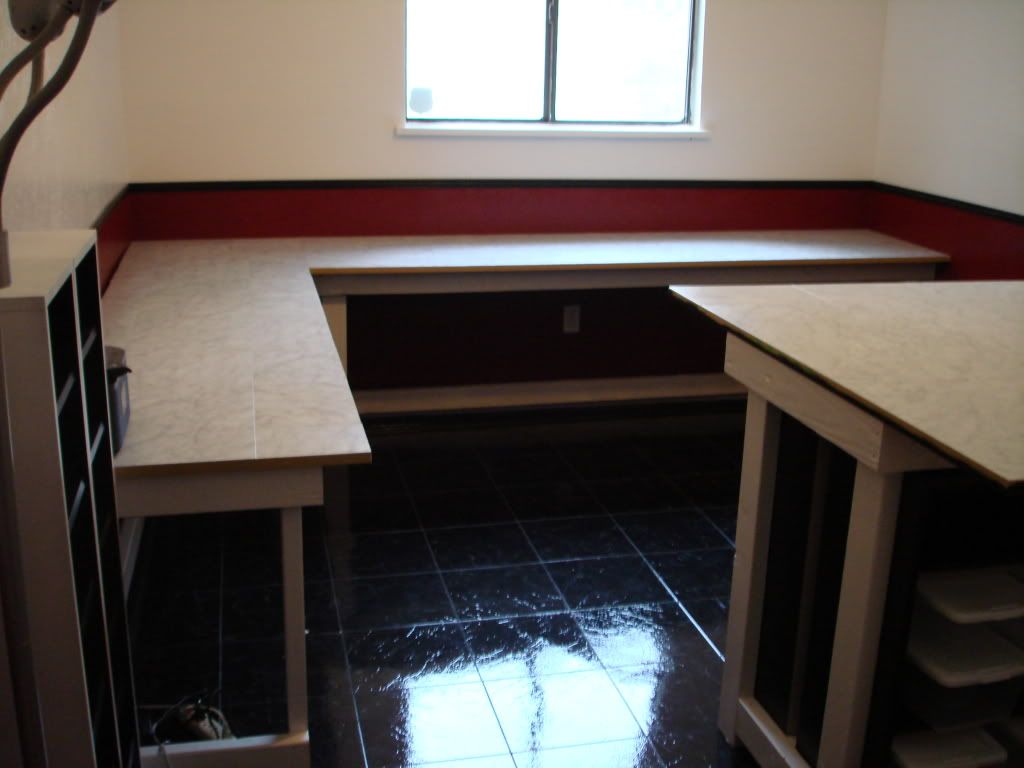
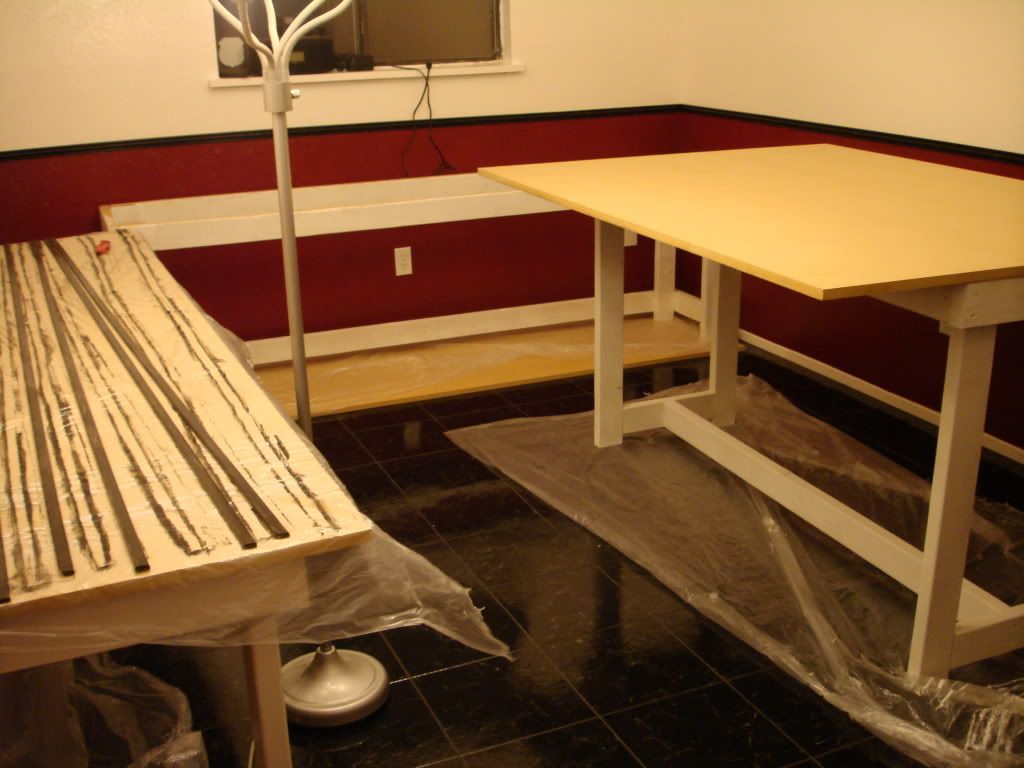
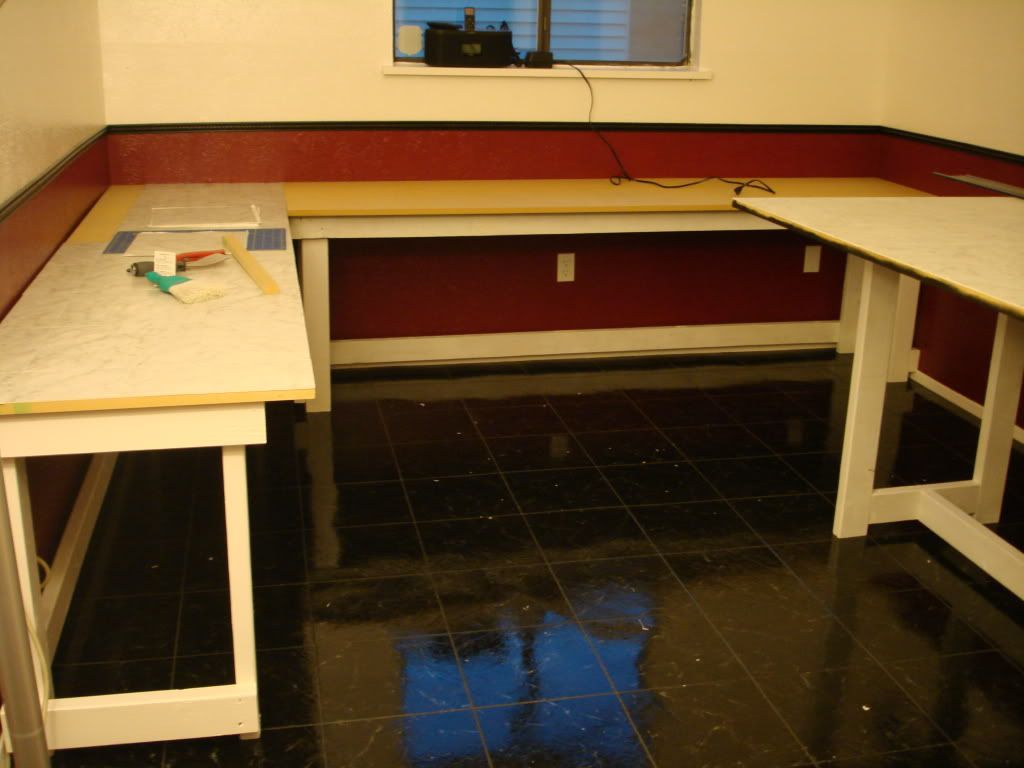
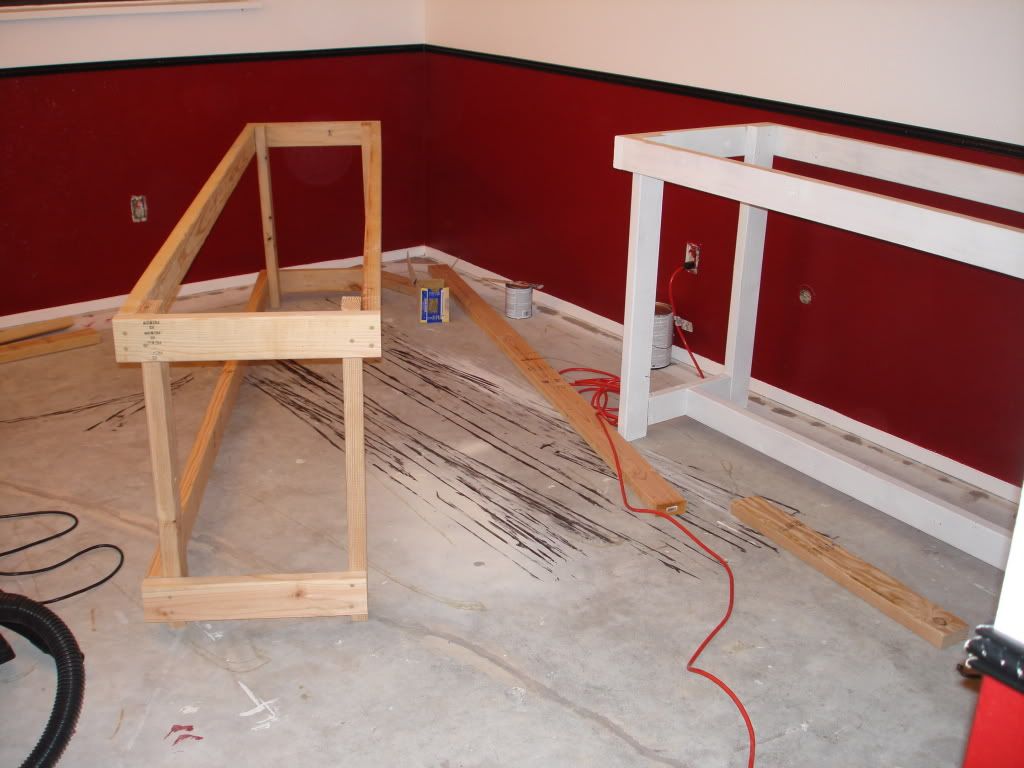
After we finished building the island table we started working on the other tables. They would be two 2' x 8' tables in an L configuration under the window.


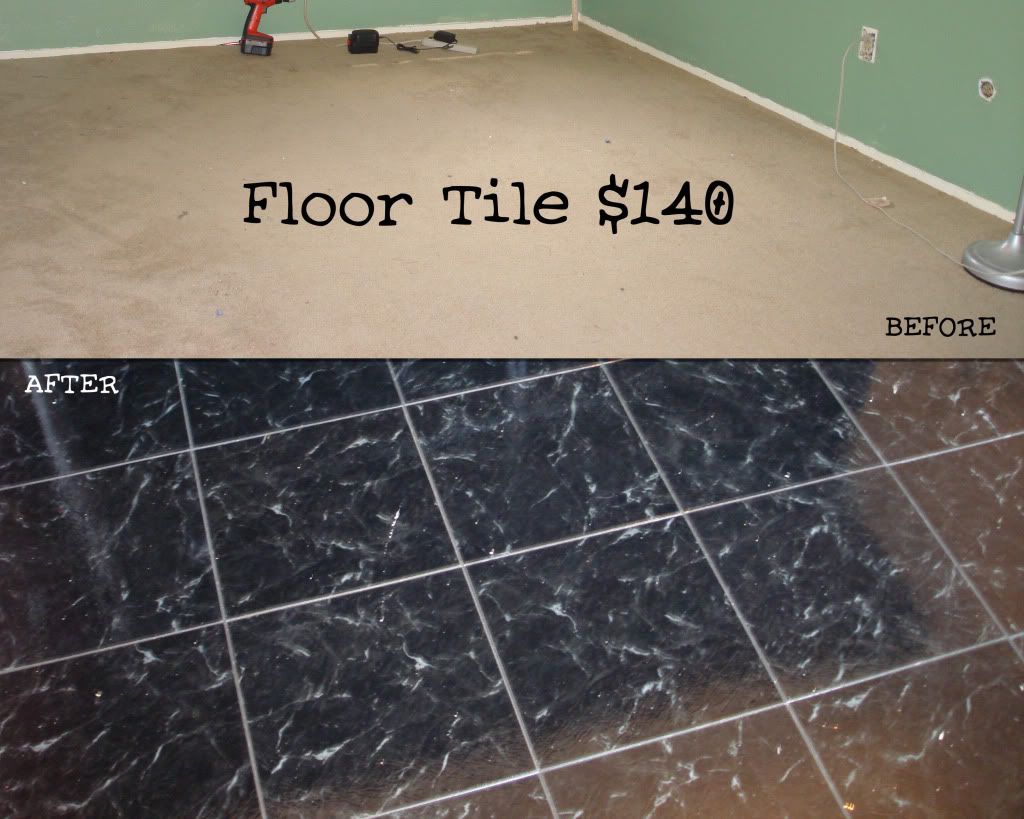
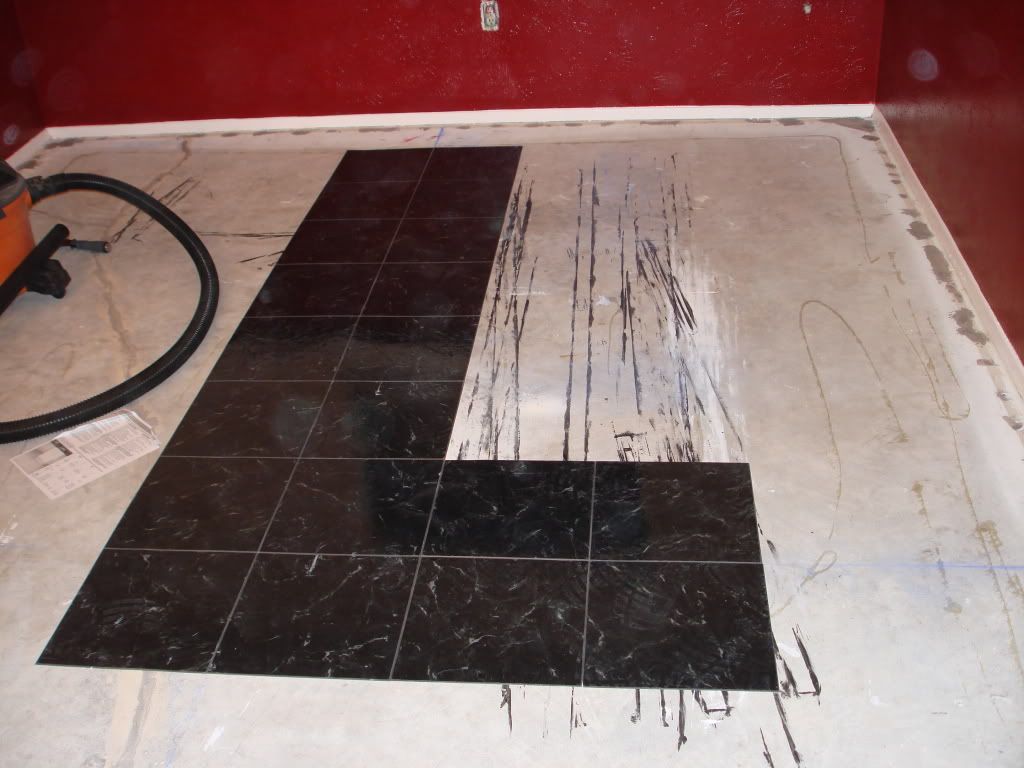
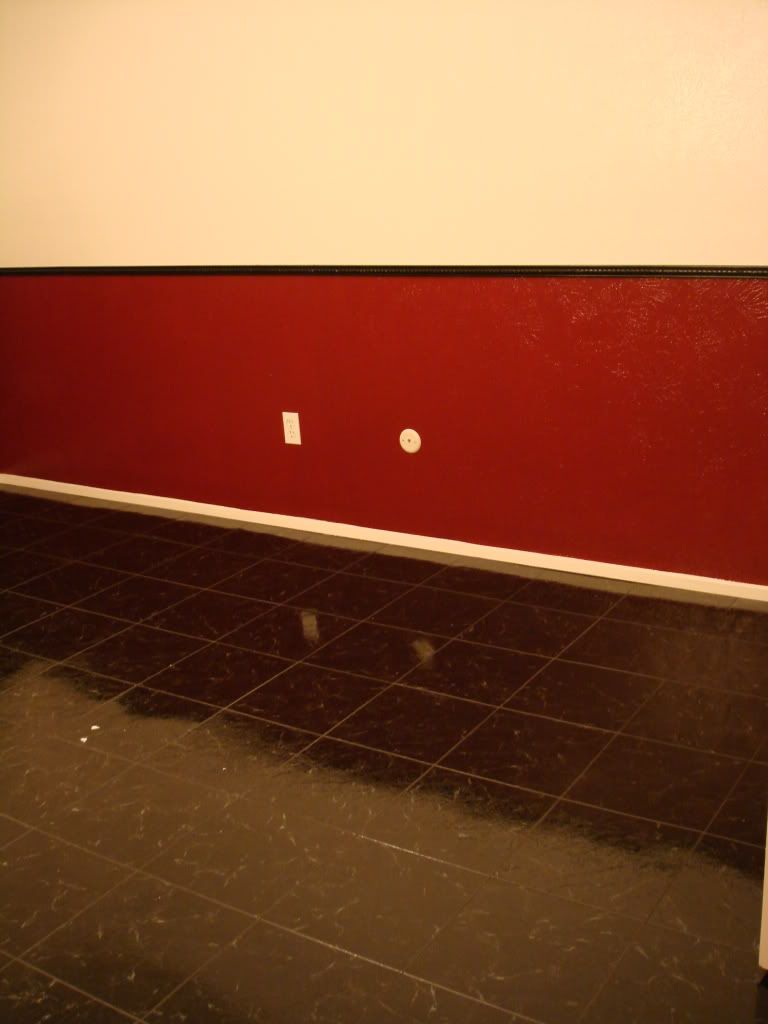
Once we were done with all the cutting and sanding I had to thoroughly clean the room again. It's a hassel but with the weather here it really made more sense than trying to brave the heat and mosquitoes outside. After the cleaning we started laying the floor tiles.

I continued to lay tile while Allan took care of some electrical work. The outlets were loose, so they all got replaced along with the light switch!

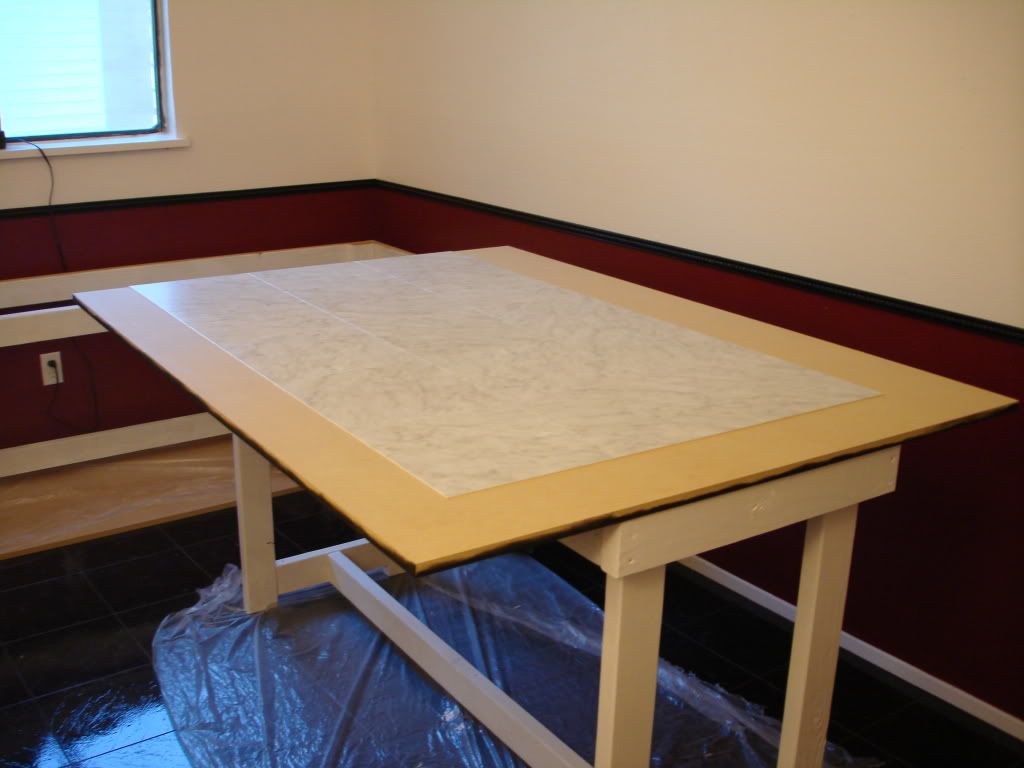
We moved all the tables and the table tops back into the room and began giving them the finishing touches.

The tile I chose for the table tops is almost an exact negative of the tile on the floor, but it is a matte finish instead of glossy.

Almost done with the table tops!


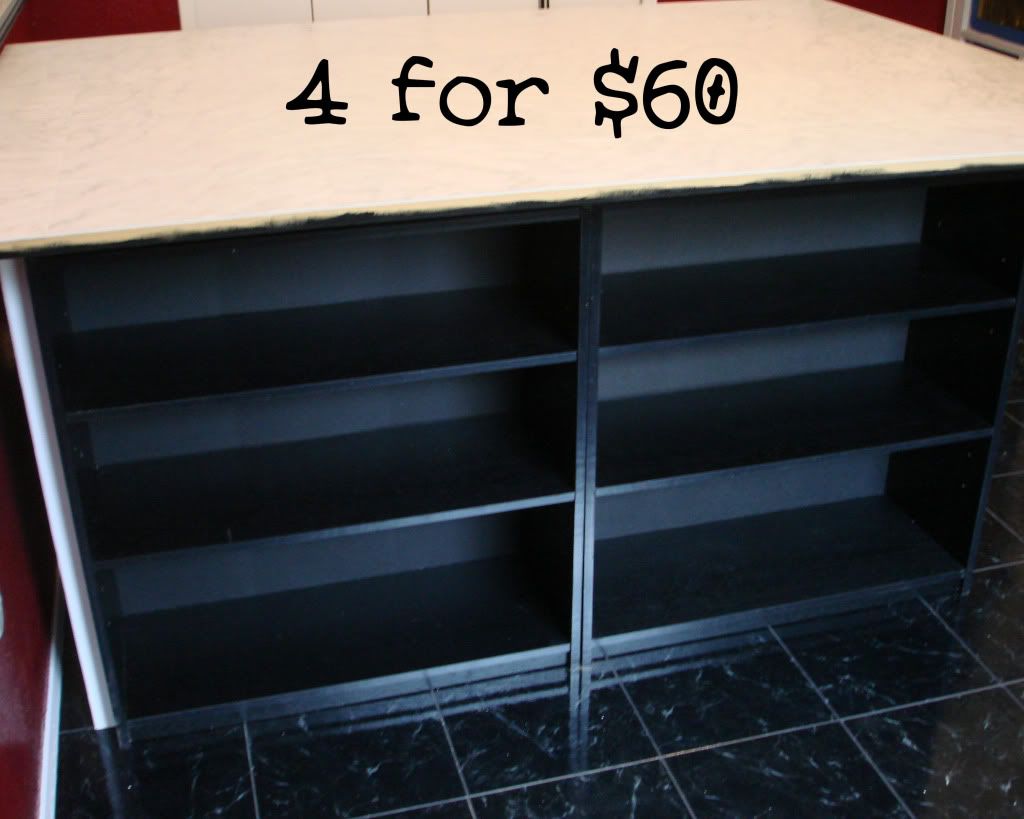
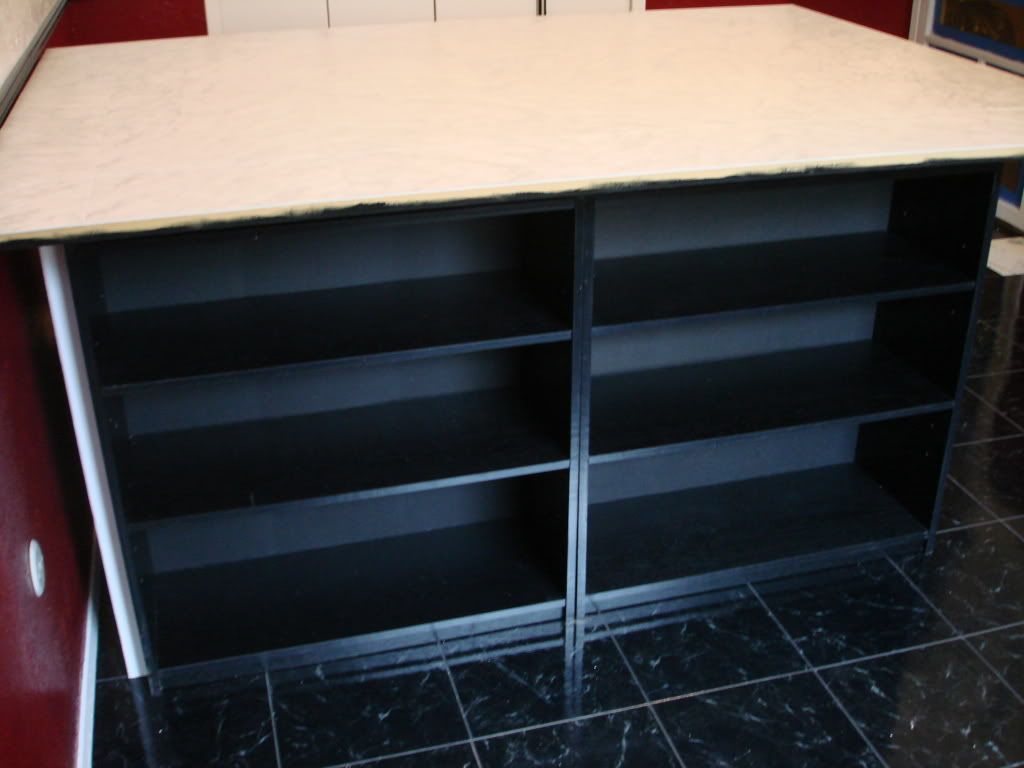
I swung the island into position and arranged the shelves underneath it, 2 on each side. The shelves are from Walmart for $15 each and they will provide excellent storage on both sides of the room!