Saturday, July 10, 2010

I think I may have lost it...

My mind, I mean. I finally got fed up with the way things were in my room and spontaneously started moving all my supplies out. I quickly filled closets, corners and finally just piled the last few boxes right in the middle of the living room!
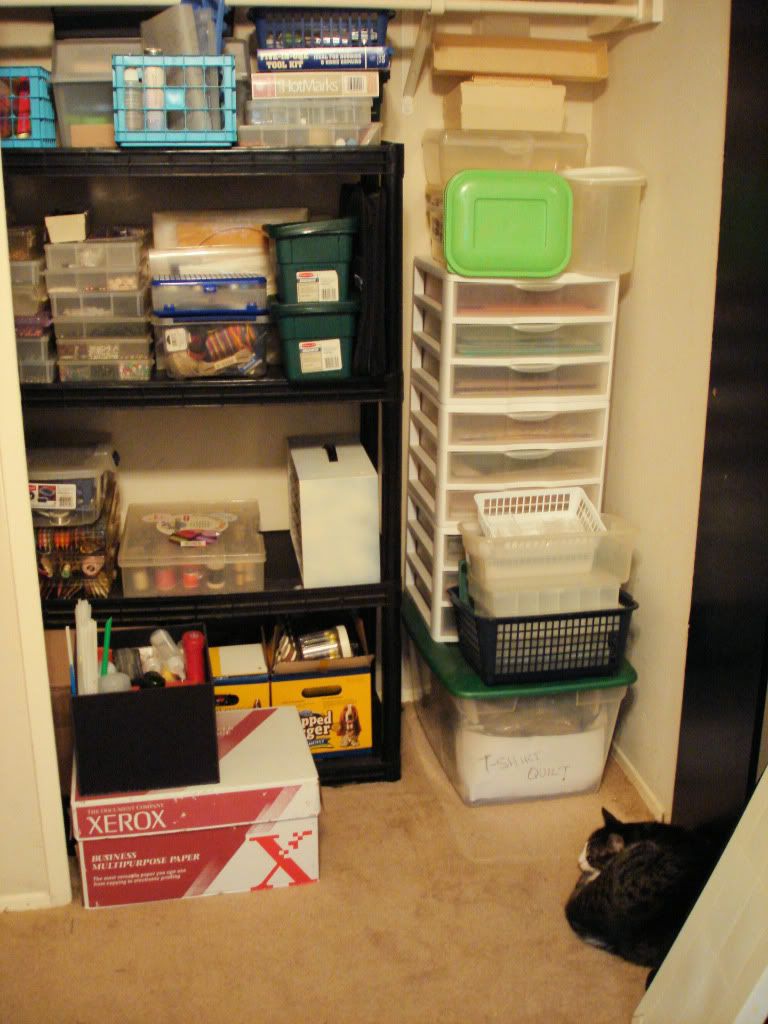

I had to get everything off the pegboards and then get the pegboard and the shelves, and the cork/chalk board, and the art off the walls.
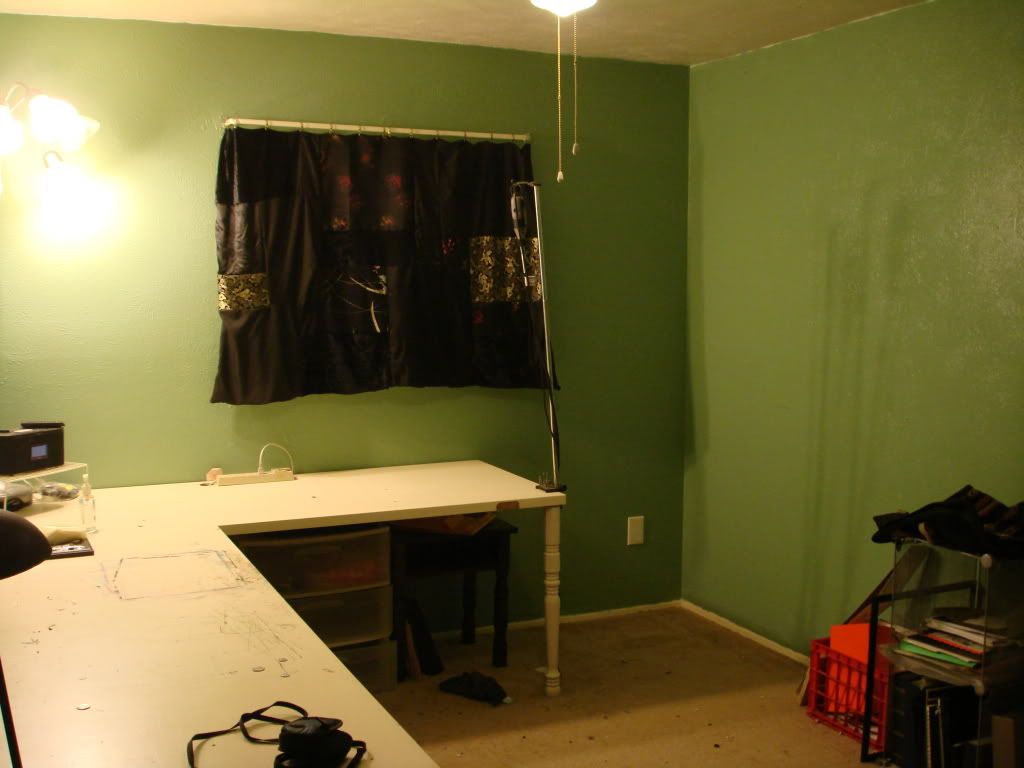

Once everything was out, I had a chance to vacuum. First time in a long time for that! I also remembered to put the drill on the charger so it would be ready when I was.
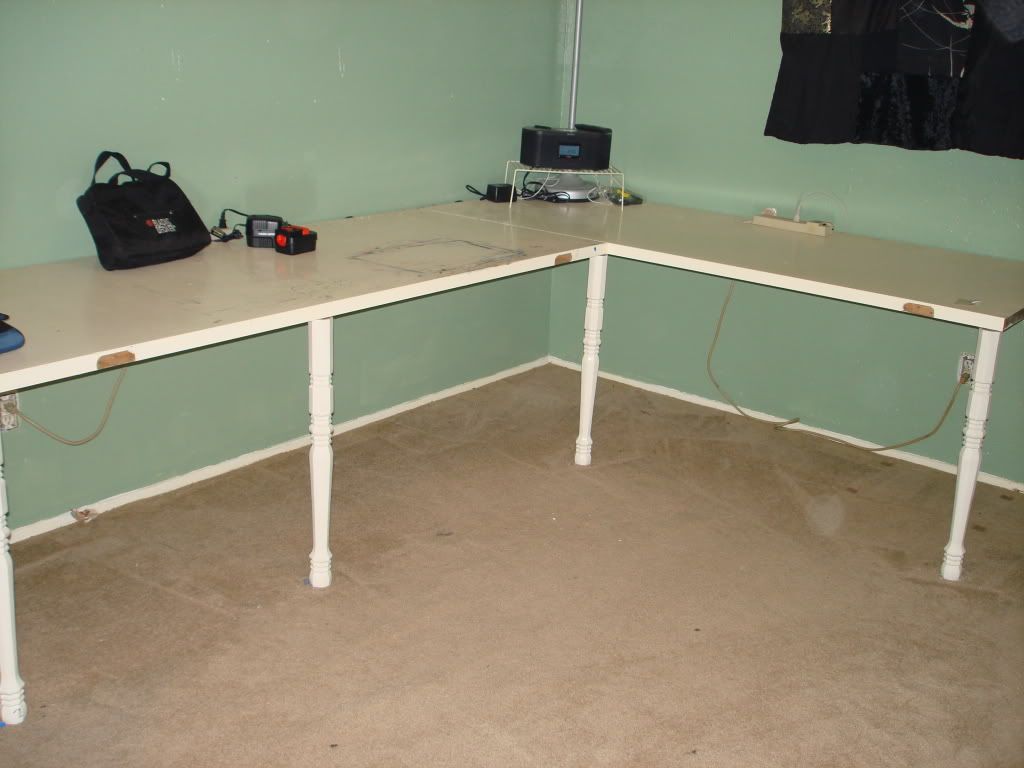

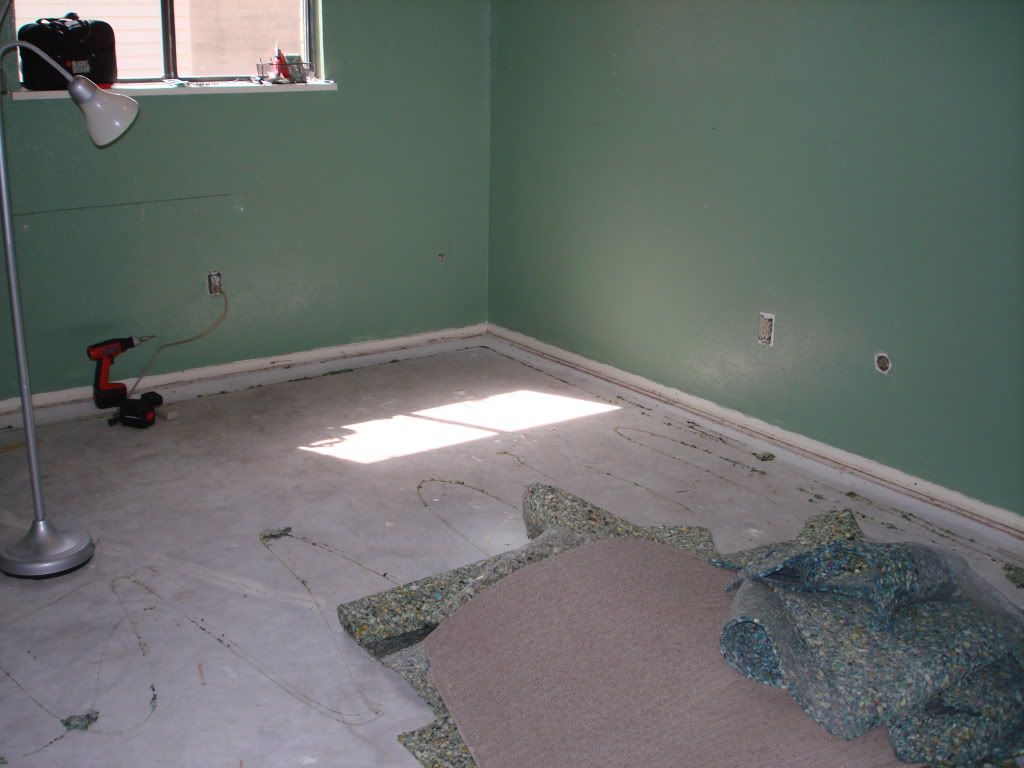
I got the tables taken apart and the supports off the wall and now the room is technically empty!
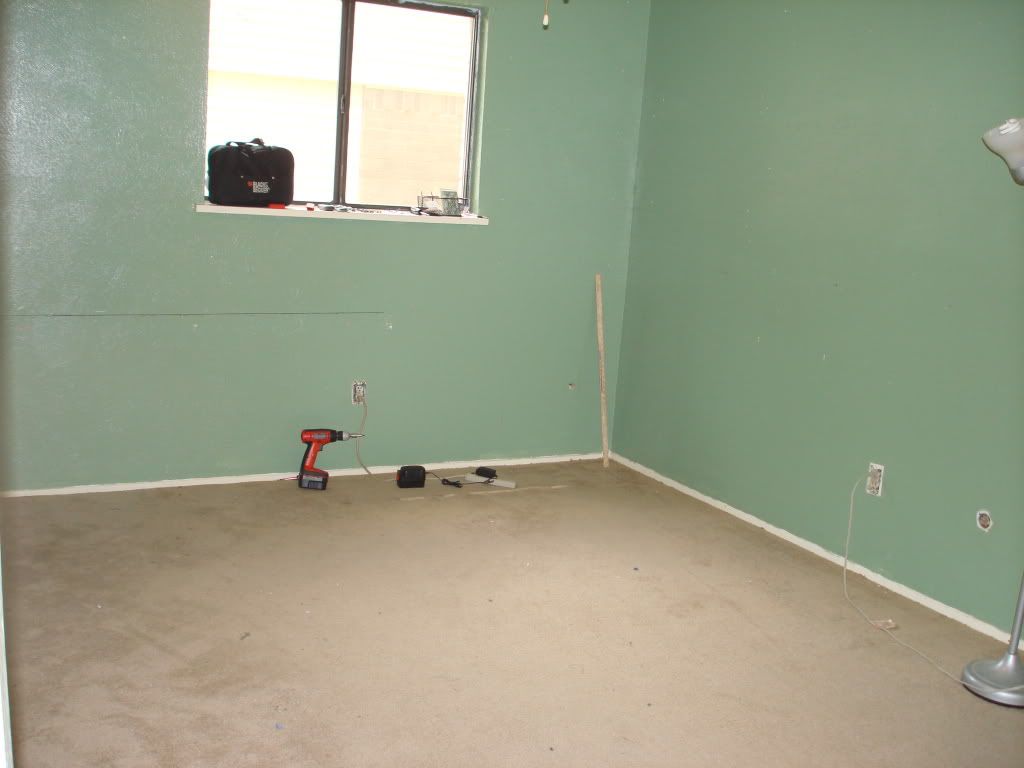

There was never any doubt about getting rid of the carpet. I hate carpet! So I cut it into a few sections to make it easier to handle and started pulling it up from the tack strips.
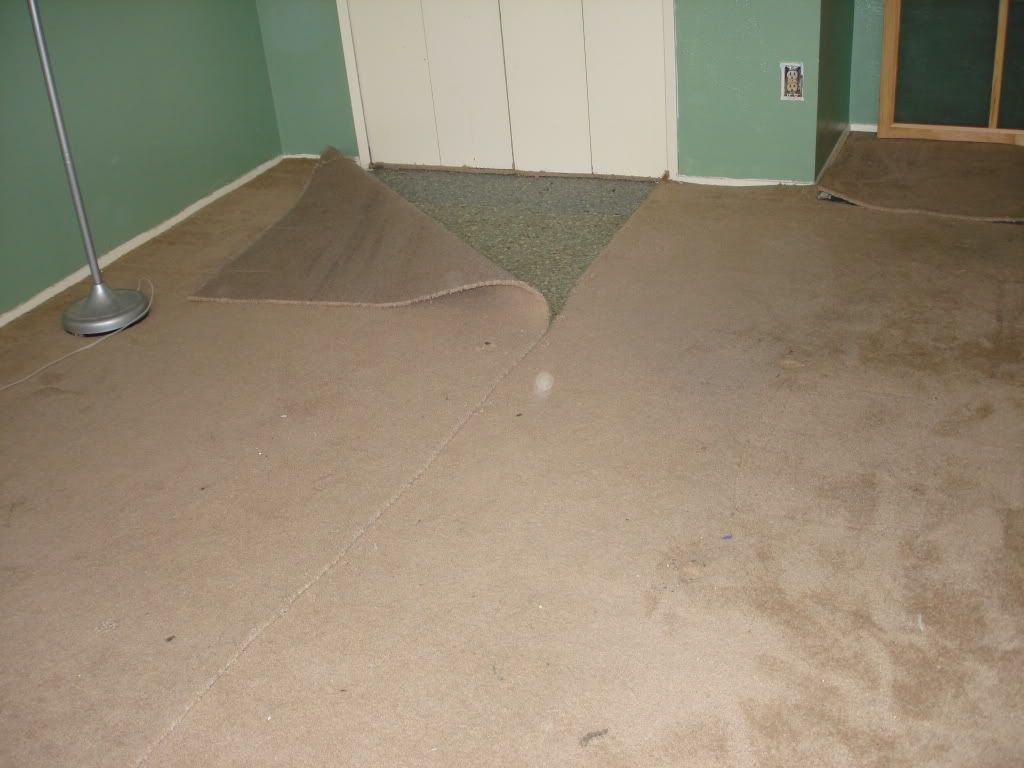

With the carpet and pad removed, the destruction phase is complete!
Tuesday, June 22, 2010

Shrines

"Jack Of All Trades"

I have a bunch of containers of all different kinds and I decided I wanted to make some shrines. After looking through my collection I chose a couple miniature dollhouse china cabinets, an altoid tin and a few matchboxes. Only the altoid tin has been completed so far.

"Día de los Muertos"
(Day Of The Dead)

"Moonstruck"
Now that this one is painted I'm gathering things to put in it.

These matchbox shrines are covered in clay. Next step is to paint them!

Wednesday, May 12, 2010

Who Do That Voodoo That You Do Soooooo Well Part I

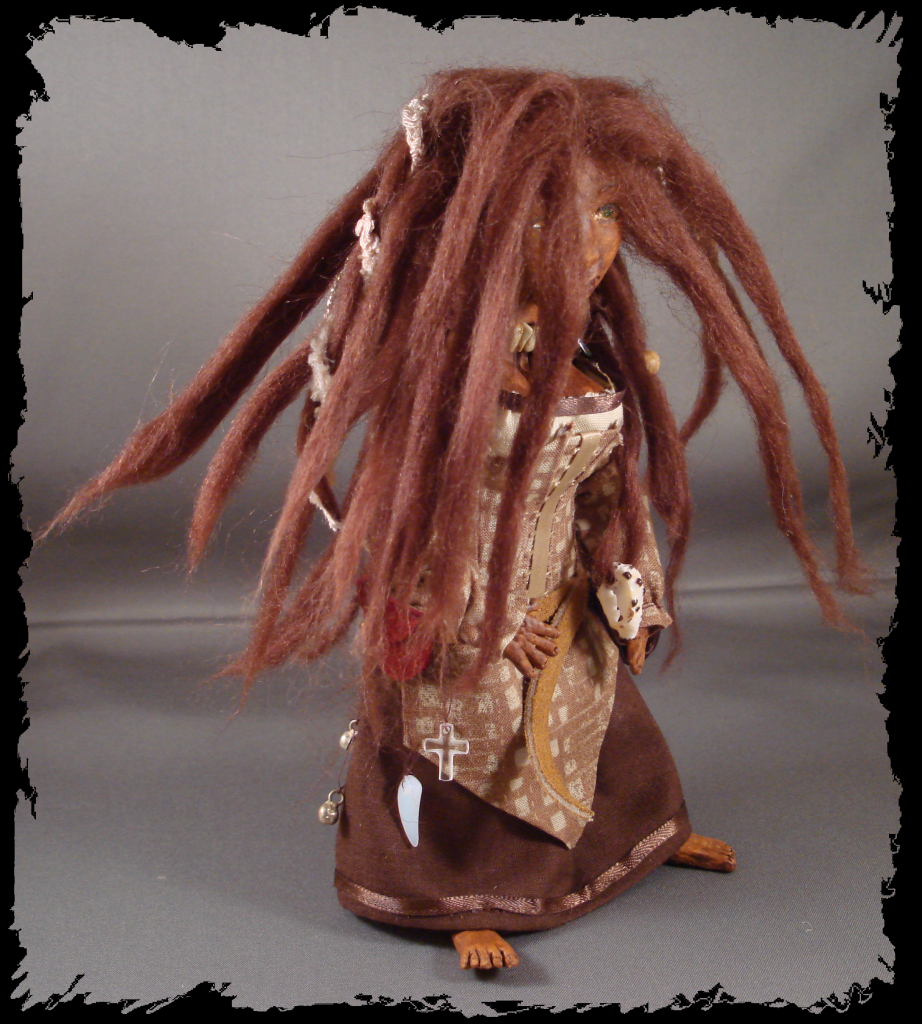
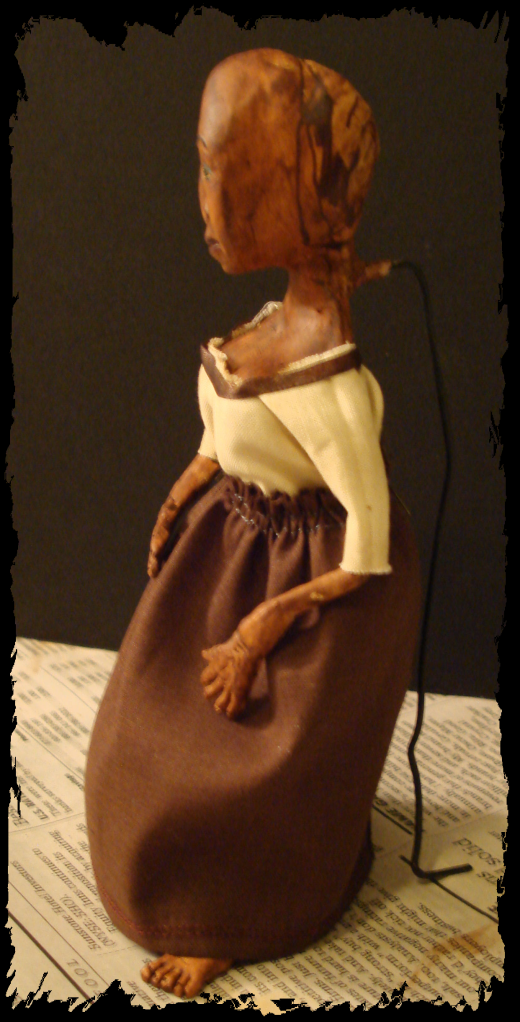
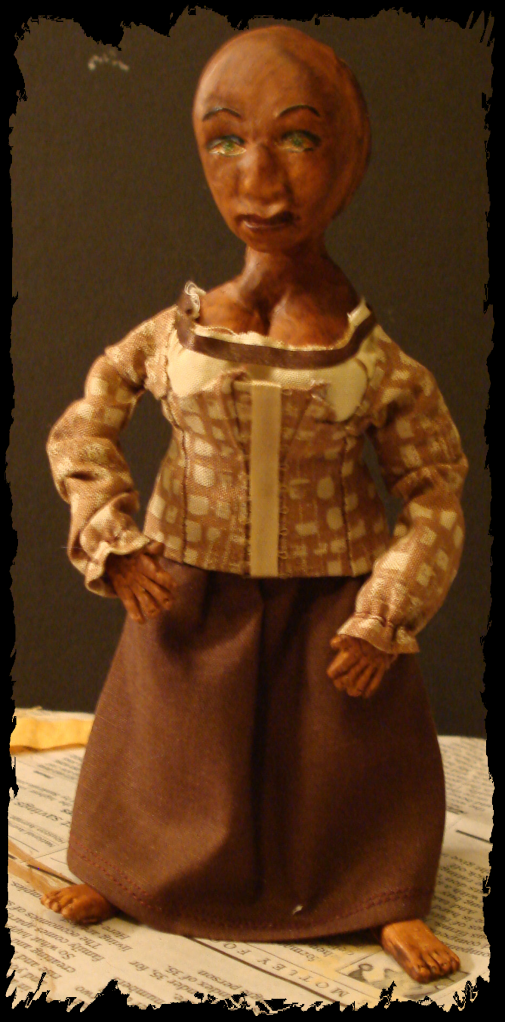
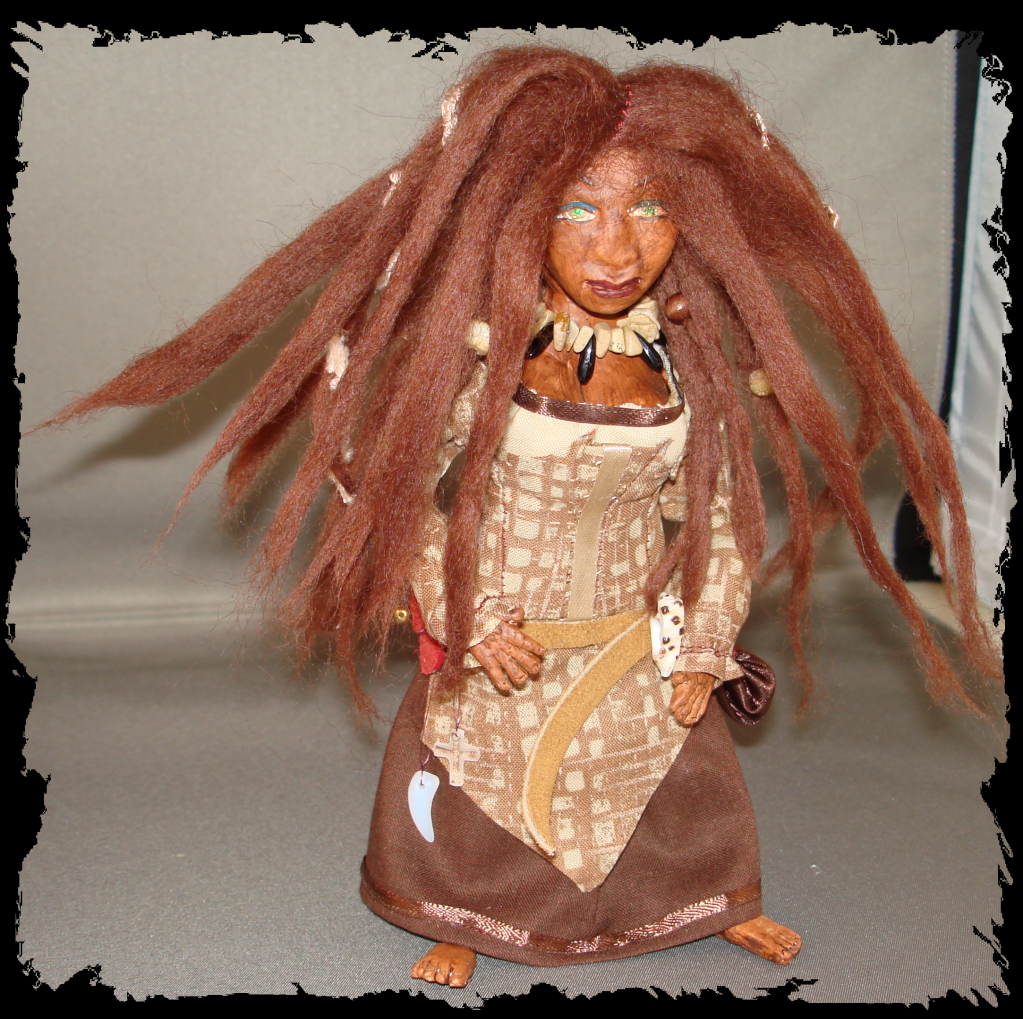
Here is Voodoo Mama!
I started working on her awhile back and my ideas kept building on themselves.

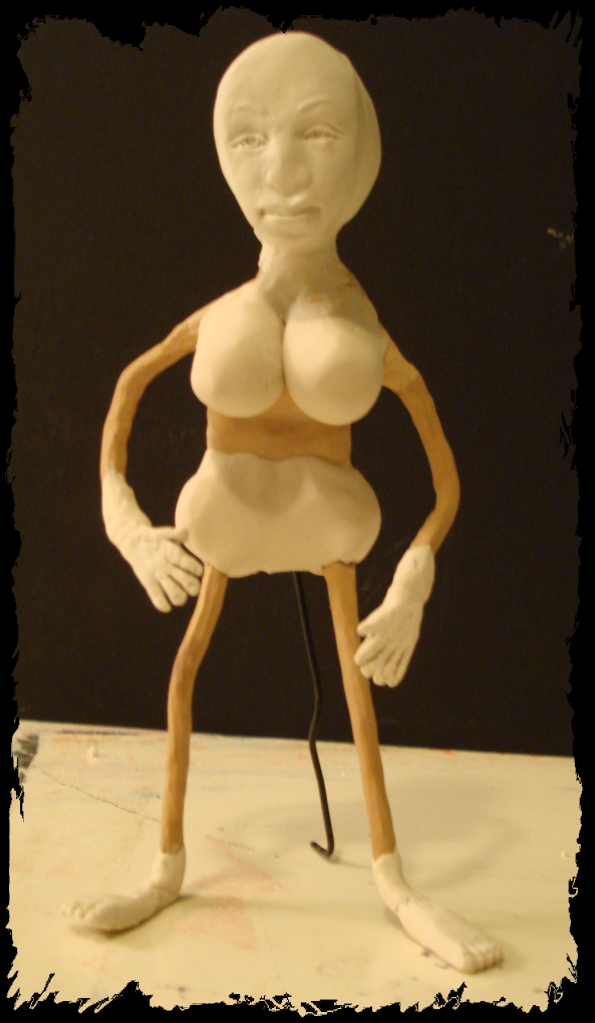
I started out by making an armature out of heavy gauge wire that would stand up by itself. I coated it thinly in clay, then went back and added the face, hands, feet and boobies! BIG boobies!

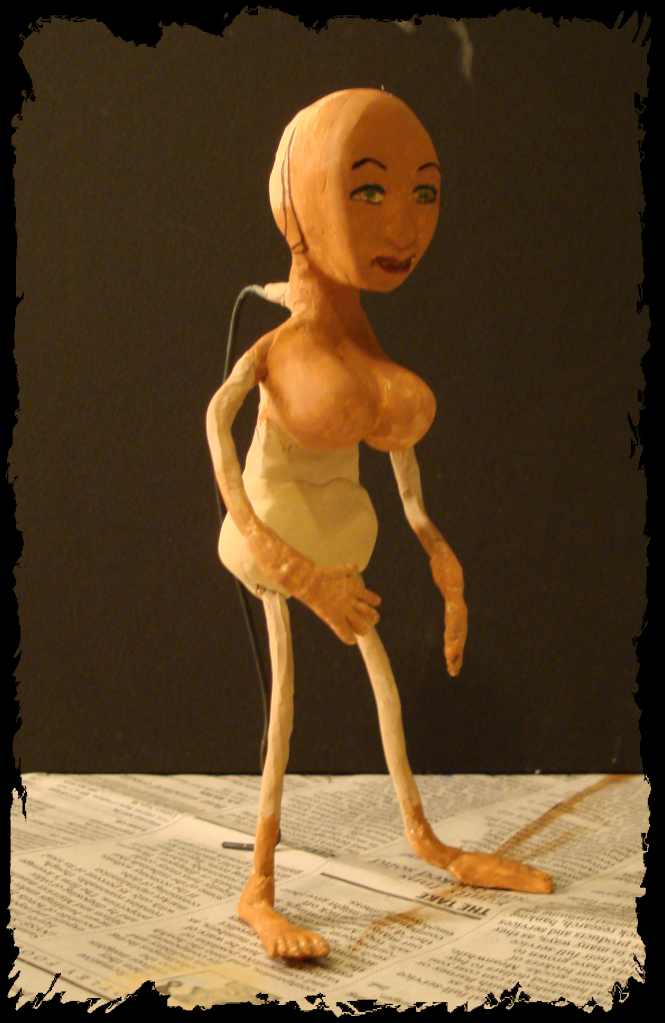
A little paint and she is starting to look like somebody so now I need to get her dressed!

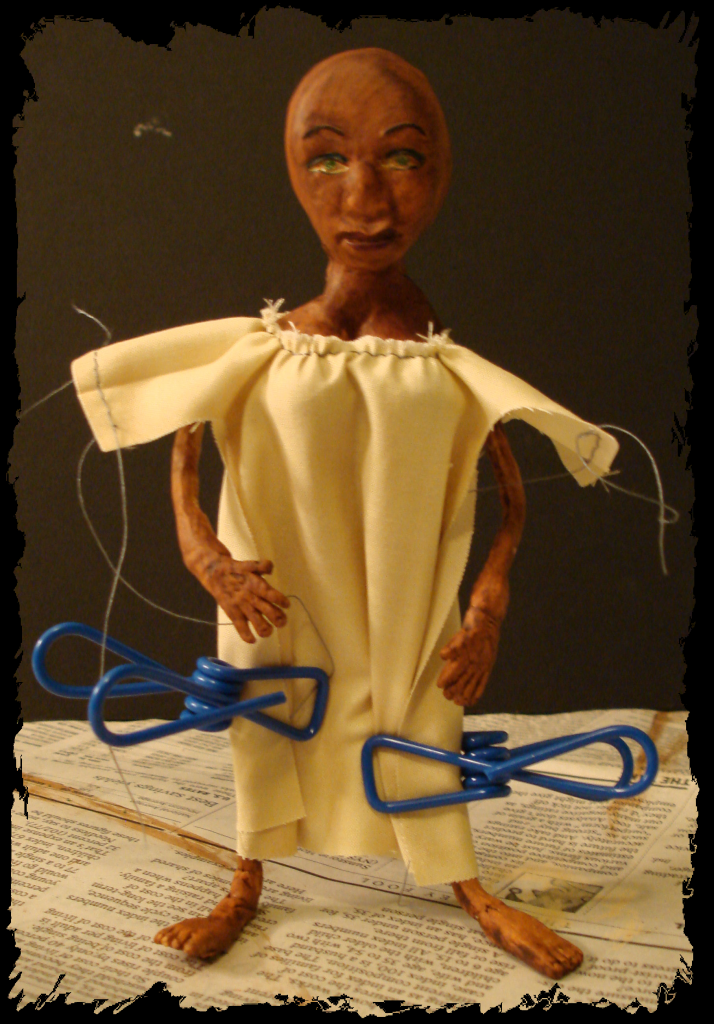
Her underwear

A skirt and a little trim around her top make her decent but I don't think there is enough definition around her waist so she definetly needs a corset.

Once I get her clothes just right it's time for my favorite part! Embellishment!!
She gets hair, of course! And jewelry! A chunky stone and bone necklace, shells and ribbons in her hair and a belt with pouches for all her little goodies.

Thursday, February 25, 2010

Resin Casting

Okay, seriously. This stuff is no joke! I am not the kind of person who wants to suit up like a Storm Trooper to do battle with my crafts. I'm talking respirator, goggles and gloves! Who can work with all that stuff on? Not me! So this might be the craft that kills me! :-) (And I always thought it would be the blow torch or something much more dramatic) Anyway, I left the gloves on but could not deal with the rest of the getup so I ventillated as best I could and got down to it.... carefully!
First I collected a bunch of different things that I thought would look cool embedded in the resin. Paper, stickers, string, paint, glitter...

Gemstone patterned scrapbook paper

The orange ones are glitter paper and the others are loose glitter.

More paper punches

Stickers

The red and black ones are feathers. Top middle is copper mesh and copper paper pieces. Next to that one on the left is silver beads. The moons are rhinestones.

Acrylic paint swirled around. The next batch I'm going to try some glass paint to get a more translucent effect.

Gold metallic thread and red thread.

Metal Embossing

I got metal embossing tools for Christmas and I am having a blast with this! I played around with all the textures that came with it and got a feel for the different effects that they create on the metal.
Then I printed out a stencil and embossed the design onto my scrap piece. The first thing I realized is BIGGER is BETTER! Too small and the metal wants to bend back into itself in all the wrong places.
I cut it out and hit the raised edges with a sharpie. Not real pretty, but not too bad for my first try either!
I'm still trying to figure out how to get a good tarnished look to stick to the metal. Acrylic paint seemed to do okay but I'm not completely loving it.

Friday, January 8, 2010

Getting Organized - The Room!


Since I'm in the process of organizing things I thought I would post a few pictures of my room at it's worst. I'm a binge artist. I go for a few weeks with so many ideas and projects happening all around me I can't think straight. Then the chaos of the room starts to overwhelm me and I have to put everything away again.

We moved into this house in April of 2006 and I have redone my room several times. Obviously I should have planned it out better to begin with but with everything else going on in the move I couldn't devote myself to my craftroom. The first time I sponge painted the walls dark blue. I added a lot of bright orange accents and curtains and I loved the colors but the sponge paint was too busy with everything else hanging on my walls in there. A few months later I repainted the walls my favorite color, a calming green. I made new curtains, hung a shelf in my closet and tried to reorganize things so they were more accessible. I haven't repainted again but I have arranged and rearranged my supplies a number of times and I am finally beginning to get a handle on this situation.


Earlier this year a great friend of mine gave me some old metal storage cubes he didn't want anymore and I hung several pegboard on the wall above my work surface for tools. Huge improvement!


Wednesday, January 6, 2010

Getting Organized - Ribbon!


I was so inspired by seeing all my beads organized that I decided to move on to another one of my supplies that has outgrown every storage solution I've had for it. I have ribbon on big spools, on little spools and on no spools at all. I have wide trim, thin trim and tasseled trim. And I finally came up with something that will work for all of it! Way back in the way back, when I used to buy CD's, I bought several matching CD racks. I moved all the CD's into crates years ago once I got them all digitized and those old CD racks are my new ribbon racks. I even have two more so my ribbon collection has plenty of room to grow!


I put the pegs in the back lower than the pegs in the front so that all the shelves slope backwards and my ribbon won't roll off.
I seperated all the smaller loose pieces of ribbon by color and organized them into storage boxes.


Sunday, January 3, 2010

Getting Organized - Beads!

It's not as easy as it sounds! I am not an organized kind of person but sometimes I can certainly see the benifits in trying to be! So I decided to tackle one of my biggest headaches and work on getting my beads in order. I have thousands of beads in all shapes, sizes and colors so it was no easy task.


I started with my seed beads. I moved them all into these containers that screw together and seperated them by color. They were the most difficult to organize and once I finished with them I knew the really hard part was over. The rest of the beads got seperated by type and organized into flip top containers.


Stone chips and beads


More stone and hematite beads


Metal beads


Acrylic beads


Shell beads


Bells


Findings

After several hours I am very pleased with the results and I'm glad I did it! Now I'm actually motivated to move on to some of my other supplies and maybe eventually I'll get the whole room to the point where I'm not embarrassed to let people peek their heads in there.