Wednesday, July 21, 2010

Renovation Progress II

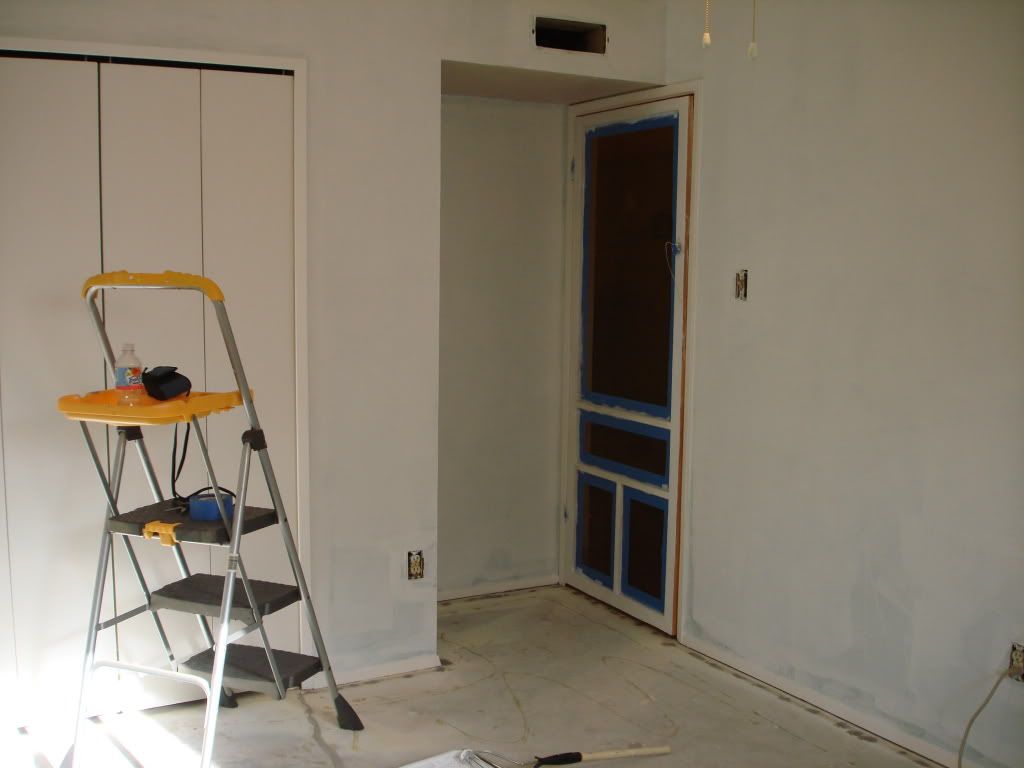
I primed the whole room and then decided to go over the top half with a second coat since I would be painting that part white.

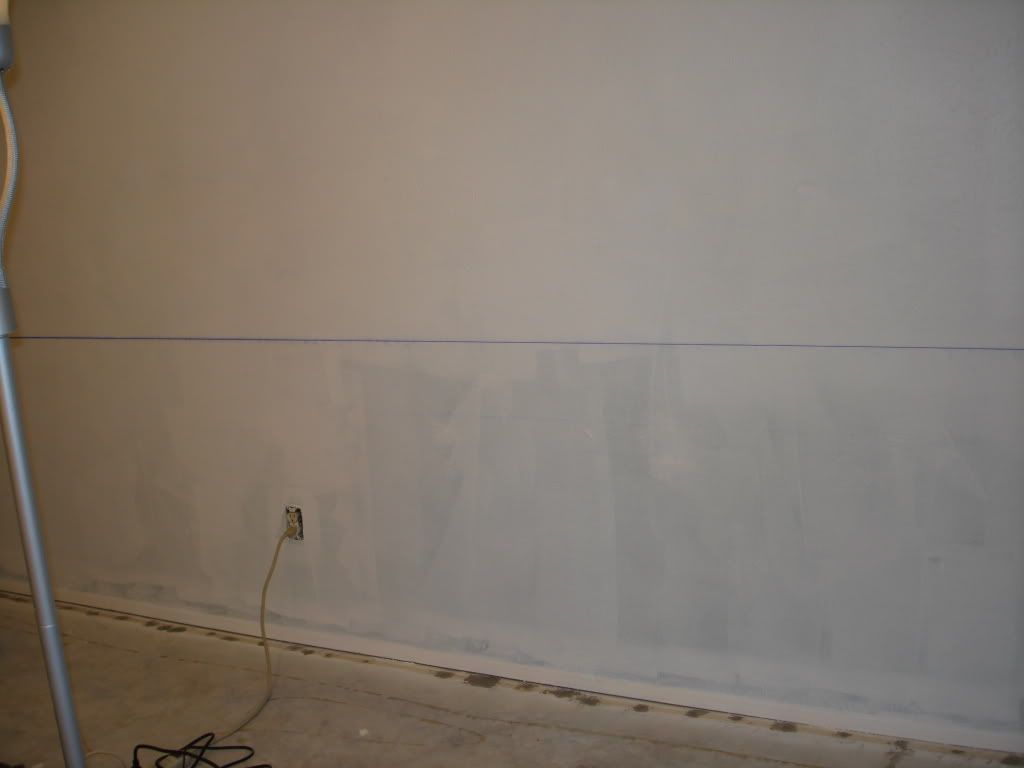
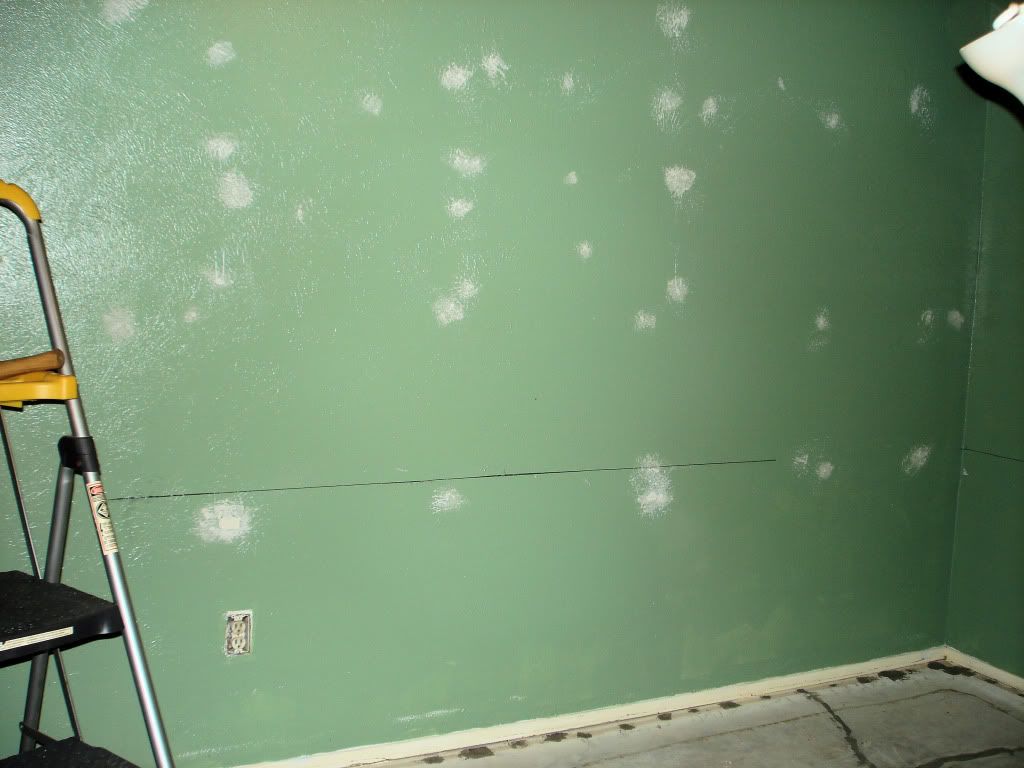
We used a chalk line to get a nice straight level line on the walls. I had never used one before but it was very easy!

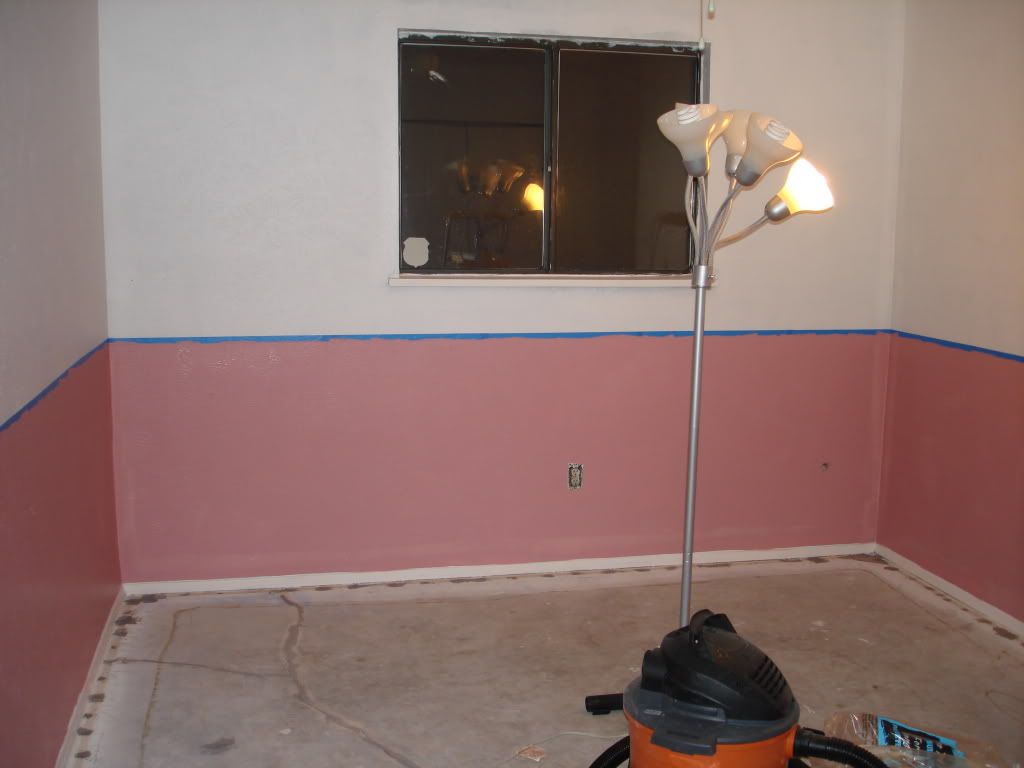
After covering the chalk line with painters tape I got the tinted primer on the bottom part of the wall.

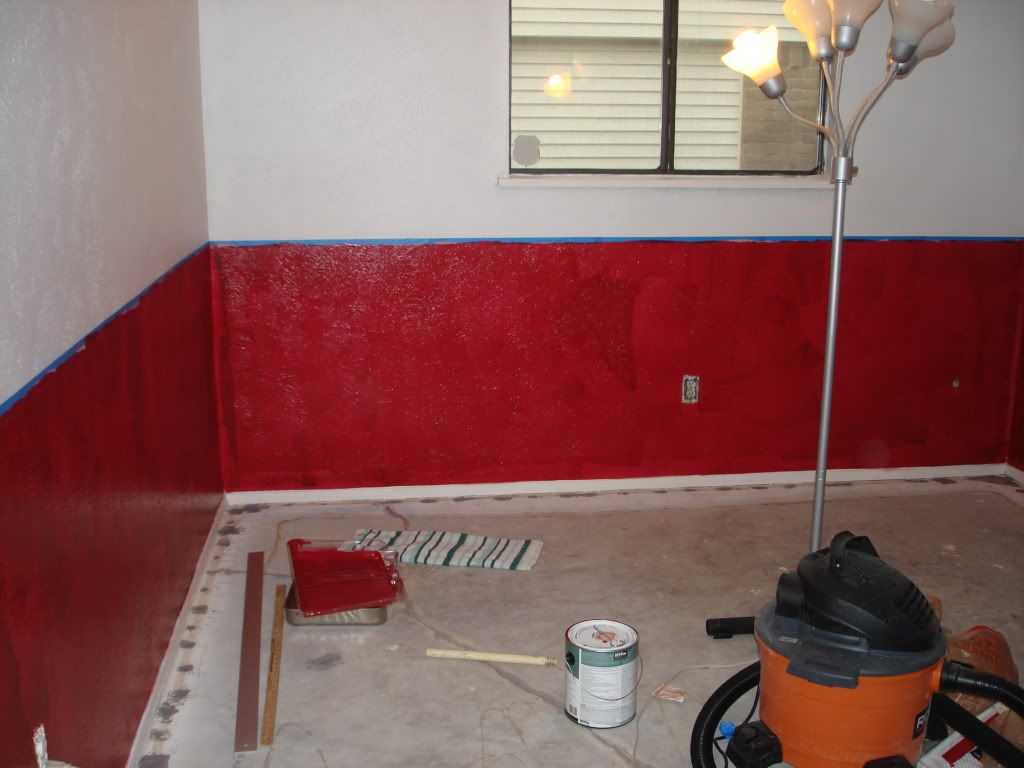
I had read that getting a good even coat with red paint was not easy but I had no idea what I was in for! The first coat ended up looking like a kid just threw paint everywhere! You can see every brush stroke and every place I set the roller on the wall.

The second coat got a little better but now the corners and baseboards are a lot lighter than the rest of the walls (which are also still blotchy). After applying the third coat I have hope that eventually it will work out, even if it means I have to go buy some more paint!

Tuesday, July 13, 2010

Renovation Progress

First thing I had to do was pull up all the carpet tack strips. A lot of the nails stayed behind in the concrete and when I pulled them out they left holes in the floor!


There is also a nice crack that runs the entire length of the room that will have to be patched along with all the holes. I went ahead and sanded the woodwork and then cleaned up all the dust. I take that back, I'll never get ALL the dust, but I swept and swept and swept until I felt I probably got as much as I could.


Then the patching began. I used Quikrete in a bottle which made it really easy to apply. I smoothed everything with a putty knife and let it dry overnight.


I had shelves and pegboards all over the walls so there were a lot of holes that needed spackling.

Saturday, July 10, 2010

I think I may have lost it...

My mind, I mean. I finally got fed up with the way things were in my room and spontaneously started moving all my supplies out. I quickly filled closets, corners and finally just piled the last few boxes right in the middle of the living room!


I had to get everything off the pegboards and then get the pegboard and the shelves, and the cork/chalk board, and the art off the walls.


Once everything was out, I had a chance to vacuum. First time in a long time for that! I also remembered to put the drill on the charger so it would be ready when I was.


I got the tables taken apart and the supports off the wall and now the room is technically empty!


There was never any doubt about getting rid of the carpet. I hate carpet! So I cut it into a few sections to make it easier to handle and started pulling it up from the tack strips.


With the carpet and pad removed, the destruction phase is complete!